Livestreaming with RØDE Connect
When it comes to streaming, setting up audio can be quite confusing. In the past, content creators were required to download confusing third-party apps and navigate complex routing to get their stream up and running. With RØDE Connect, each sound source has its own place and it fits intuitively into any streamer setup.
Below, we’ll show you just how simple it is to set up the audio for your stream with RØDE Connect.
A Mic for Any Type of Streamer
With more compatible microphones, RODE Connect is not just perfect for video game streamers, but all types of IRL streamers as well. There's now a microphone to suit any need and they all interface seamlessly with RØDE Connect to allow for an incredibly easy setup.
Below we will run through which microphone will be best for your setup and how to get the audio routed for your stream with RØDE Connect.
If you first need to learn how to get started, check out the User Guide home page.
If your computer has a USB-C connector, you can use the SC17 USB-C to USB-C cable.
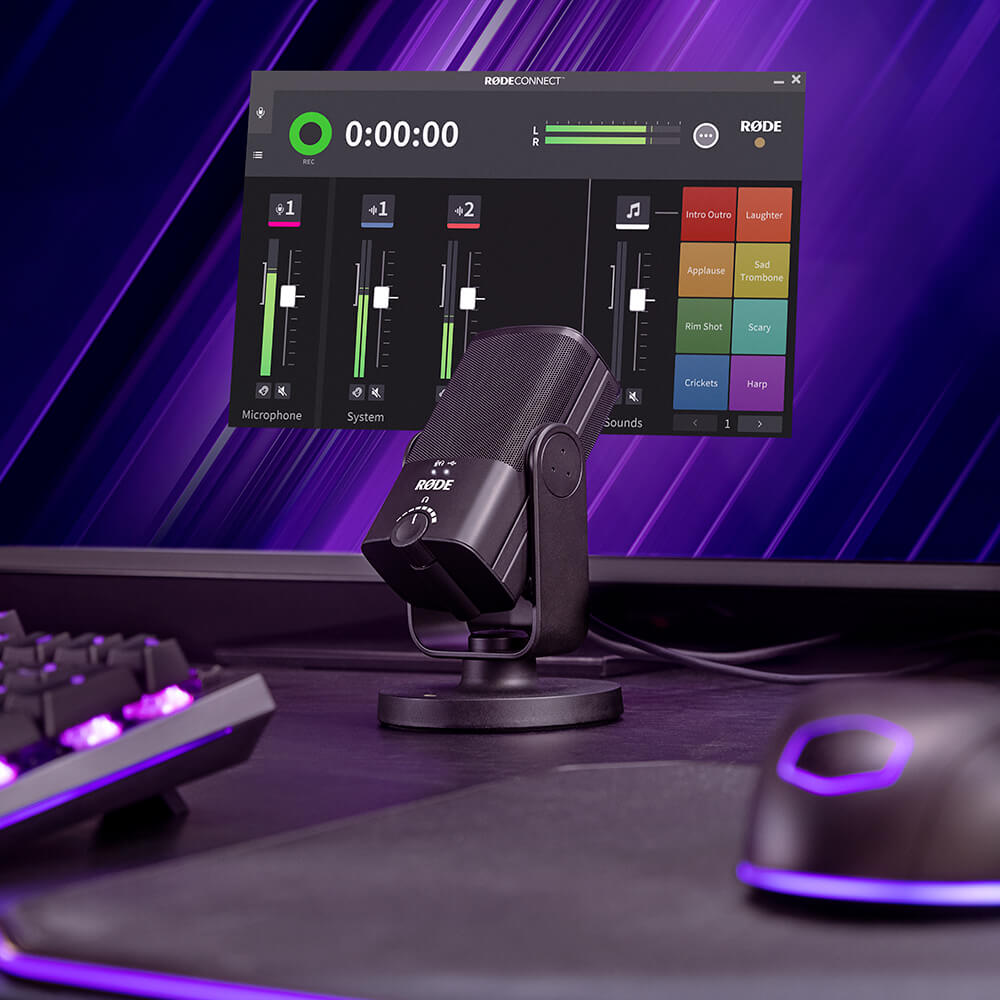
Streaming with the NT-USB Mini and RØDE Connect
The NT-USB Mini has a wide array of accessories to support any kind of streamer setup on a desk or table. Compatible with the new PSA1+, the NT-USB Mini can be positioned exactly where you need it in either the upright position or hanging downwards thanks to its yoke mount.
With powerful built-in DSP, applying effects like the noise gate, compressor or the legendary Aphex Aural Exciter and Big Bottom is as simple as one click.
Streaming with the VideoMic NTG
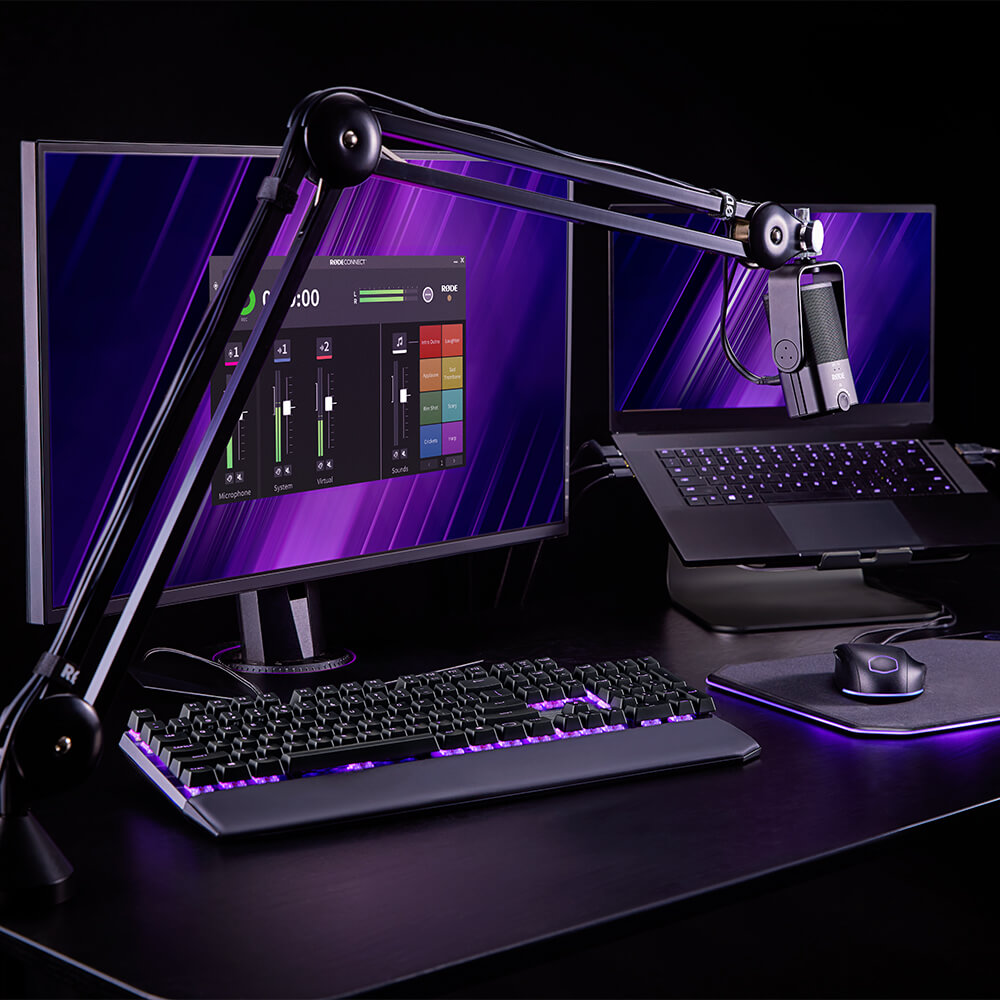
Thanks to its supercardioid polar pattern, the VideoMic NTG is highly directional, making it perfect for picking up audio from a distance. This means it can be positioned on the desk with the Tripod 2 or mounted on the PSA1+ and boomed over the top of your monitor. The benefit to this is a cleaner setup, you wont need to move the microphone each time you reposition yourself and the VideoMic NTG can even be covered with the WS-Chroma (pictured) and keyed out of the facecam if you're using a green/blue-screen setup.
IRL Streaming with the Wireless GO II
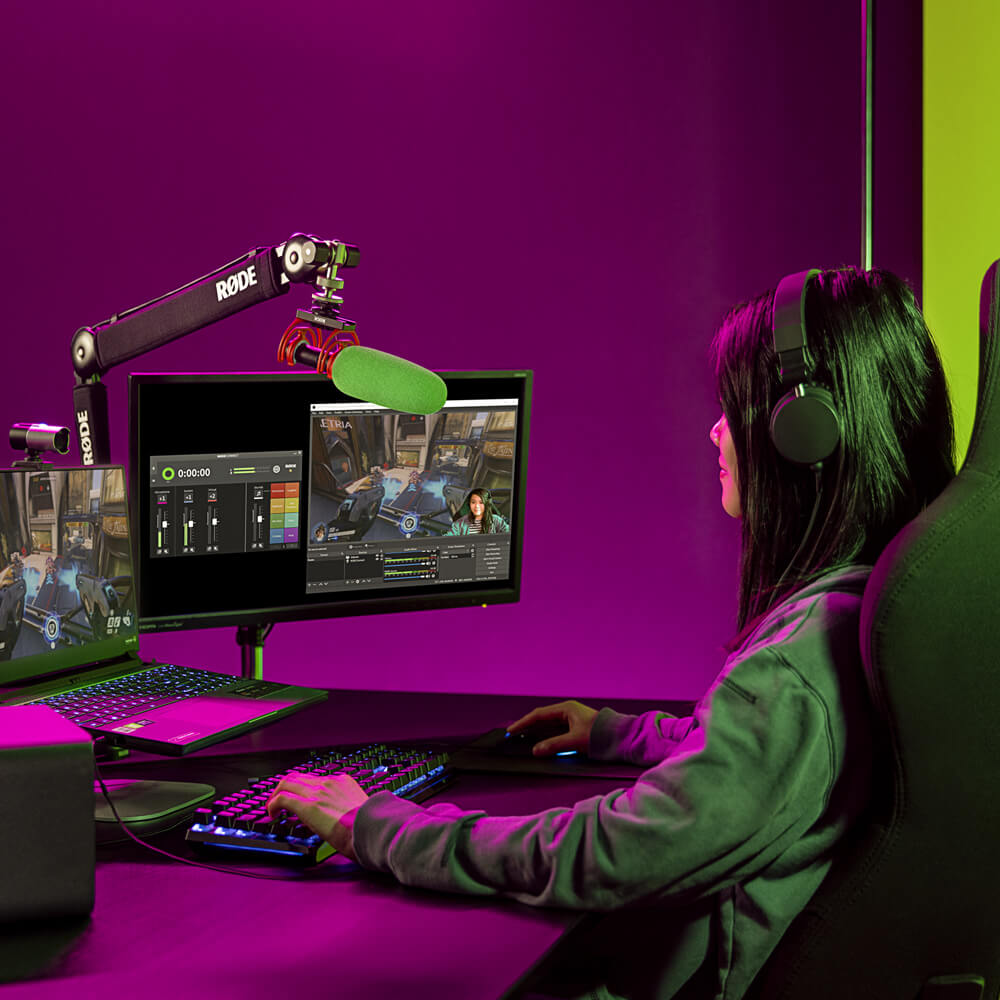
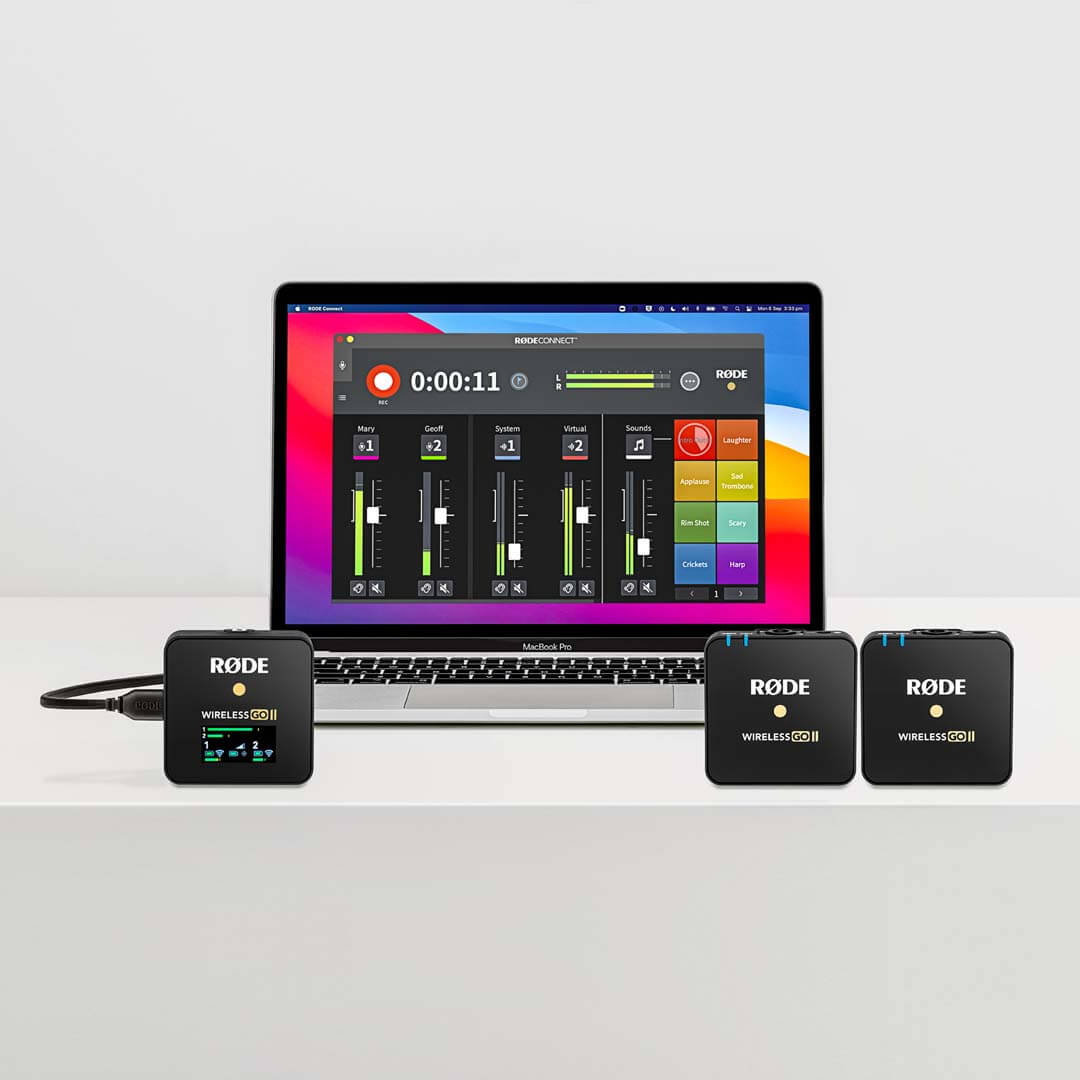
The Wireless GO II, together with RØDE Connect, is ideal for IRL streaming. Being a wireless microphone, it allows for complete freedom when moving around on-stream. This is especially useful for any IRL streaming scenario where you need to stand further back from the camera, from cooking and yoga to sports or fishing streams. Setting up is incredibly simple. See the walkthrough below.
Simply turn on your Wireless GO II and make sure your receiver and transmitters are paired, then connect the receiver to your computer and launch RØDE Connect. Older versions of RØDE Connect are not compatible with Wireless GO II, so ensure you are using the latest software (version 1.2 or later).
Run the Setup Assistant. You will now be able to allocate the Wireless GO II transmitters to separate channels in RØDE Connect, allowing you to record four microphones in total.
Note
Audio playback is not possible via the Wireless GO II receiver. Audio can only be monitored using an NT-USB Mini, VideoMic NTG, or another audio output on your device.
Setting Up Your Microphone
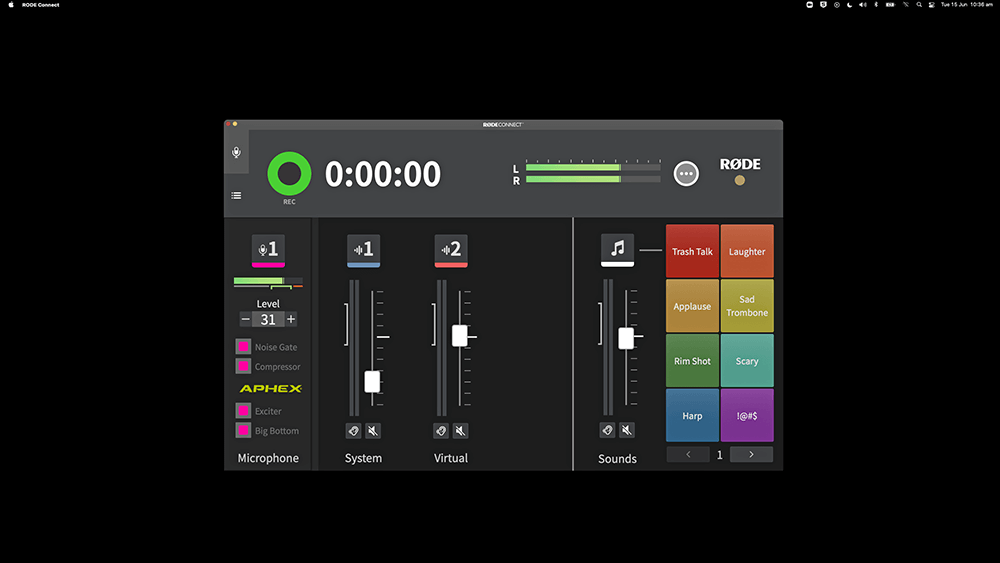
Once you have your microphone connected and updated, you'll need to adjust the gain. To do this, click the microphone icon above the channel you are using. Start talking into your mic at a natural level and watch the meter while you speak. You want your level to be sitting around the green section of the meter. Use the ‘+’ or ‘–’ buttons to adjust your gain if the meter is jumping above or below this green 'safe' area.
You will also notice you have access to toggles for several audio processors here. RØDE Connect unlocks powerful digital signal processing available within each connected NT-USB Mini, VideoMic NTG or AI-Micro. This is only accessible when you connect your microphone to the app and is an incredibly simple way to give your voice a polished, professional quality. To find out more about these processors, head to the RØDE Connect User Guide home page.
Now that your microphone is set up, let’s look at routing other audio sources into RØDE Connect and out to your streaming software.
Routing Game Audio to RØDE Connect
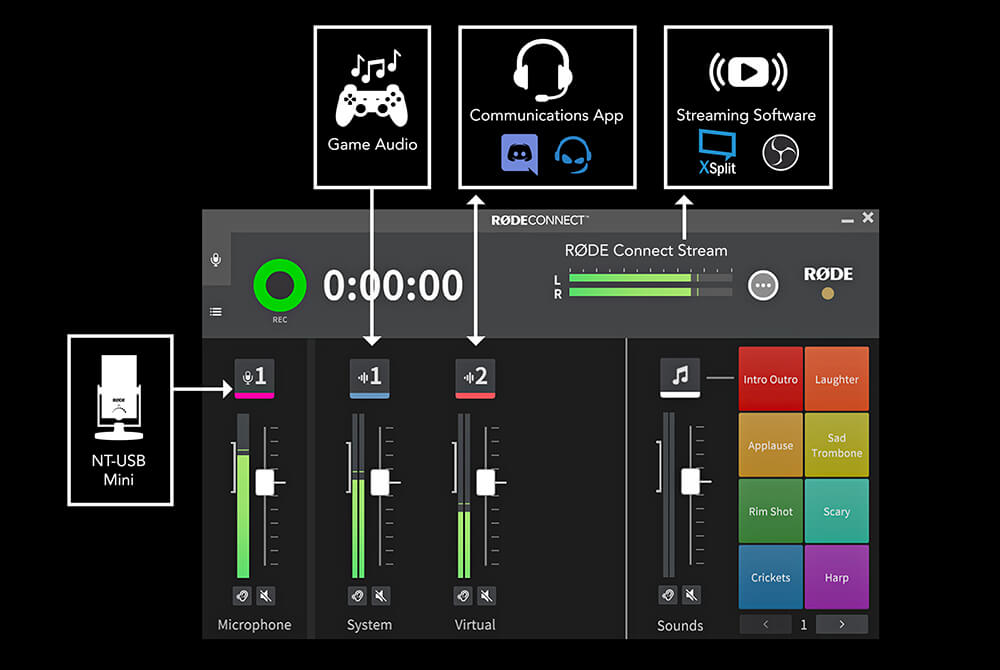
There are a few steps to ensure that the various streams of audio you are using are routed to RØDE Connect. Within your game’s preferences or settings, there should be an audio output option for you to select where your game audio goes. Here you’ll want to select ‘RØDE Connect System’. If your game doesn’t have an audio preference option, go into the audio settings for your computer and select RØDE Connect System here. Now, your gameplay audio will be routed to the System channel and can be heard through your headphones.
Routing Chat Audio to RØDE Connect
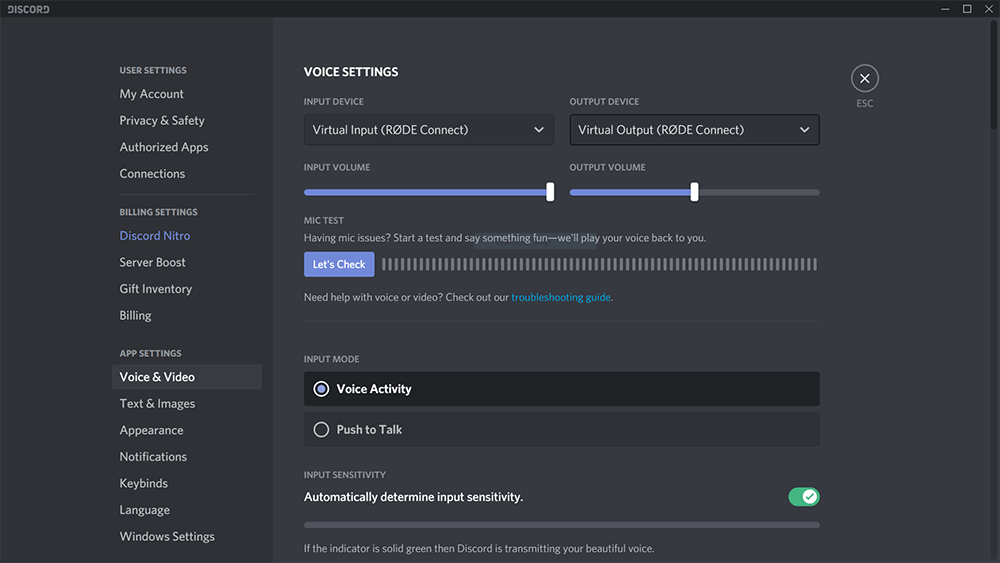
If you are chatting with teammates on Discord, TeamSpeak or Skype, this can also be routed in and out of RØDE Connect. The process will differ slightly depending on the app you are using but the process will remain the same.
Open up the audio preferences or settings within the comms app you are using and change the audio input and output to 'Virtual Input (RØDE Connect)'. This will enable the audio from your microphone to reach the app and the chat audio from the comms app will be routed back onto the Virtual channel.
RØDE Connect applies an automatic mix-minus to each channel, so once routed properly, you’ll be able to communicate with your teammates without any echo. Routing the chat audio to a separate channel also means that you can control its volume independently and even record it as a separate stream of audio.
Output RØDE Connect to Streaming Software
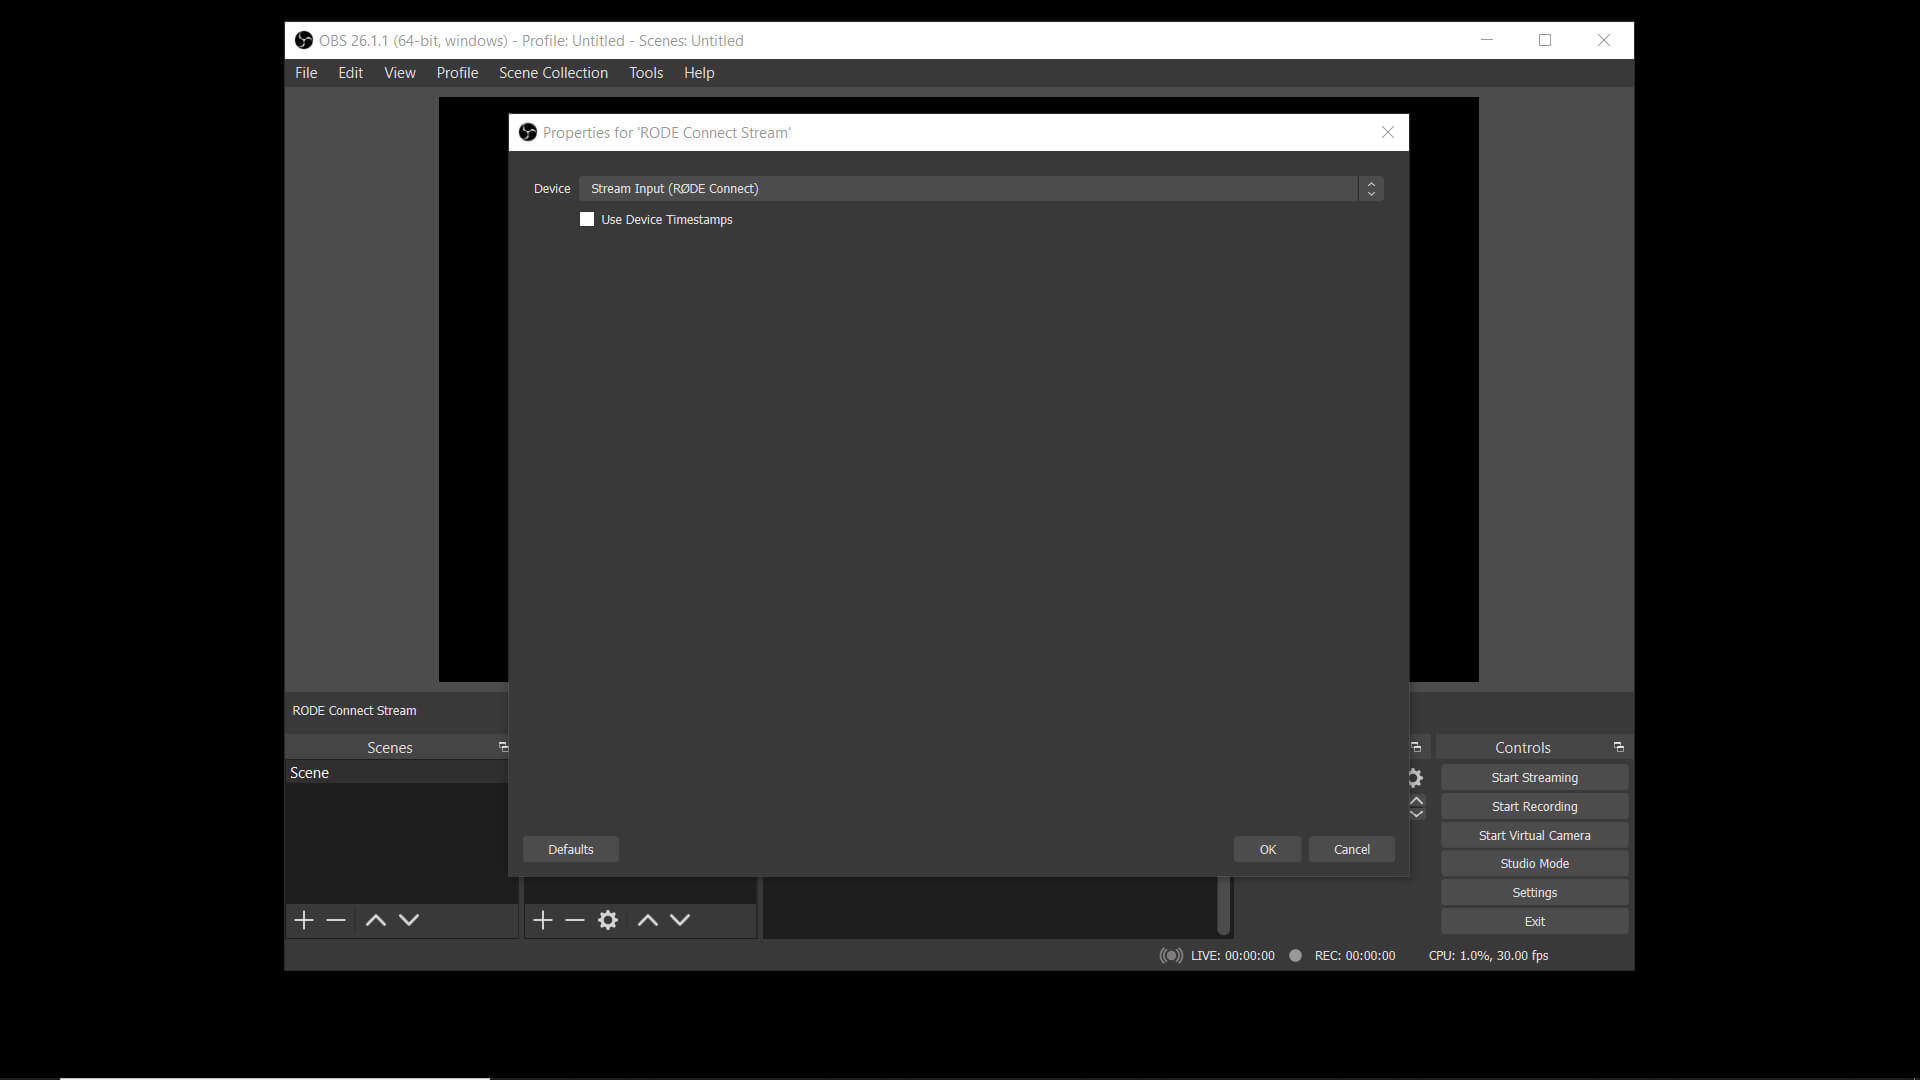
Once all audio sources are routed into RØDE Connect, the last thing to do us output the complete mix to streaming software such as OBS. To do this, open OBS and select 'Add New Audio Input Device'. Now you can select RØDE Connect Stream as your audio input device. This will send the complete audio mix including microphone, game audio and chat audio from RØDE Connect to OBS ready for your stream.
Final Tips on Streaming with RØDE Connect
If you plan on playing the audio from your computer through speakers or outputting to another piece of hardware, RØDE Connect has the capability to handle this.
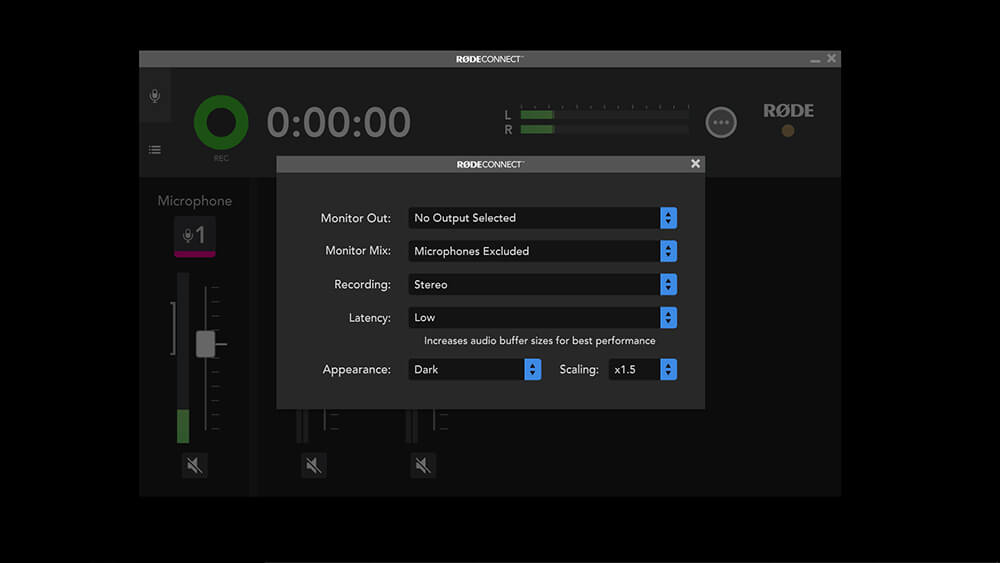
By going to 'Preferences' and selecting a device from the drop-down menu under 'Monitor Out', you can route your game audio through speakers. If you're going to do this, it is a good idea to change the setting in 'Monitor Mix' to 'Microphones Excluded'. this will ensure that you can avoid any feedback loops.
Now that you have all of your channels set up, you are ready to start streaming! Remember, with RØDE Connect you can easily control all of your audio from one application. If you need to adjust anything, use the channel faders in RØDE Connect to adjust your mix!
