我们使用必要的cookie来使我们的网站正常运行。经您同意,我们还可能使用非必要的cookie来改善用户体验和分析网站流量。 点击“允许全部”,即表示您同意我们网站按照 Cookie政策.
您可以随时点击“偏好设置”来更改您的cookie设置。
偏好设置
允许我们使用所有 Cookie
When it comes to improving workflow and maximising options for podcasting and livestreaming, the RØDECaster Pro is extremely powerful and flexible. With the addition of MIDI control as a feature, the link between the RØDECaster Pro and your computer is even stronger. This functionality unlocks the potential to control a range of functions on your computer from the RØDECaster Pro, from level faders within your DAW to scenes within your streaming software.
The RØDECaster Pro’s MIDI control feature is currently only supported by some DAWs. If you are using another DAW, you may experience different behaviour to what is outlined in the guides below. See below for more information.
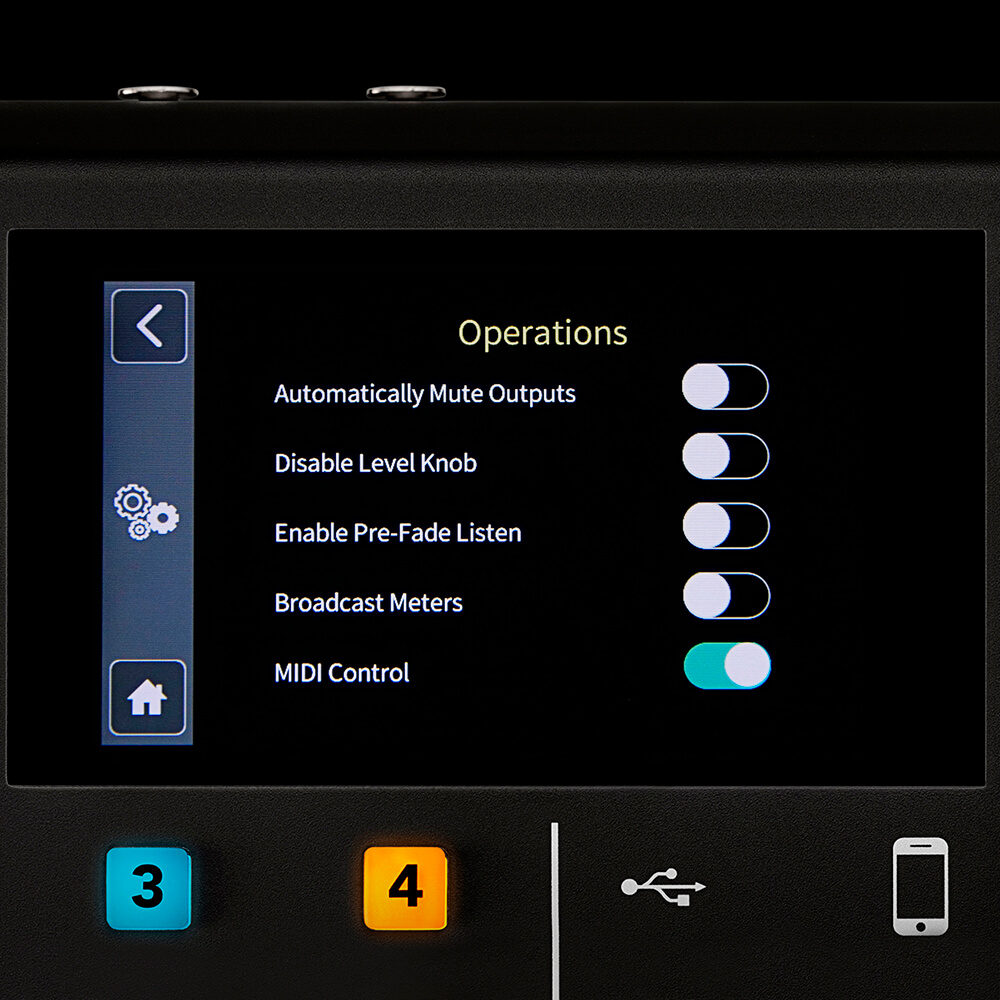
To turn on MIDI control for your RØDECaster Pro, connect it to the computer that you want to record to using the included USB cable. Then go to ‘Settings’ > ‘Advanced’ > ‘Audio’ > ‘Operations’ and tap ‘MIDI Control’. Once activated, the RØDECaster Pro will be able to control various parameters within a host of programs via MIDI commands – two of these scenarios we’ll cover below.
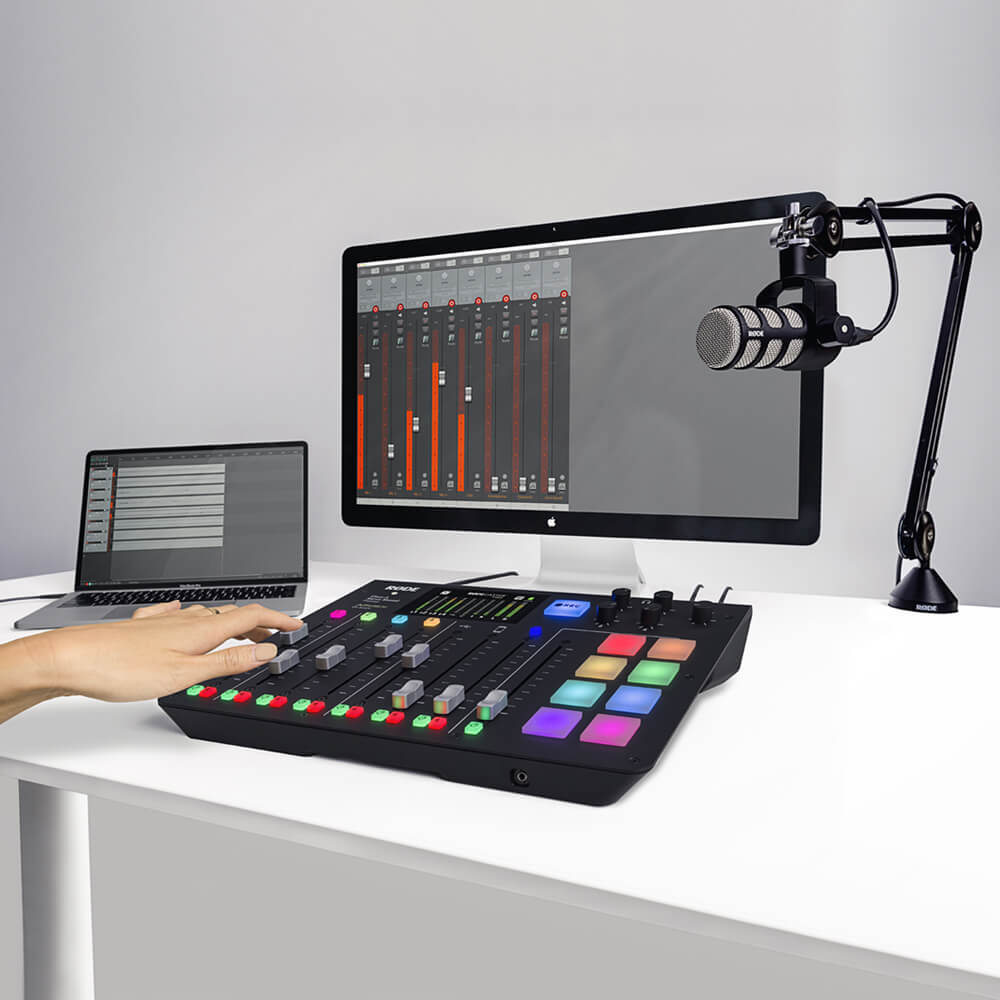
A useful application for the MIDI control feature is to synchronise the faders across the RØDECaster Pro and your DAW, allowing you to control the levels for your podcast from the console mixer rather than the software itself. Before you can start using MIDI control, you will need to set up& a session in your DAW and route all channels on the RØDECaster Pro to their own individual tracks. If you need help setting this up, take a look at this page on recording to a computer via USB and follow the step-by-step walkthrough for the DAW that you are using.
Once your session is ready, you can map the MIDI commands being sent from the RØDECaster Pro to its corresponding track’s fader in your DAW. For detailed walkthroughs on how to do this, see the links below.
MIDI Control Fader Sync Walkthrough Logic Pro (Mac)
Currently, the RØDECaster Pro’s MIDI control feature is only fully supported by Logic Pro X (Mac) and Reaper (Mac and Windows). If you are using another DAW, you may experience different behaviour to what is outlined in the guides below.
Before you start recording, set the automation mode on each track in your DAW to ‘Write’. This will effectively ‘record’ real-time changes to the fader positions in the automation data for all tracks. This means you will have the complete mix with all fader positions for the entire length of your recording, allowing extra options in post-production.
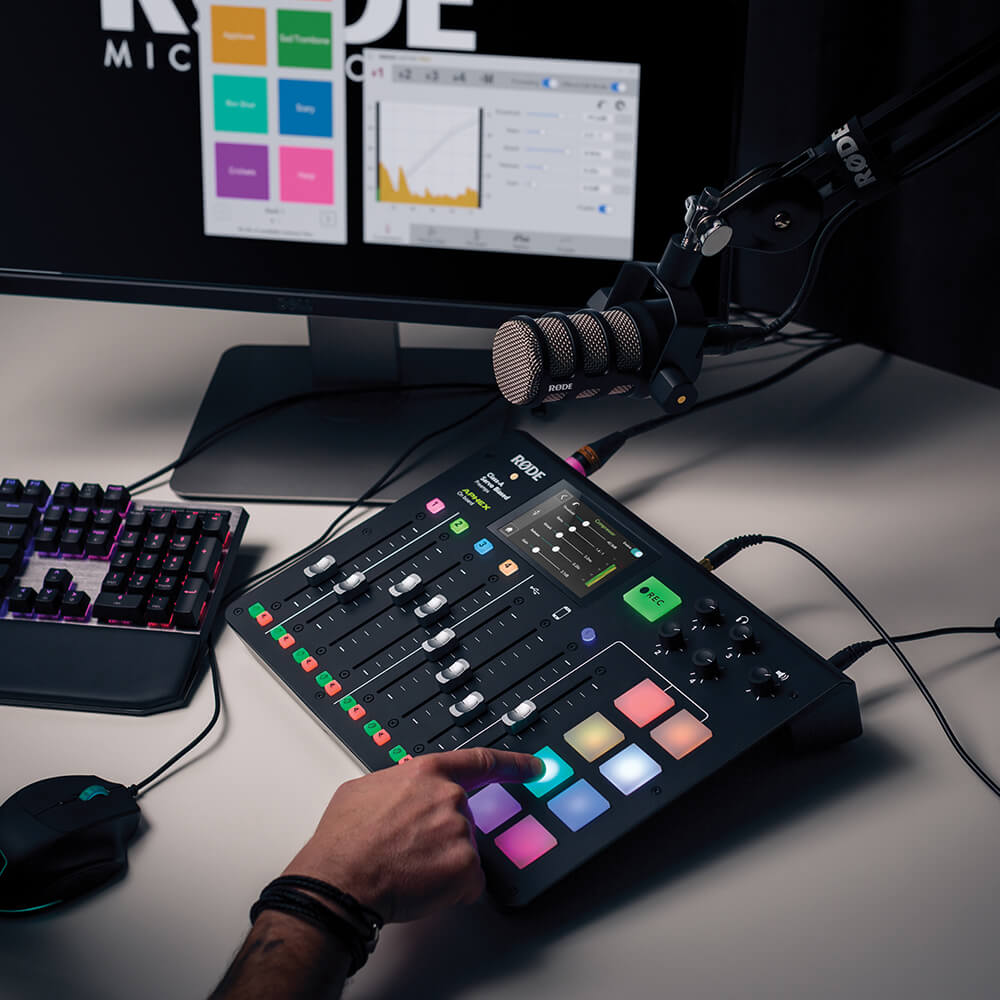
The RØDECaster Pro’s sound pads can even be set up to switch scenes in streaming software. This is useful for livestreamers and content creators who need to quickly switch cameras while streaming.
To set this up, you will again need to make sure MIDI control is activated within your RØDECaster Pro’s settings. Once activated, check out the step-by-step walkthrough below on how to configure the RØDECaster Pro so it can switch scenes within your streaming software.
The above scenarios are just a glimpse of what’s possible when it comes to MIDI control with the RØDECaster Pro. If you are confident, feel free to experiment with this feature as it can be applied to so a wide variety of scenarios.