我们使用必要的cookie来使我们的网站正常运行。经您同意,我们还可能使用非必要的cookie来改善用户体验和分析网站流量。 点击“允许全部”,即表示您同意我们网站按照 Cookie政策.
您可以随时点击“偏好设置”来更改您的cookie设置。
偏好设置
允许我们使用所有 Cookie
The RØDE NTH-100 professional over-ear headphones offer exceptional sonic performance and superior comfort that inspires creativity. Featuring custom-matched drivers that deliver an incredibly accurate frequency response and ultra-low distortion, and a precision-engineered acoustic design optimised for exceptional detail and clarity, they are ideal for all forms of content creation, including music production, mixing and audio editing, podcasting, streaming and location recording.
Find out all you need to know about using your NTH-100s here.
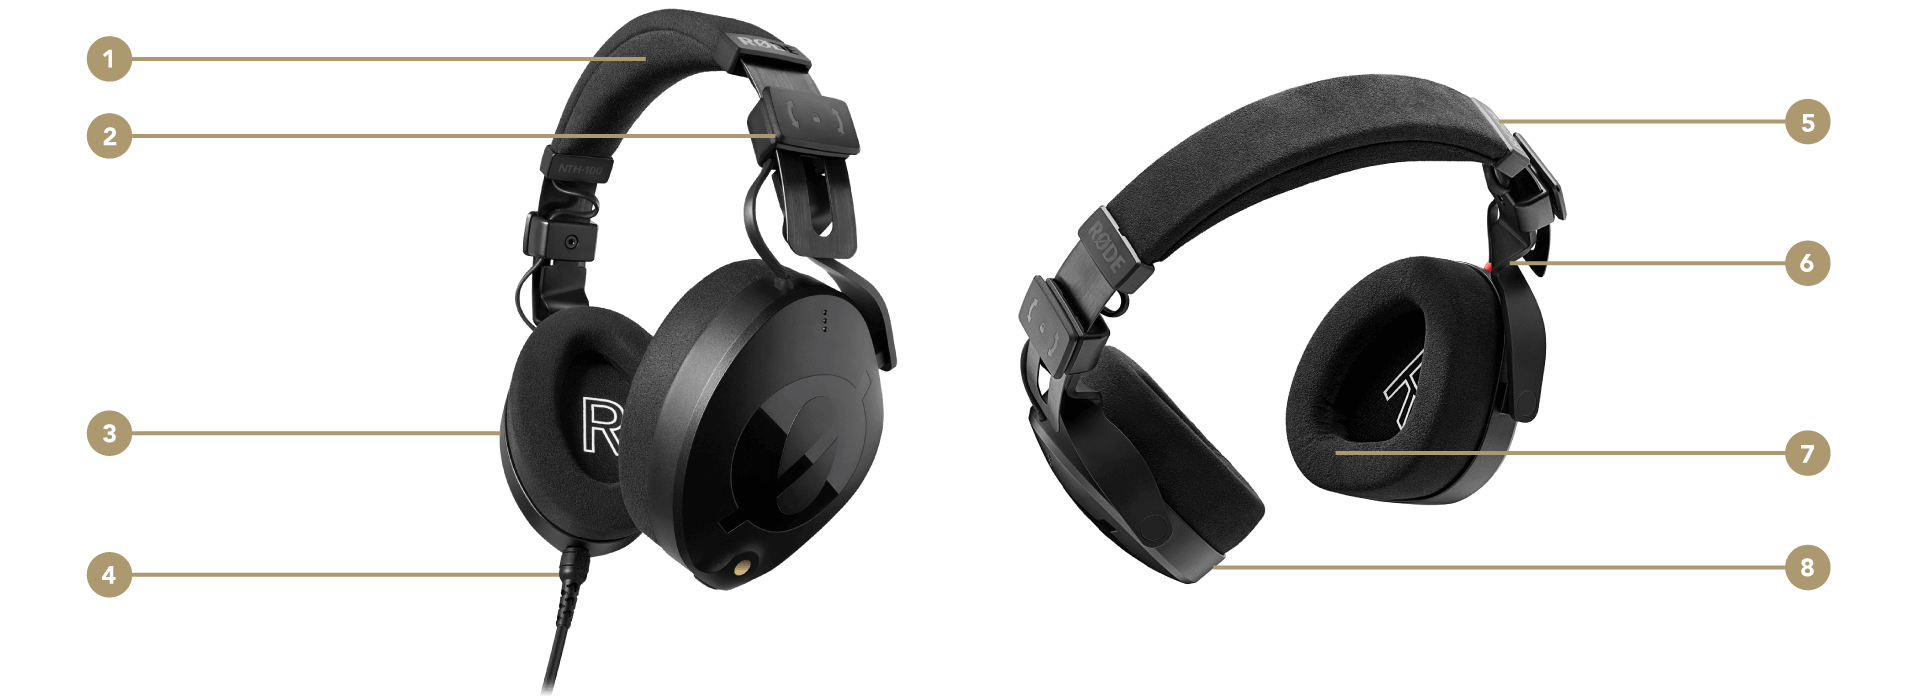
1Removable Alcantara®️ headband cushion
2FitLok™️ locking tab
Twist to lock and unlock headband size adjustment
3Ergonomic earcup shape
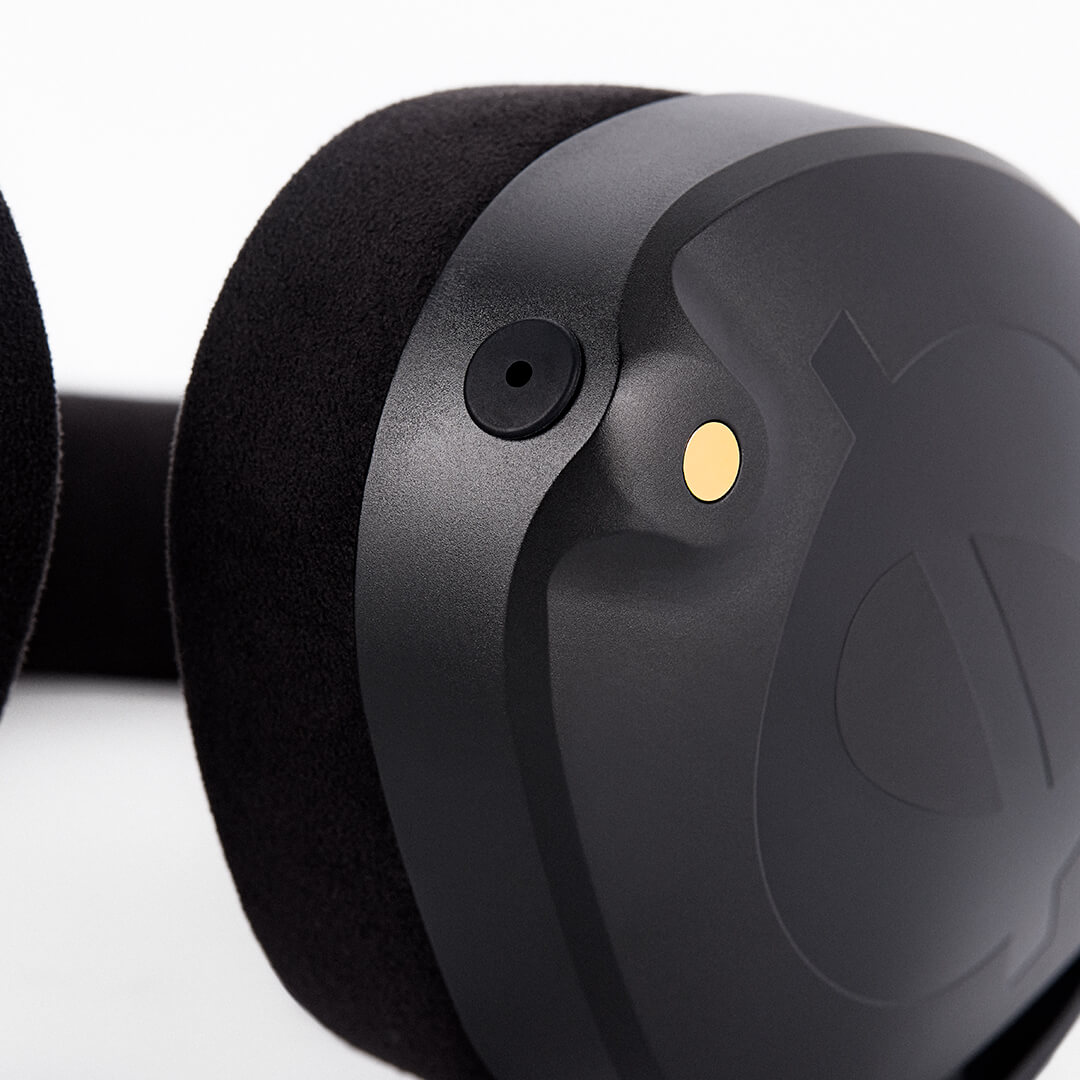
4Right cable attachment socket
Push plastic cable bayonet into place and turn clockwise to lock
5Headband cushion locking tabs
Slide locking tabs down on either side to release
6Red indicator for right earcup
7Removable Alcantara®️ ear cushion
Pull to remove
8Left cable attachment socket
Use included rubber seal to close unused socket
The cable supplied with your NTH-100s features a different type of connector on each end. Insert the jack plug with the plastic bayonet connector and lock symbol into the headphone earcup. Insert the jack plug with the gold-plated thread into your audio source. If you experience intermittent or crackly audio, check that the cable is attached correct way round.
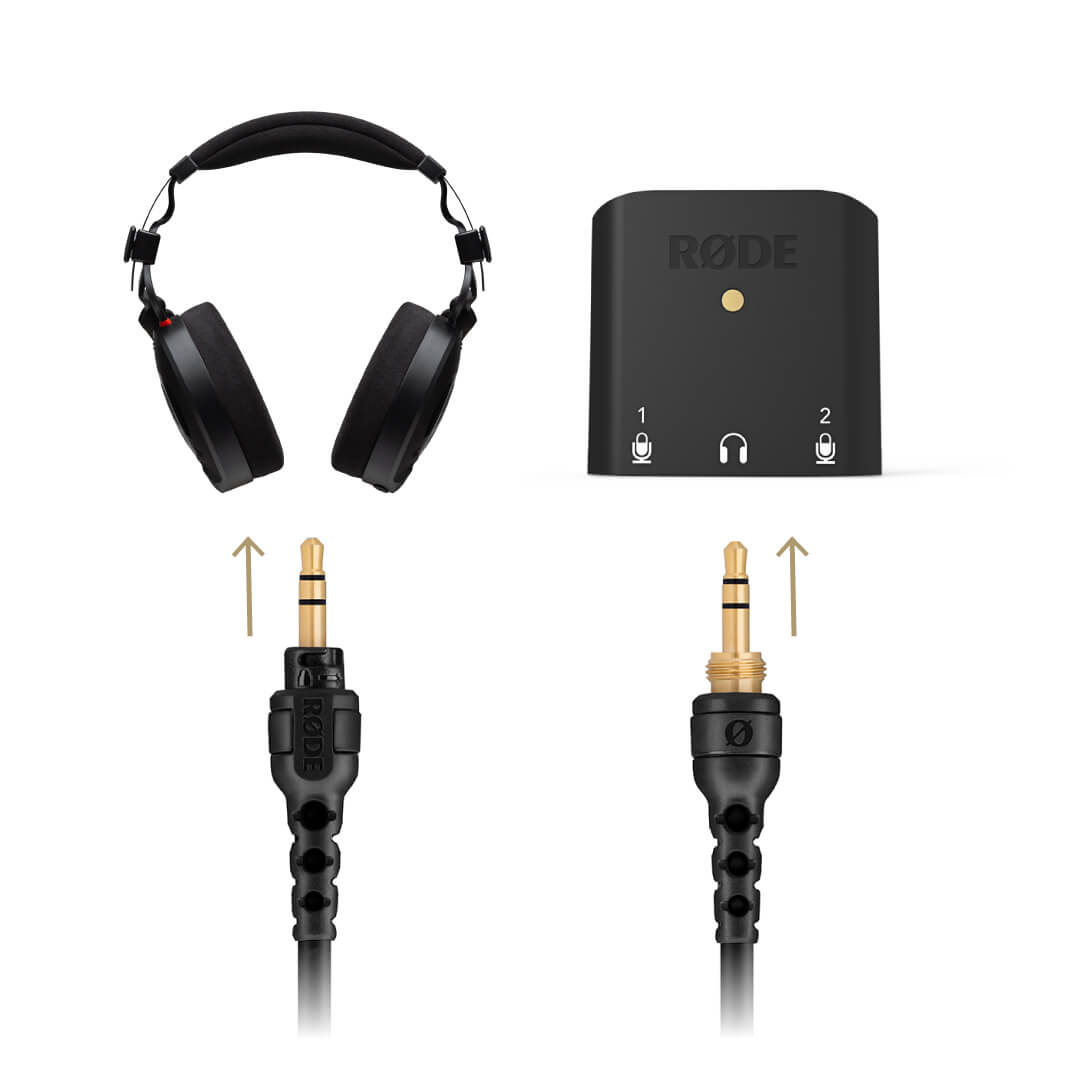
To connect the cable to the headphone earcup, simply insert the plastic bayonet end into the socket and twist the connector clockwise to lock it into place. To remove it, simply twist counter-clockwise to unlock and pull free.
The NTH-100s feature cable attachments on both earcups, allowing you to connect the cable where is most convenient.
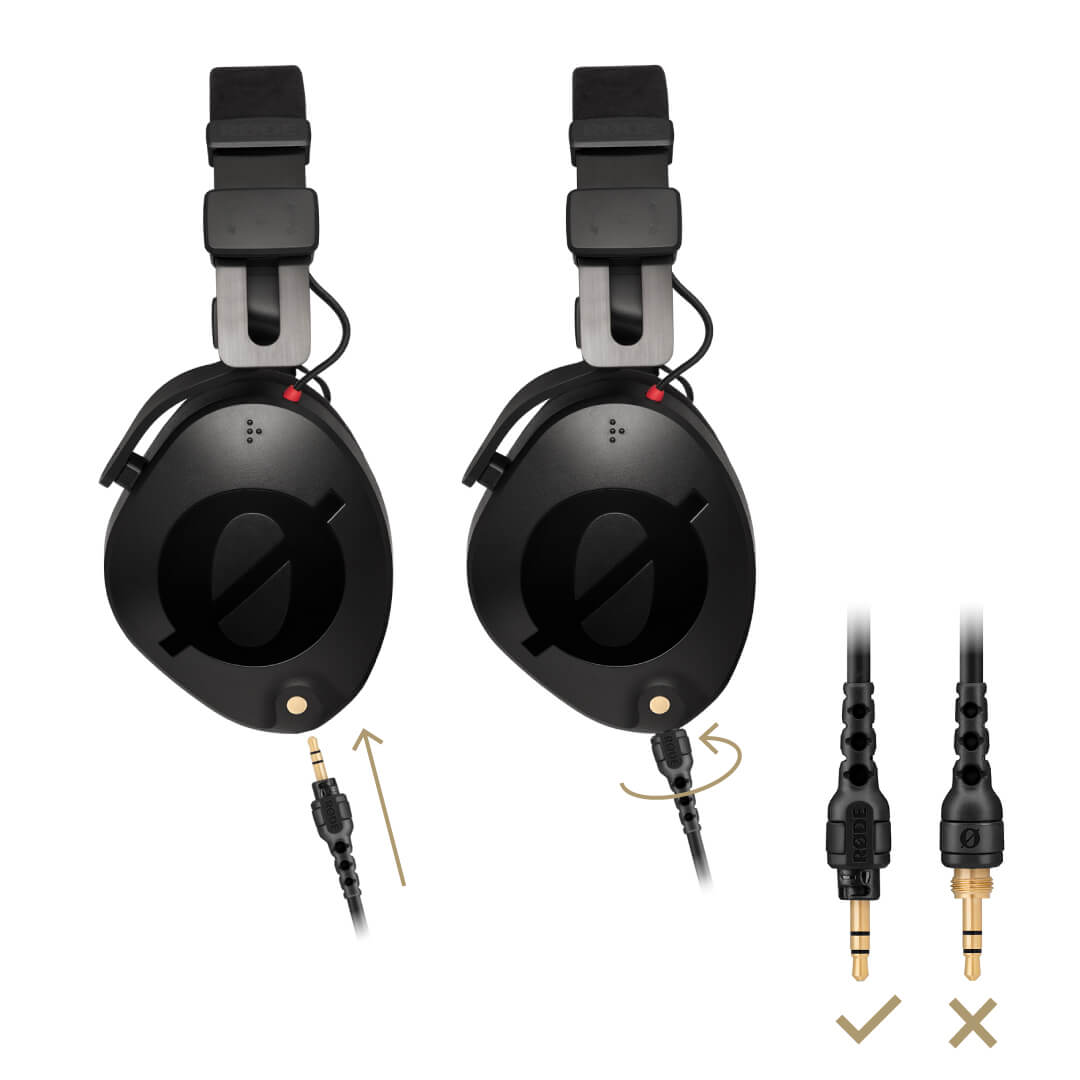
The supplied cable comes with a standard 3.5mm jack plug for connecting to devices with a 3.5mm output, such as a smartphone. Also included is a 1/4-inch to 3.5mm adaptor for connecting to professional audio equipment, such as mixers and audio interfaces. This screws securely onto the end with the gold-plated thread.
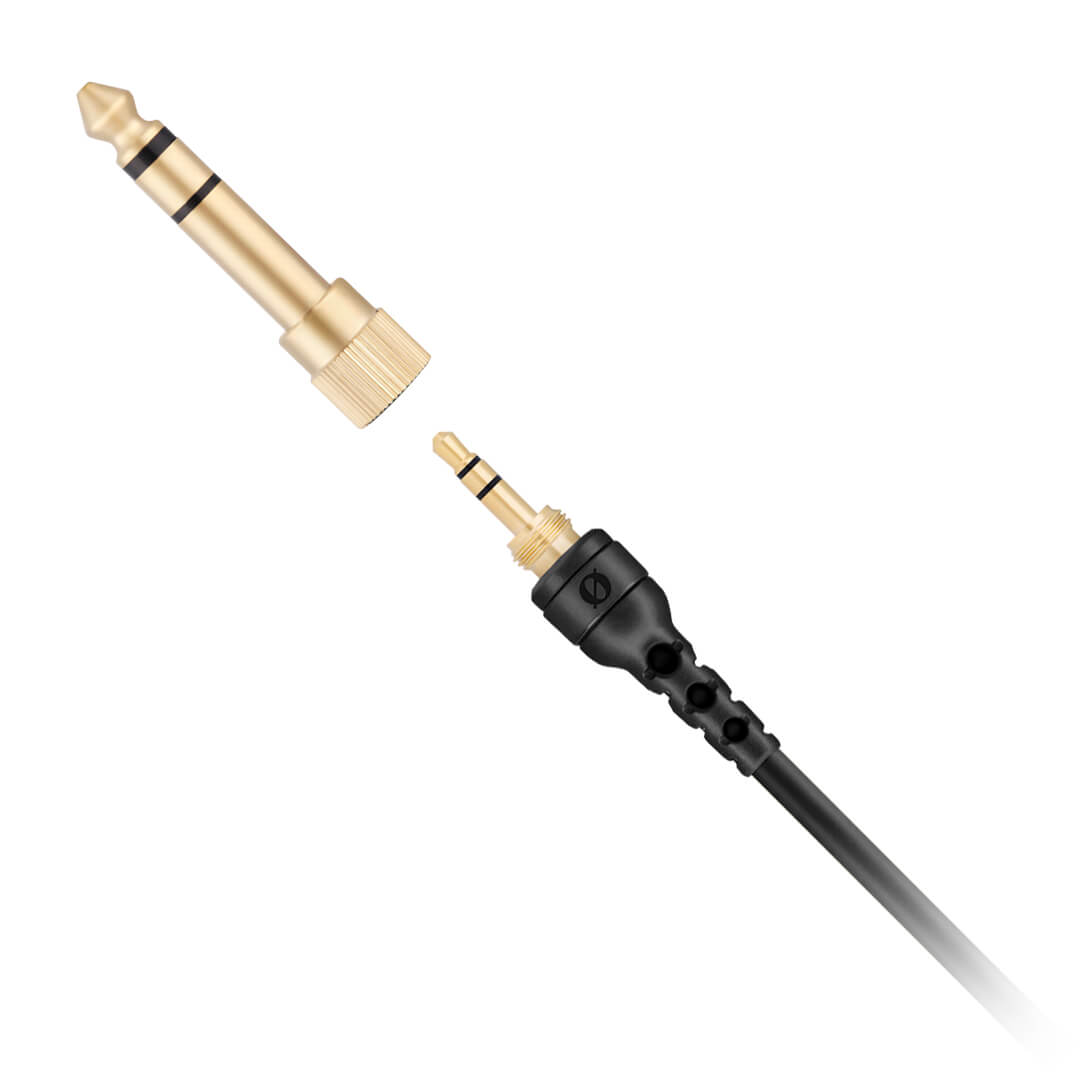
The NTH-100s are a low-impedance, high-sensitivity headphone, which means they can be used with virtually any equipment. This may mean a low volume setting on your amplifier could result in a loud signal – so turn down your volume to zero before plugging in the headphones, and then gradually raise the volume to the desired level.
Included in the accessory pack is a rubber seal for closing off the earcup socket that is not in use. We recommend using this at all times. Not only will it prevent dirt and debris entering the socket, but it also ensures that the frequency response is perfectly matched between left and right earcups for critical monitoring.
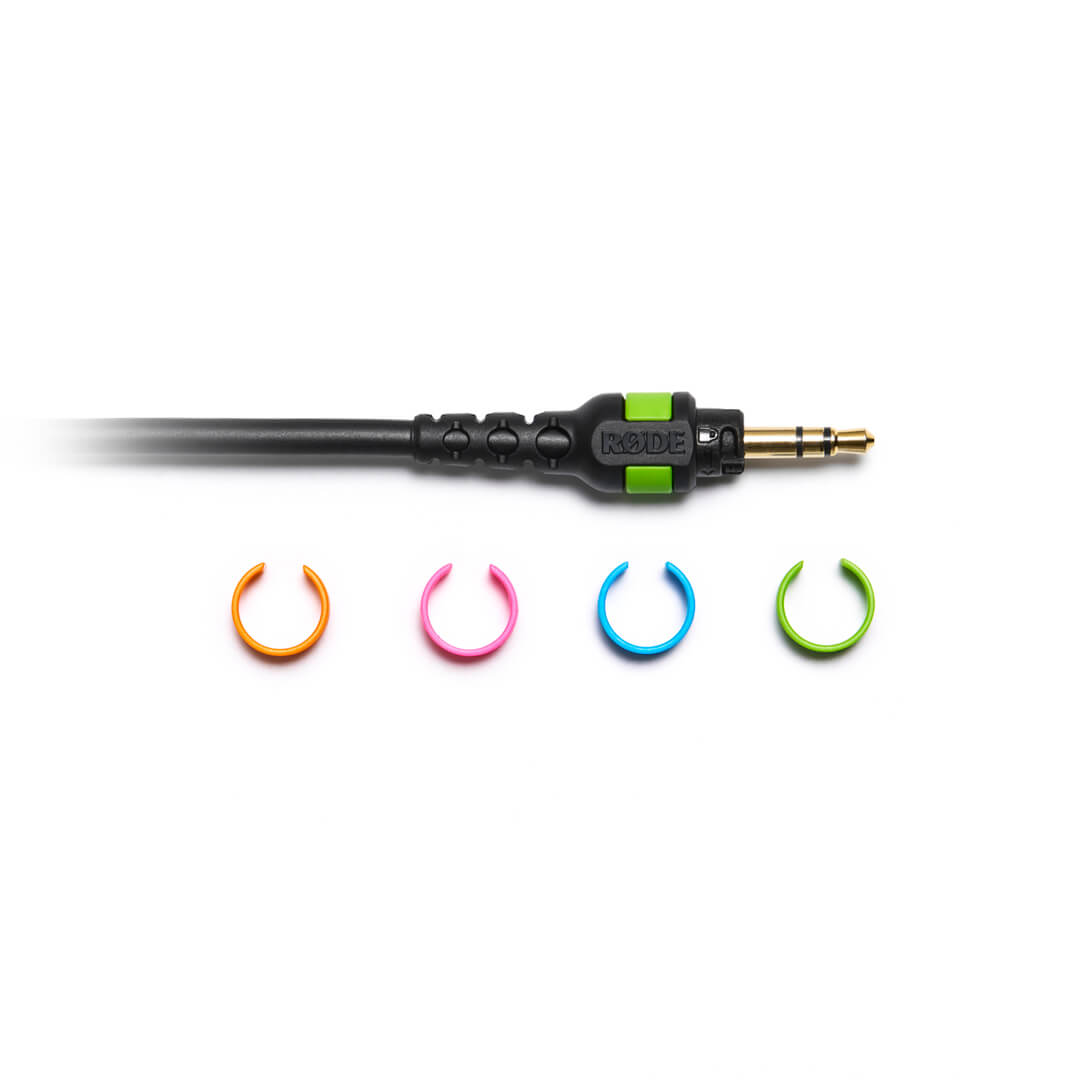
The NTH-100s come with a set of eight COLOR ID rings. These can be used for quick identification in setups where multiple pairs of headphones are in use. To use them, remove the black ID ring that clips around the body of the plugs at either end of the cable, and replace it with your preferred colour. Note that the colours match the channel ID colours used by the RØDECaster Pro and RØDE Connect.
The FitLok™ system allows you to set the NTH-100 headband size to your preferred comfort setting, and then lock this in place, meaning you never have to adjust it again. To unlock the headband adjustment, twist the locking cams clockwise. The earcups will now slide freely, allowing you to set them to your preferred position. Once you are comfortable, simply turn the cams counter-clockwise to lock the earcups into place
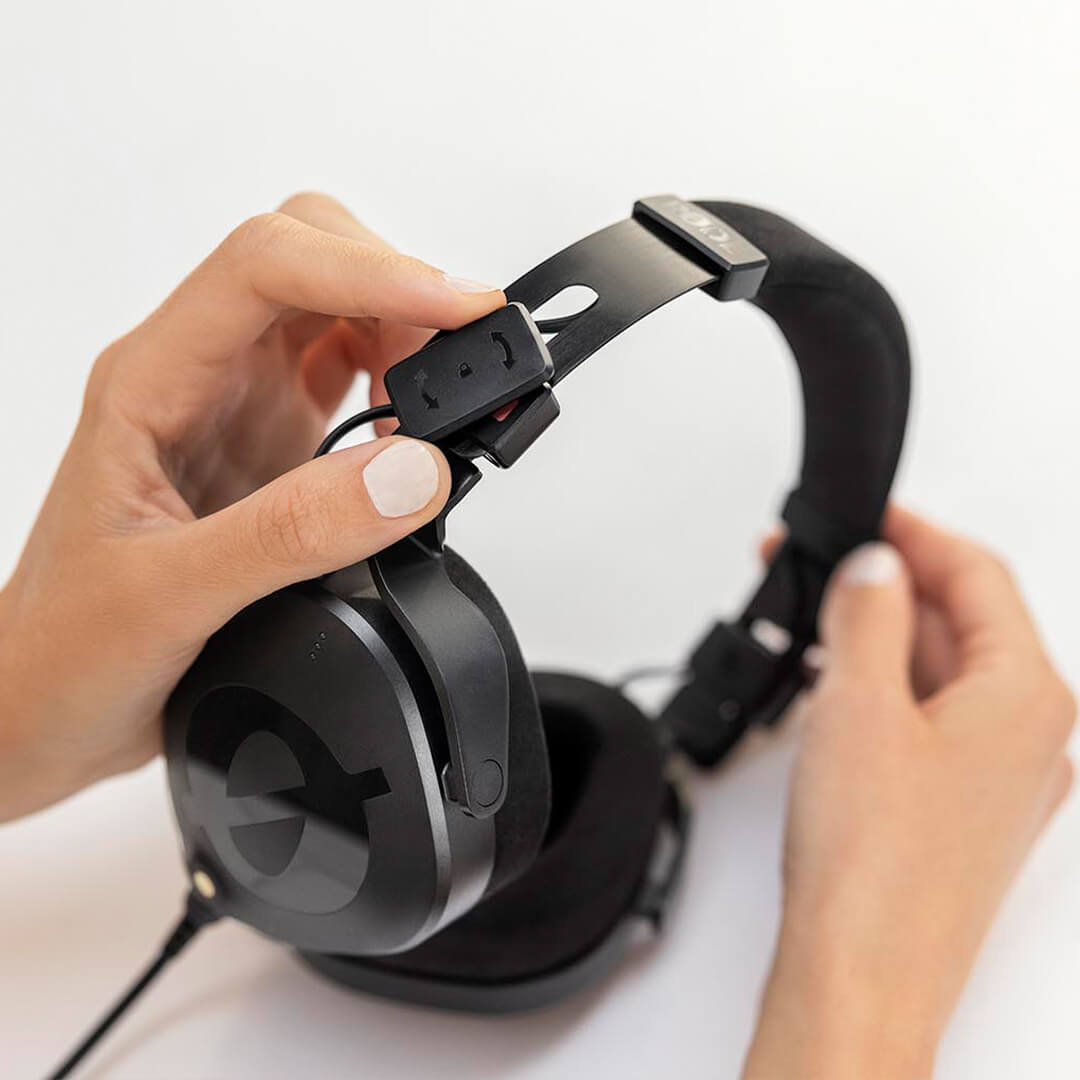
You can unlock and lock the Fitlok™ adjustment whilst wearing the NTH-100s for the optimal fit –perfect for long hours of content creation.
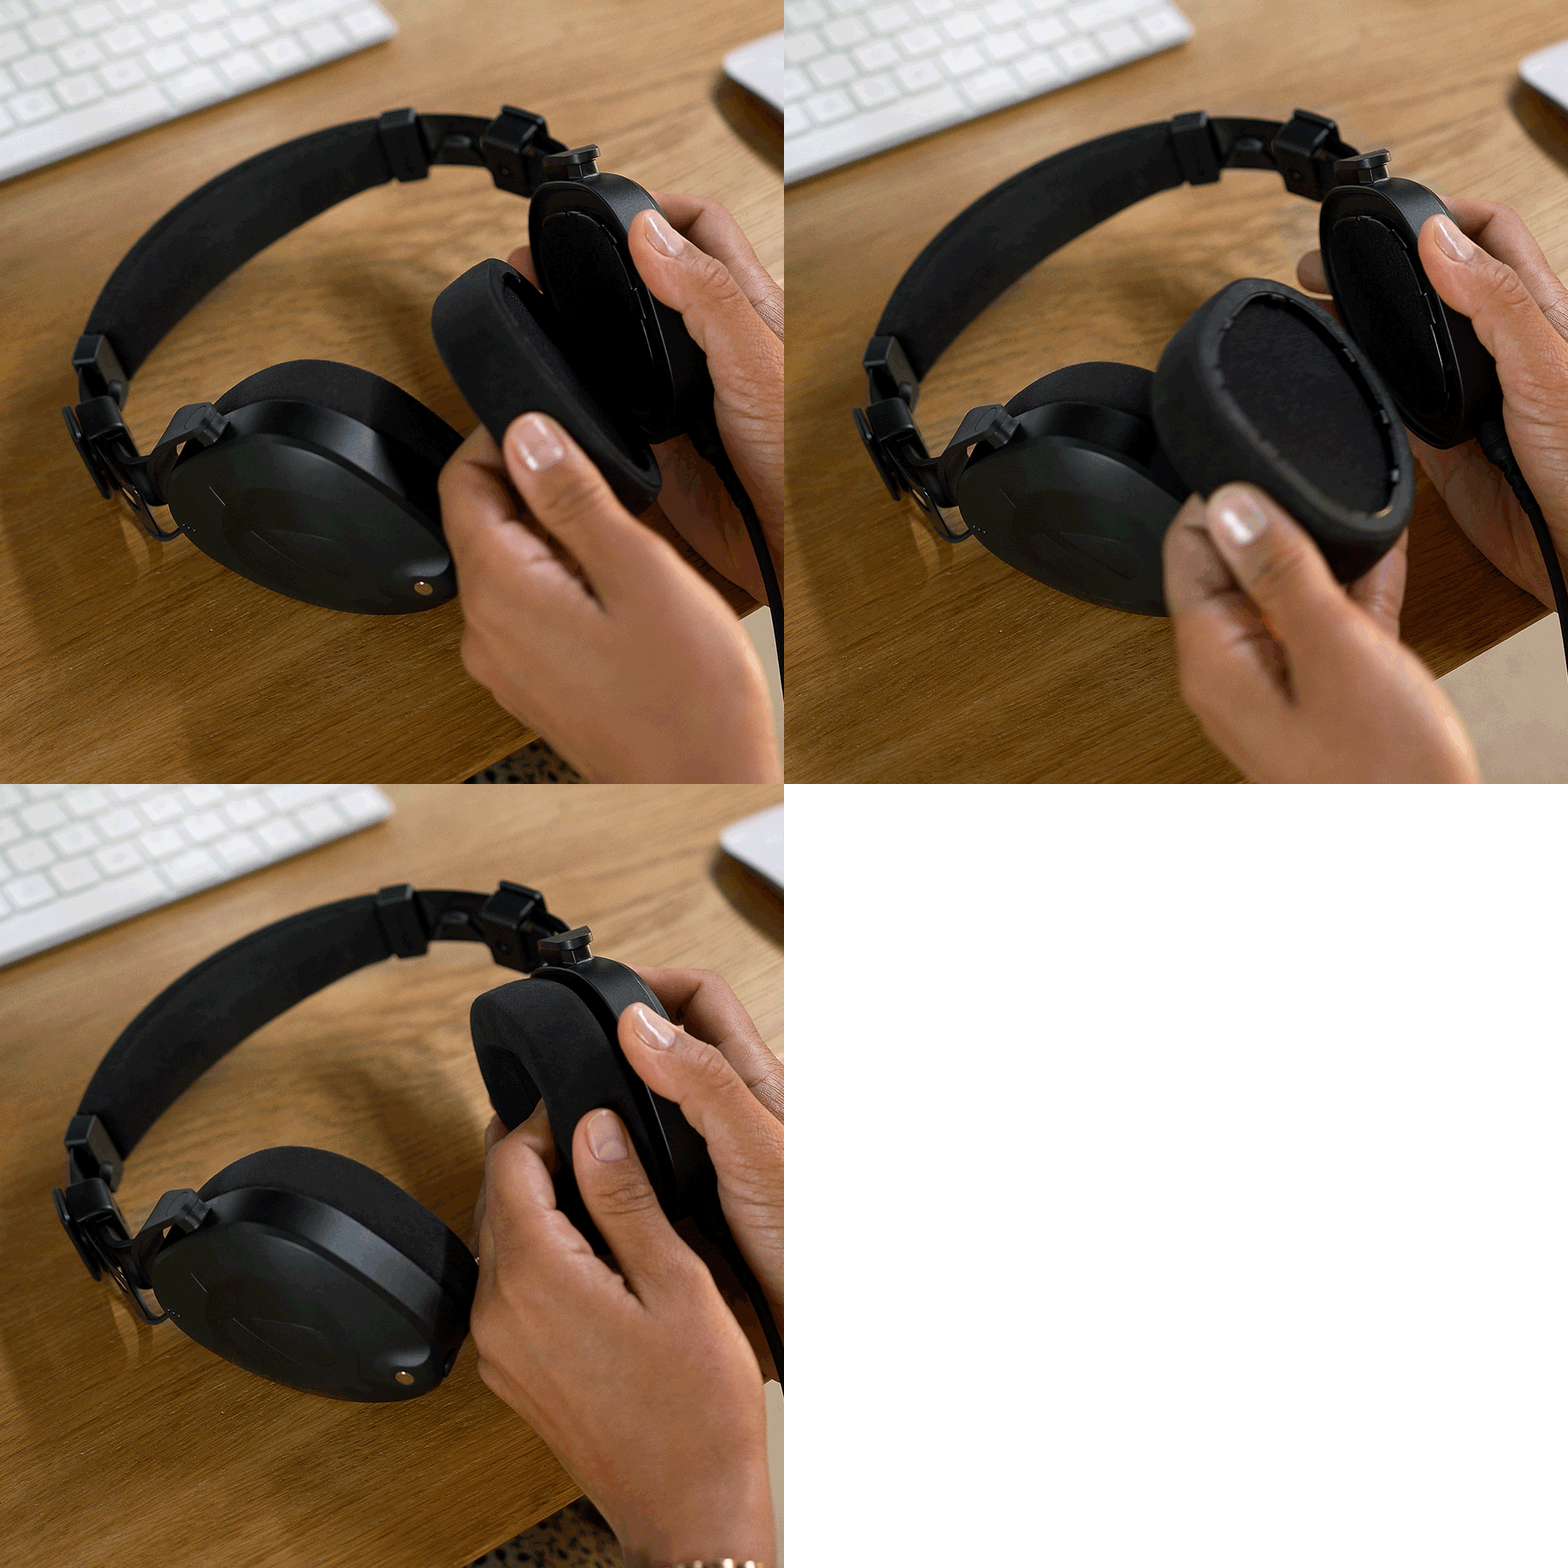
To remove the earpads from the headphones, simply pull them away from the earcup. To replace, push them back into place, working around the perimeter to ensure all the tabs are locked into place.
To remove the headband pad, slide the locking tabs on either side of the earpad away from the pad. You may need to push the locking tab from underneath to facilitate this. Pull off the lower cushion (held in place by Velcro), and then slide off the upper one. To replace, reverse the steps, ensuring that the locking clips are correctly positioned over the top of the ends of the cushions before sliding them into place, then make sure they click as they lock into position.
To clean the pads, simply wipe with a damp cloth. Do not immerse the pads in water, or use leather or suede cleaning products, as this may damage the pad. Replacement pads are available – please contact our service centre if you need new pads.
