Cómo Hacer que tu Podcast Suene Profesional

Released 14 Feb 2024, Last Updated 20 Mar 2024


¿Alguna vez has escuchado un podcast y te has preguntado cómo logran esa voz profesional estilo radiofónico? En este artículo, te guiaremos a través de todos los pasos que necesitas para conseguir ese sonido profesional para tu propio podcast.

Choosing a Recording Location

The first step is to consider the space in which you’re planning to record your podcast. Choose a room that’s furthest away from any noises like traffic, air conditioning or refrigeration, or possible interruptions like doors opening and closing.


Try to reduce reflections (or echos) as much as possible by using materials that can absorb sound, like curtains, blankets, carpet or acoustic panels on your walls and floor – even adding in some soft furnishings can help. Lastly, shut any doors or windows that you can to separate your recording space from any possible noises as much as possible.

Podcaster using PodMic, PSA1+ and NTH-100

El PodMic y el PodMic USB son micrófonos dinámicos diseñados específicamente para capturar un discurso rico y listo para transmisión, mientras rechazan sonidos de fondo no deseados.

The Best Microphone for Podcasting

The microphone you use plays a big part in the tone of your voice, and choosing one that delivers clarity and richness will go a long way in helping your voice sound more professional.


Dynamic microphones are ideal for most podcasters as their lower sensitivity means they pick up less background noise and are less likely to pick up the voice of your other hosts or guests. Examples such as the PodMic and PodMic USB are purpose-built for speech applications, and are excellent at capturing that rich, broadcast sound.


On the other hand, condenser microphones like the NT1 Signature Series are more sensitive and are great for capturing detail, but this increased sensitivity means that they’re more suited to rooms and spaces that are better soundproofed and treated.


Perfect Microphone Placement and Technique

Microphone technique is another key ingredient in capturing a professional sounding voice for your podcast – this includes mic placement relative to your mouth, and how you talk into it.


First up, you’ll need a tool to mount and position your microphone. For smaller setups, a desktop stand like the DS2 is ideal, offering a simple, compact and sturdy mounting solution. For longer-term setups with a little more space, studio arms like the PSA1+ offer ultimate flexibility and can be effortlessly and silently readjusted on the fly.

Podcaster using PodMic USB, DS2 and NTH-100

The DS2 is a compact desktop studio arm ideal for perfectly positioning your microphone, especially for smaller setups that you’ll be packing down or moving often.

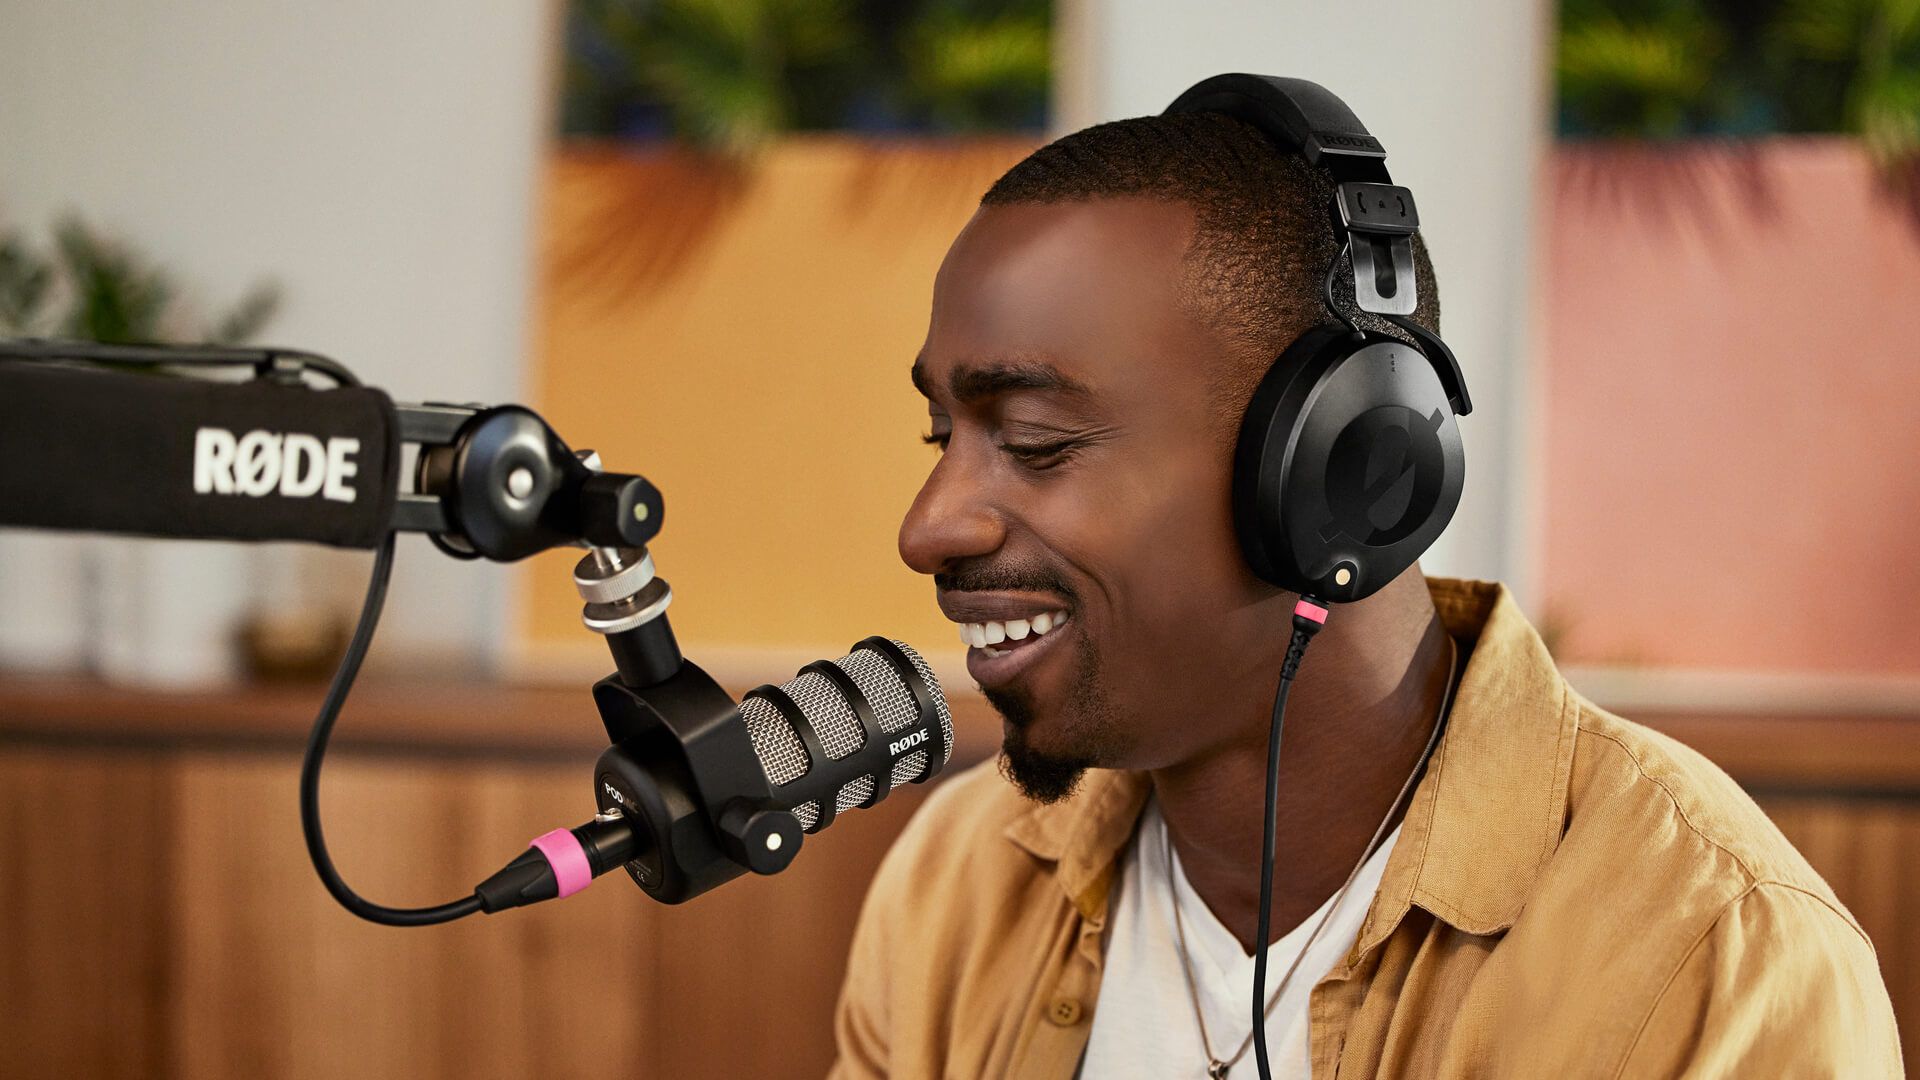
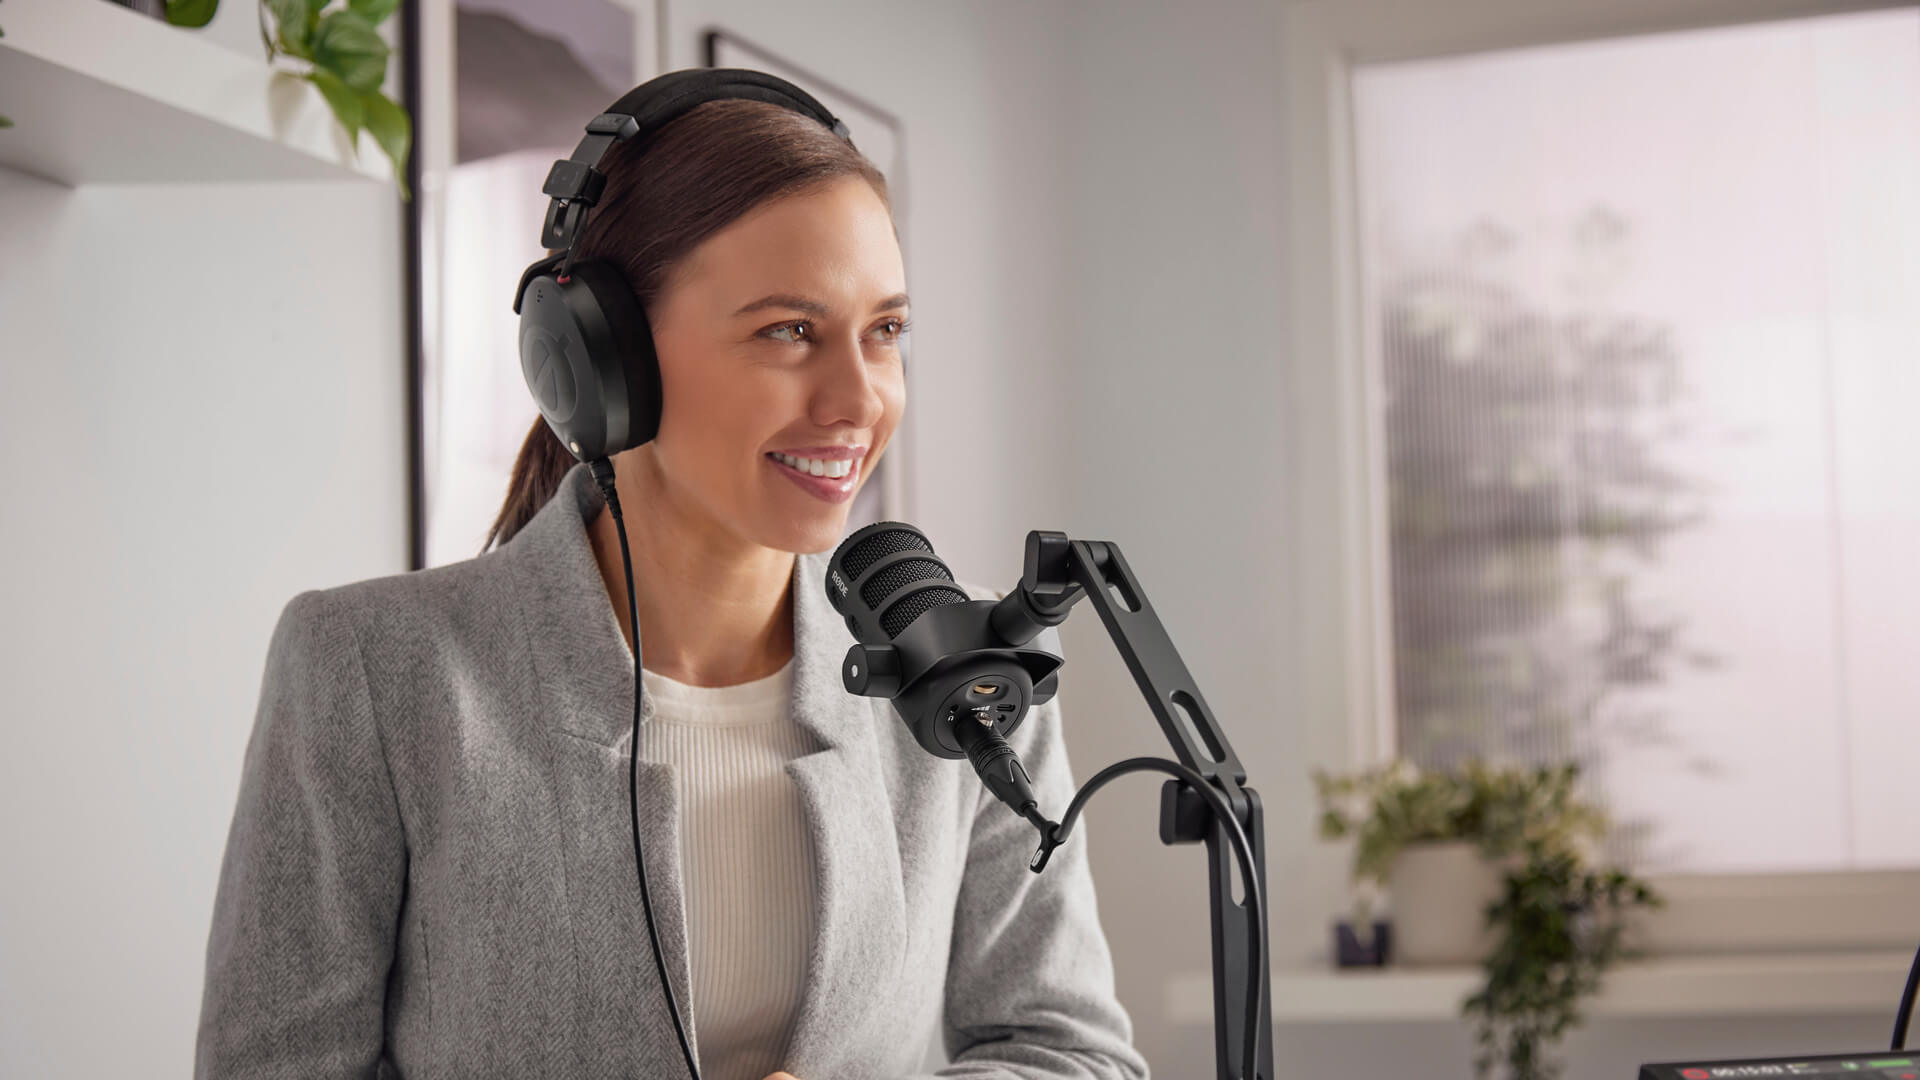
Check if you’re using an end-address microphone (like the PodMic) where the capsule is facing out towards the end, or a side-address microphone (like the NT1) where the capsule faces perpendicular to the microphone’s body.


You’ll want to speak towards the capsule but not directly into it – try talking on a very slight angle to prevent plosives (brief puffs of air that can distort the microphone capsule, formed by mouthing sounds such as the ‘p’ in ‘plosive’).


In terms of distance, position your microphone about 4 - 6 inches away from your mouth for dynamic microphones, or about 6 – 8 inches for condenser microphones, to avoid sounding distant and echoey.


You can speak closer to the microphone capsule to make use of the “proximity effect”, which enhances the low-end frequencies in your voice, but this can take some practice to avoid plosives. We also recommend using a pop filter over, or in front of your microphone to help tame these plosives even more.


Mixing and Monitoring

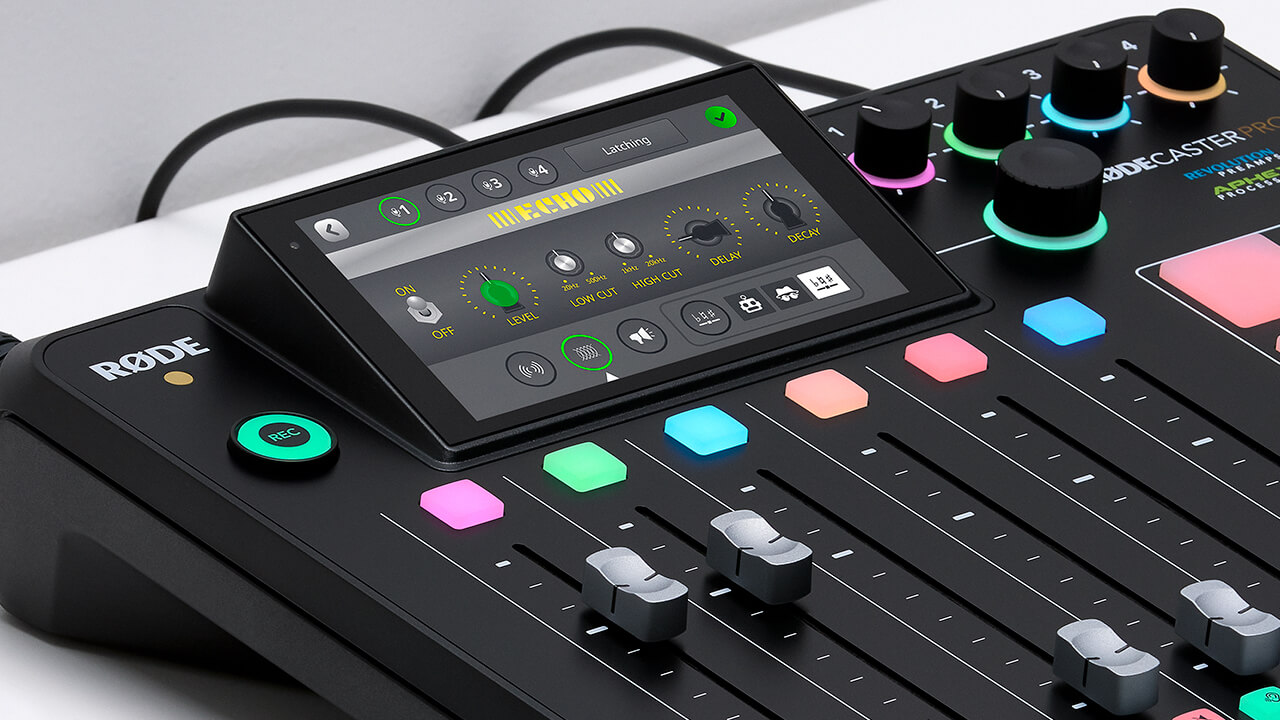
Setting and maintaining good recording levels is a critical component of professional-sounding audio. If your levels are too low, you may introduce background noise when trying to lift your audio later on, and if they're too high, you could end up clipping your audio and render it useless.


Take the time to set the gain level for each person speaking in your podcast, including phone calls or any other sounds you plan to have in your show. It’s best to first set your levels by rehearsing as if it were the final production, so nothing takes you by surprise.

Four-person podcast with PodMics, PSA1+s, RØDECaster Pro II and NTH-100s

Having all of your hosts and guests wear headphones for monitoring is highly recommended so everyone can hear they sound in relation to the rest of the podcast.

Una vez configurado, lo ideal es que un productor (o tú mismo) esté pendiente de los niveles mientras grabas, ajustándolos si hay algún problema. Es una buena idea que tú y tus invitados usen auriculares para que todos puedan escucharse en relación unos con otros. Procesamiento y Efectos Finalmente, hay mucha magia que puedes lograr con el procesamiento para dar vida a tu actuación vocal. El uso sutil de la ecualización, la compresión y otros efectos será muy útil para pulir tu sonido, y no necesitas ser un ingeniero de audio para lograrlo. Aunque todas estas herramientas se pueden aplicar dentro de una estación de trabajo de audio digital (DAW) en la fase de postproducción, una consola como la Caster Pro II o la Caster Duo te permite esculpir tu sonido en el momento de la grabación, lo cual es excelente para reducir el trabajo más adelante o si estás transmitiendo en vivo. Puedes usar la ecualización tanto para reducir frecuencias no deseadas en tu sonido como para realzar frecuencias que le den a la voz más claridad, riqueza y calidez. Por ejemplo, podrías querer aumentar sutilmente la voz alrededor de 1-2 kHz y nuevamente alrededor de 5-8 kHz para añadir más nitidez y claridad. También podrías necesitar reducir ligeramente algunas de las frecuencias medias-bajas alrededor de 250-400 Hz para hacer que el sonido sea menos "cajoso". Aumentar suavemente las frecuencias más bajas alrededor de 120-150 Hz puede darle al sonido más calidez, especialmente si la voz que estás grabando carece un poco de graves al principio. Obviamente, estas configuraciones variarán dependiendo de la voz, el micrófono y la técnica que se esté utilizando, pero son buenos puntos de partida para experimentar.
RØDECaster effects and processing controls

The RØDECaster Pro II and Duo feature a number of different processing and effect options that are super simple to dial in with presets, or fine-tune with granular controls.

Next up, compression. This is a tool that helps control the dynamics of your audio so that volume levels are more even and consistent throughout a recording. It catches and brings down loud jumps and boosts softer words or phrases so that everything can be heard clearly.


With EQ and compression, you can get much of the way to a professional sounding podcast voice, but there are many more processing tools that can aid in either correcting issues with your sound or enhancing it further.


These may include a de-esser, which is used to reduce harsh ‘s’, ‘t’ and ‘ch’ sounds in your voice, a noise gate which is used to reduce background noise in between words and phrases, and even exciters which uses harmonics to add more presence to your sound.


If you’d prefer not to tinker with the settings for effects and processing tools like these, you can use presets (such as those available on the RØDECaster range) to quickly get the sound you’re after.


Whether you’re just starting your podcasting journey or looking to take it to the next level, check out our wide range of podcasting equipment, including broadcast microphones, headphones, mounting arms and all-in-one production consoles.