当サイトの機能を維持するために必要なクッキーを使用しています。お客様の同意があれば、ユーザーエクスペリエンスの向上やウェブサイトのトラフィック分析のために、必要不可欠でないクッキーも使用する場合があります。 「すべて許可」をクリックすると、当サイトのクッキー使用に同意したことになります。詳細は、当サイトの クッキーポリシー.
「設定」をクリックすることで、いつでもクッキー設定を変更できます。
設定
すべて許可する
Best Seller
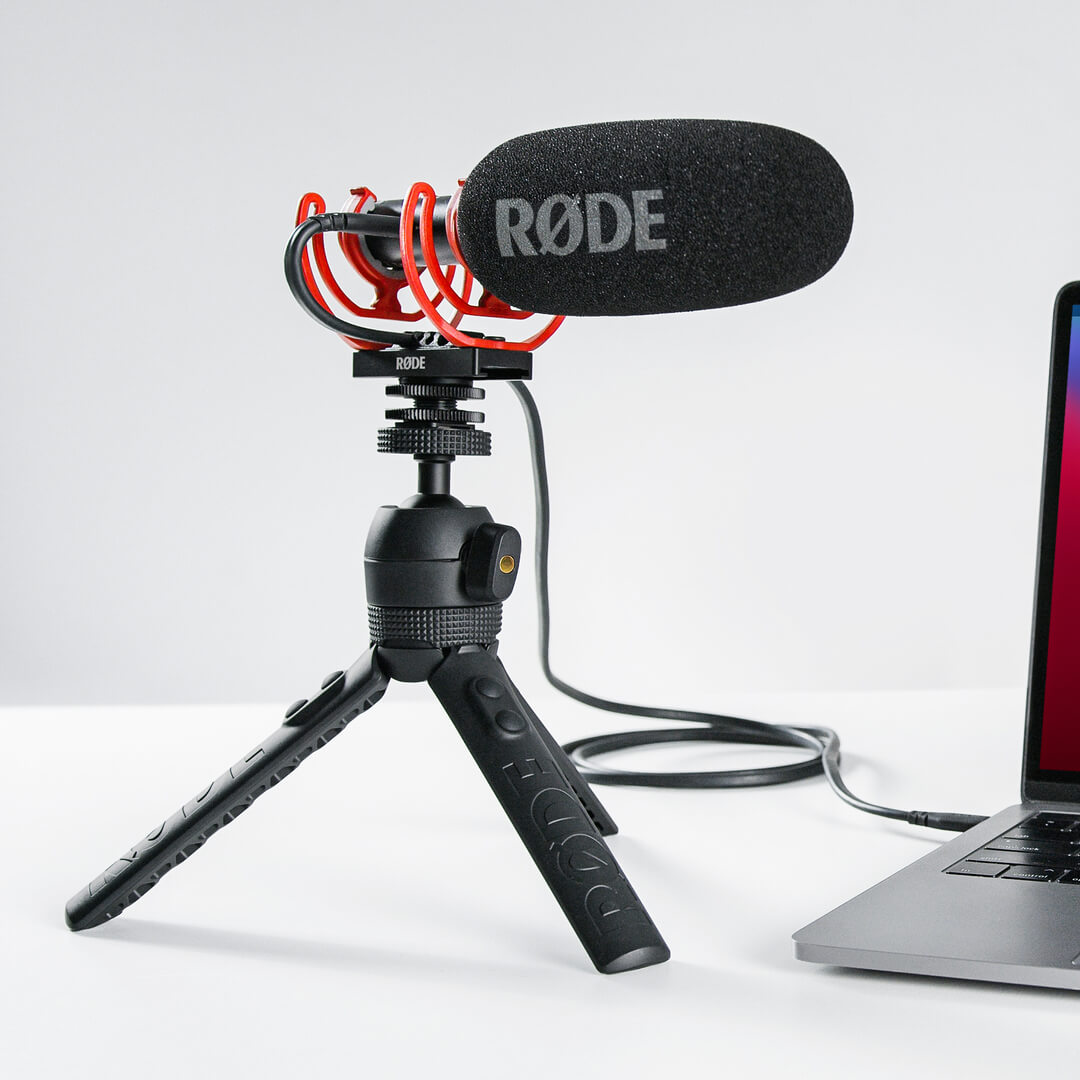
VideoMic NTGは、必要な場所で素晴らしいオーディオを提供する非常に汎用性の高いマイクです。カメラと一緒に使えば、放送局レベルの音声を現場で録音できます。スマートフォンやタブレットと一緒に使えば、外出先でもより鮮明な録音が可能です。ポッドキャスティング、ゲーム、音声通話など、デスクトップ用USBマイクとしてお使いください。マイク1本。無限の可能性。
卓越したサウンドだけでなく、さまざまなツールや機能を備えた VideoMic NTG は非常に柔軟性が高く、あらゆる撮影状況に対応できます。デジタルスイッチングにより、ハイパスフィルター(フラット/75Hz/150Hz)、クリアさとディテールを強調する高域ブースト、パッド(-20dBカット)、セーフティチャンネルが利用可能です。また、録音機器に合わせて出力を調整できる独自の無段階ゲインコントロール、カメラとモバイル機器の両方に接続できるオートセンス3.5mm出力(アダプターケーブルに煩わされない)など、便利なピーク警告灯を備えているので、オーディオが決してクリップせずに安定しています。

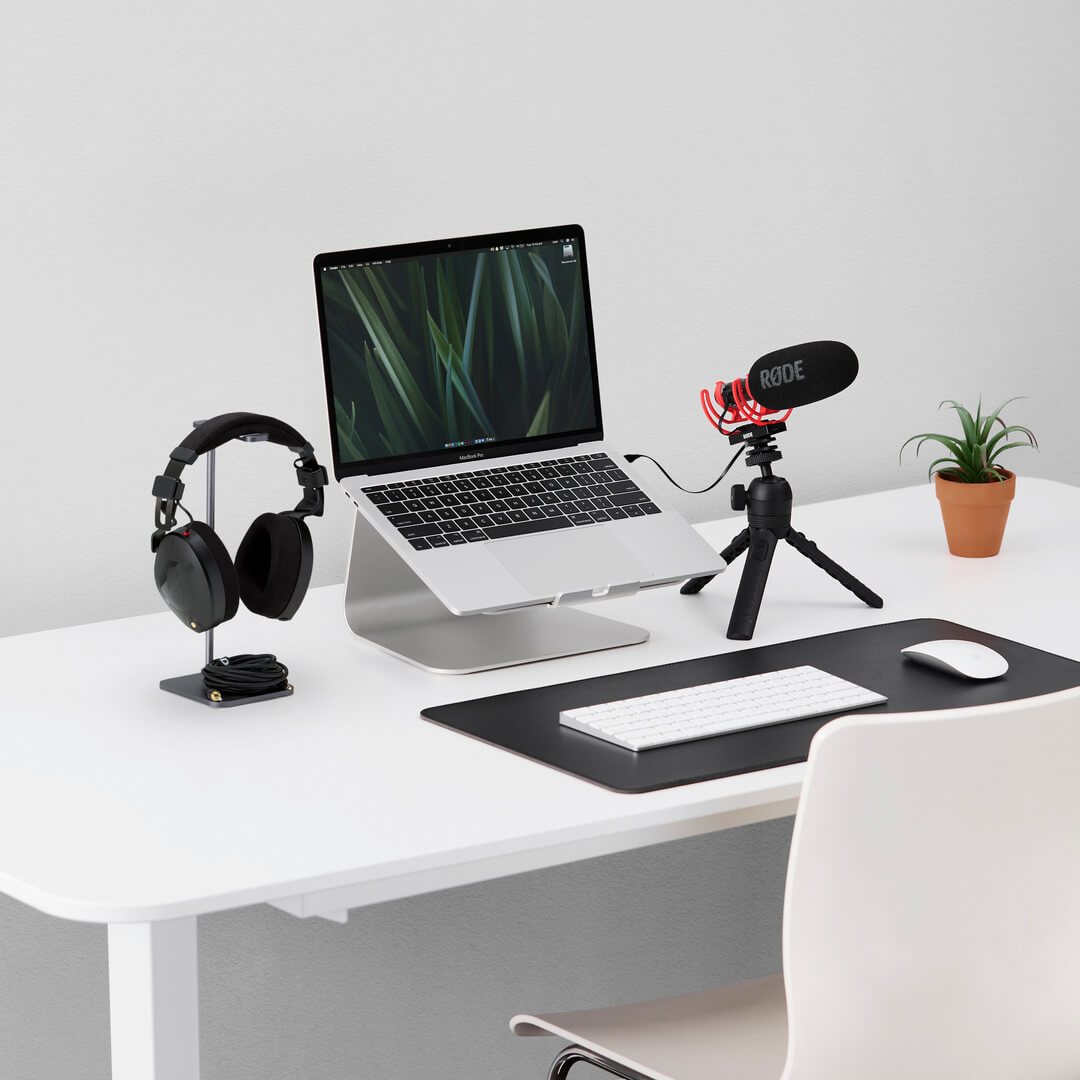
VideoMic NTGは、驚くべきオンカメラマイクであるだけでなく、コンピュータに接続できるフル機能のUSBマイクであり、ボイスオーバー、ポッドキャスト、ゲームやライブストリーミングの録音に最適です。USBモードでは、3.5mmジャックがヘッドホン出力となり、シームレスなオーディオモニタリングが可能です。また、VideoMic NTGはタブレットやスマートフォンとも相性が良く、モバイル端末をプロ品質のコンテンツ制作マシンに変身させることができます。

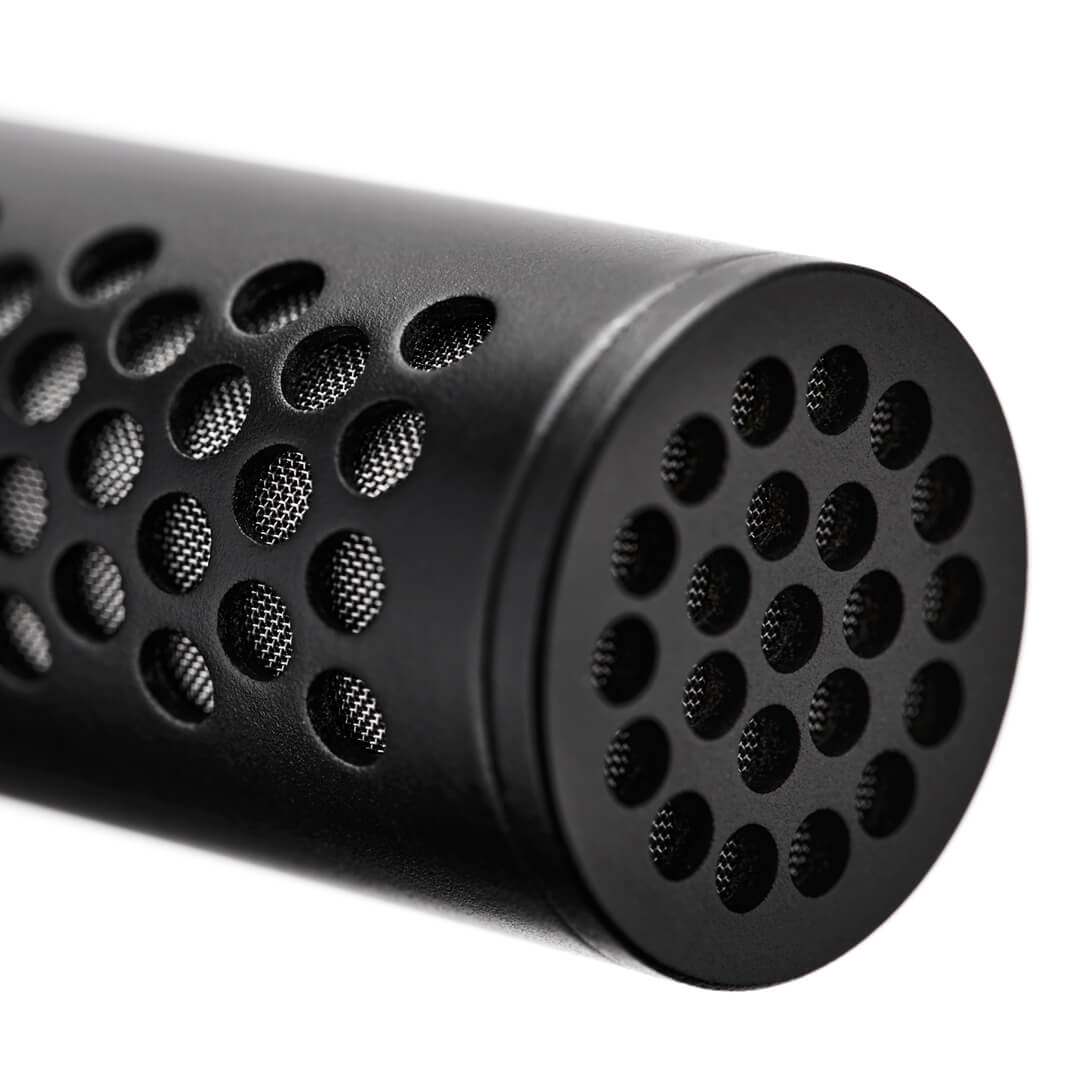
VideoMic NTG は、他のショットガンマイクやオンカメラマイクのような線形スロットの代わりに、マイクの側面に沿った音響穿孔を使用する、NTG5 と同じ環状ラインチューブテクノロジーが特徴です。この革新的な音響設計は、比類ない透明性と自然で癖のないサウンドを実現します。これに加えて、極めてフラットな周波数応答、高指向性スーパーカーディオイド極性パターン、非常に低い自己雑音などを特徴とした、世界最高のショットガンマイクと競い合えるコンパクトなオンカメラマイクです。

Discover everything you need to know about using your VideoMic NTG here. This comprehensive user guide covers everything you need to know from getting started, including an overview of all controls and functionality, to accessing advanced features and ensuring you can get the most out of your microphone.

 RØDE Central
Your VideoMic NTG firmware can be updated with RØDE Central on a computer. The option to update will appear as soon as your microphone is plugged in via USB.
Note: This feature is only possible when using RØDE Central on desktop.

WARNING (for California residents only): This product can expose you to chemicals including lead, which is known to the State of California to cause birth defects or other reproductive harm. For more information go to www.P65Warnings.ca.gov.
The auto-power feature was first introduced to the VideoMic range with the VideoMic Pro+. It is a handy function that automatically turns the microphone off when it detects that the camera is switched off, helping conserve battery life, and turns it on when the camera is turned on, so that you never have to worry about missing a take. The auto-power function only works if your camera delivers plug-in power (most do), as this is what tells the microphone if it is on or off, or if you are using the microphone in USB audio mode. The VideoMic NTG also features a power button, so that it can be manually powered on and off. Check out our list of cameras that deliver plug-in power here.
The auto-sensing output is an intelligent feature that seamlessly detects whether your microphone is plugged into a TRS input (like those on most cameras) or a TRRS input (what most smartphones and tablets have) and switches the output to accommodate. This means you don’t have to worry about using TRS to TRRS adaptor cables – the SC10 cable that accompanies the VideoMic NTG will work seamlessly with any device. However, if your device has a Lightning® connector or anything other than a 3.5mm input, you will need to use an adaptor.
The infinitely variable gain control is a knob on the rear of the microphone that allows you to precisely tailor the output level to your recording device. This is an active control that has a greater output range than any other microphone on the market – it can deliver anything from mic level signal all the way to a headphone level output, which is particularly useful when using the 3.5mm jack as a headphone output. Where other microphones simply employ a pad to adjust the output, the VideoMic NTG’s control also actively amplifies the signal at various gain stages, resulting in a cleaner audio with a vastly improved signal-to-noise ratio (it essentially does all the hard work so your camera’s lower-quality internal preamp doesn’t have to, lowering the noise floor of your signal).
2 hours from empty to full.
When connected to a camera or smartphone, we recommend you turn down the gain of your camera to (or close to) its lowest setting, and turn off any automatic gain controls that may be activated. Then, starting from the lowest setting, turn up the infinitely variable gain control on the VideoMic NTG until your meters are showing a good level (usually just starting to touch the yellow, or about halfway) when recording your expected sound source. Where possible, monitor your audio using headphones, to ensure your sound is clean and clear.
The first is the infinitely variable gain control on the rear of the mic, which delivers a wide output range (numbered 1–15). You can use this to precisely tailor the output level to best match for your device.
The next button is the power/function control. By default, the mic will auto-power on when connected to a device and power off when disconnected from a device, but you can also turn the mic on/off manually by holding this button for three seconds. A single press on this button will engage the -20dB pad (left LED illuminates), another press will engage the safety channel (left LED off, middle LED illuminates), and third press will engage both functions (left and middle LEDs illuminate). A final press will disengage both functions. The right LED is the dB peak warning light, which will illuminate red when the mic’s internal preamp is clipping, at which point the pad should be engaged.
The final button is the filter control. Pressing this once will engage the 75Hz high-pass filter (left Led illuminates). Pressing it again will select the 150Hz filter (middle LED illuminates). A third press will disengage the high-pass filters (left and middle LEDs off). A long press (3 seconds) will engage the high frequency boost (right LED illuminates). This can be used in conjunction with the high-pass filters. Another long press will disengage the high boost.
There is also battery power status indicator. Green indicates the battery is fully charged, amber indicates medium charge, red indicates low charge, and blinking red indicates very low charge.
This LED also indicates charging status when the mic is connected to a power source. When connected to a computer, green indicates it is fully charged; blue indicates it is charging. When connected to a power bank or USB power adapter, the LED maintains the red/amber/green behaviour above. If the power LED triple blinks red, this means that mic has detected it is outside its operating temperature range.
The VideoMic NTG has extremely low self-noise for a microphone of this type (15dBA). All the RØDE VideoMics have extremely low self-noise. In fact, the VideoMic Pro and VideoMic Pro+ are actually slightly quieter than the VideoMic NTG. It’s worth comparing the VideoMic NTG to other on-camera microphones for reference as to how quiet all RØDE microphones are.
Yes, this is the same for the VideoMic NTG. We’ve designed the output level to be similar to the VideoMic Pro+ when the gain knob is set to 10. This is the best place to start with any device, then adjust the level up or down from there. With any VideoMic, the best results are generally achieved when the camera preamp is being driven as little as possible.
There isn’t a standby mode on the VideoMic NTG. It's either off and not drawing any power, or it’s completely on. When the microphone is off, it will last months without the need to charge.
There is no difference in the sonic characteristics of the safety channel, it is just 20dB lower than the main channel. However, when you boost the safety channel in post-production, you may notice some preamp noise from your camera which may affect the perceived audio quality. The safety channel should ideally be used to replace the small piece of audio that has clipped, and it’s best to blend the audio in and out quickly to reduce any noticeable quality change.
All RØDE microphones are tested extensively for interference from a wide range of devices. We make sure that the bodies are extremely well shielded and that the electronics aren’t susceptible to interference. Our state of the art RF test facilities allow us to put microphones through a wide range of RF simulations, which ensures our designs are robust and highly resistant to RF interference.
The internal battery is not user-replaceable. However, the VideoMic NTG has a 10-year warranty once it has been registered. If there are any issues with the battery within this time frame, simply contact the RØDE support team and we'll happily help out.
To connect your VideoMic NTG to a Lightning-equipped iOS devices, such as an iPhone, iPad or iPod, you need to use the RØDE SC15 cable. Use this to connect the USB-C output of the microphone to the input of your device (please ensure you've updated your VideoMic NTG to the latest firmware to allow for this connection – you can download this here). You can also plug your VideoMic NTG into an iOS device using the 3.5mm output, however, using the USB-C output with the SC15 gives you access to a host of features including headphone monitoring, the safety channel, and two-way audio transmission for making video calls. We highly recommend this option.
The VideoMic NTG is a class-compliant device and will work directly with your computer or tablet PC. As a class-compliant USB device, you don’t need drivers or software for it to work. Simply plug it into your device, set it as your input source in your system preferences or recording software settings, and hit record.
The VideoMic NTG is compatible with most Android smartphones that have USB-C. Compatibility depends on your smartphone manufacturer.