Setting up Microphone Channels
Now that you’ve mastered the basics of your RØDECaster Pro, it’s time to learn more about setting up your microphone channels.
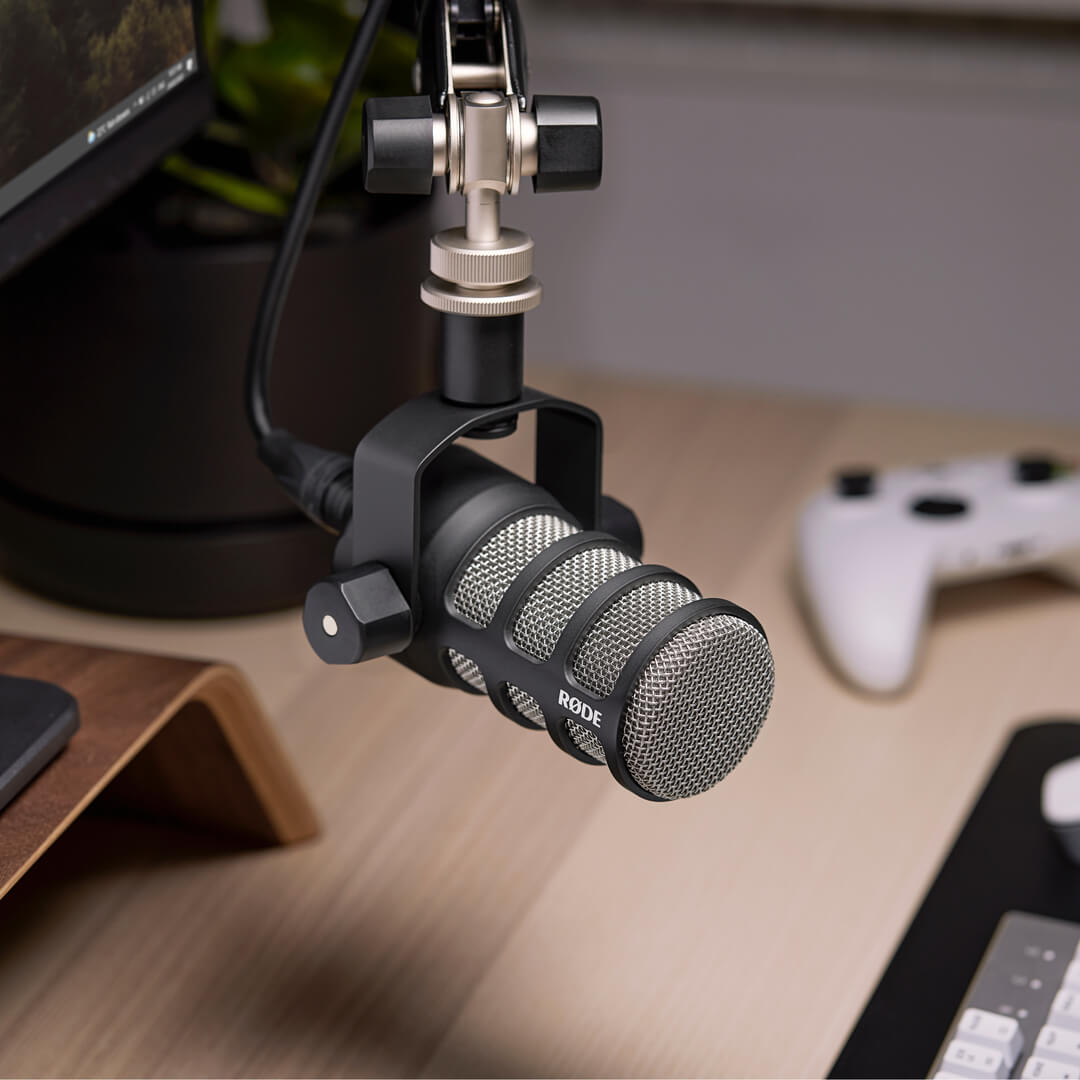
The RØDECaster Pro has four XLR channels for plugging in four microphones. You can use any microphone with the RØDECaster Pro, as long as it can be connected to an XLR input (USB microphones like the NT-USB Mini cannot be used with the RØDECaster Pro).
These four XLR inputs are found at the back of the unit and correspond to the first four channels on the mixer, which have their own dedicated colour. When it comes to most settings, these channels are identical, and the instructions below can be applied to any of the channels individually. We’ll use Channel 1 as an example.
Connecting Your Microphone
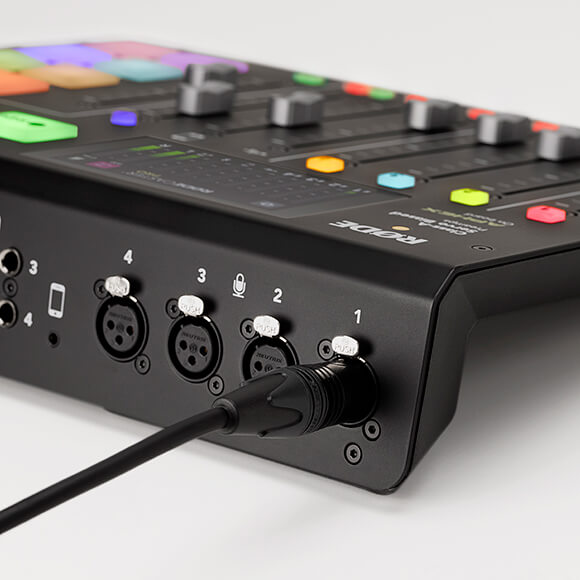
To start, plug your microphone into the XLR input marked ‘1’ on the back of the RØDECaster Pro using a standard XLR cable. We also recommend plugging in headphones or speakers, so you can hear your audio. If you’re listening back on speakers, ensure the fader for Channel 1 is turned all the way down before plugging in to avoid any feedback.
Basic Microphone Settings
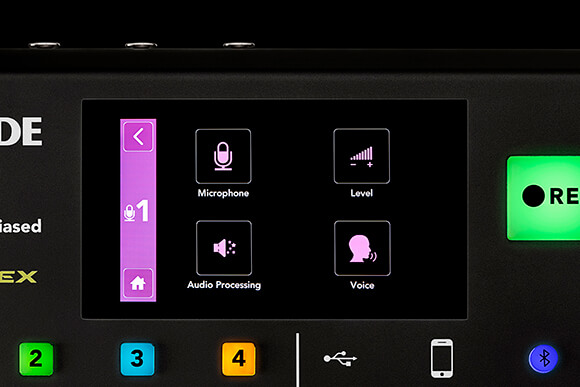
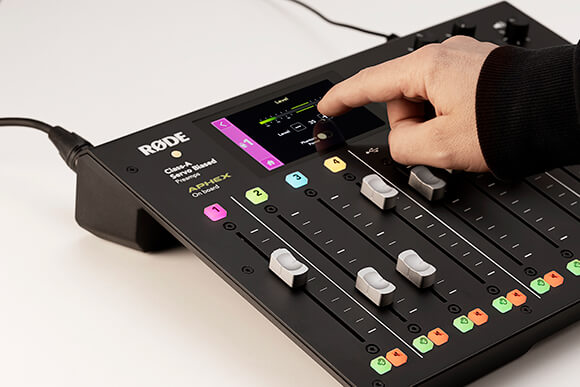
To access the microphone settings, push the numbered button above the channel you want to edit (alternatively, tap the ‘Settings’ cog on the home screen, tap ‘Channels’, then tap the channel you want to edit). From here you will be presented with four different sub-menus.
Microphone
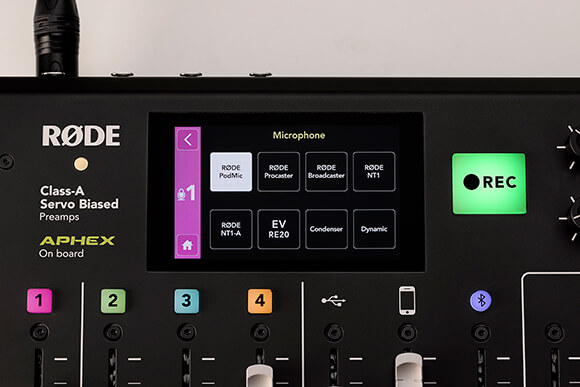
These settings let you tailor the channel for the microphone that is plugged into it. There are presets for five popular RØDE podcasting mics: the PodMic, Procaster, Broadcaster, NT1, NT1-A, as well as the Electro-Voice RE20. If you aren’t using one of these microphones, there are universal presets for condenser and dynamic microphones. Select one that best matches the microphone you are using.
Level Settings
This menu is where you set the gain for the selected channel. The control in this menu does a slightly different job to the fader on the front panel of your RØDECaster Pro. The fader allows you to control the volume of the channel in your podcast whereas the gain ensures that your voice will be loud enough but not distorted, and give you the best quality.
To get a good level, start talking into your mic at a natural volume (not yelling or whispering). You'll see the meter on the screen lighting up. Adjust the level '+' and '-' buttons so that when you are talking, the meter is reaching into the area indicated by the green lines. If you need to turn on phantom power for your condenser microphone, you can switch this on or off on this menu too, although this should not be necessary if you selected the right mic preset.
Now that your microphone is selected and your gain is set, you're ready to optimise the mic channel for your voice type.
Voice Settings
This setting lets you tailor the RØDECaster Pro to the type of voice you or your guest has. There are options for ‘Tone’ (‘Deep’, ‘Medium’, ‘High’) and ‘Strength’ (‘Soft’, ‘Medium’, ‘Strong’). Choose the two options that best describe your voice.
Audio Processing
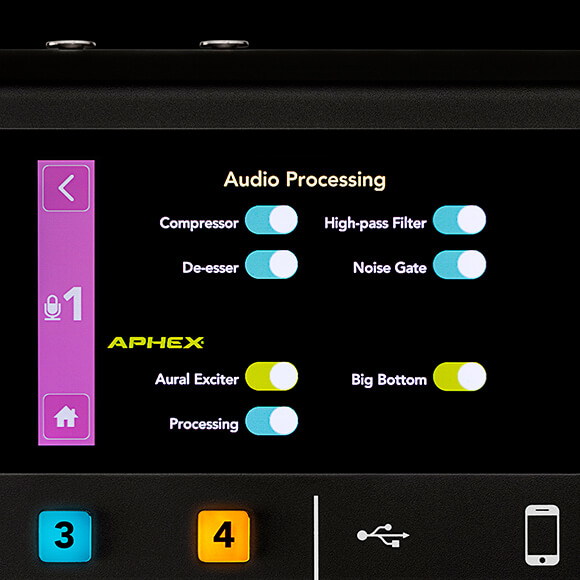
Finally, there’s the processing and effects – this is where you can really craft your voice to make it sound perfect for podcasting. To access these, tap on ‘Audio Processing’ within the channel settings menu.
Here you have access to a compressor, de-esser, high-pass filter, noise gate, plus the APHEX Aural Exciter™ and Big Bottom™ – two legendary audio processors found in the world’s best recording and broadcast studios.
In the video below, we’ll give you a quick overview of what each of these processors does and how to use them. To learn about the advanced versions of these effects and processors, head over to the Using Advanced Processing and Effects page.
Final Tips on Setting up Microphone Channels
There’s an extra processor that can be extremely useful when podcasting called “Ducking”. When switched on, it will turn down all other channels on the RØDECaster Pro whenever the host on Channel 1 is speaking. This is handy for making sure that the host can be heard over all other sound sources in a busy podcast. To turn this on, go to ‘Settings’ > ‘Advanced’ > ‘Audio’ > ‘Processing’ and tap on ‘Ducking’.
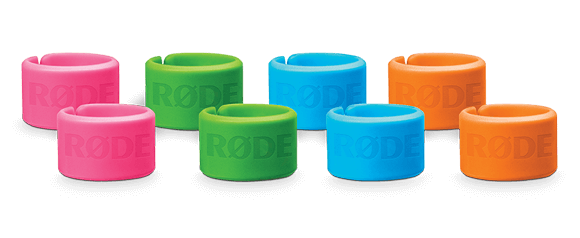
Use the XLR-ID to keep your cables organised. These are a set of eight colour-coded ring attachments for your XLR cables so you can easily identify which microphone is plugged into which channel.
Mute and Solo Buttons
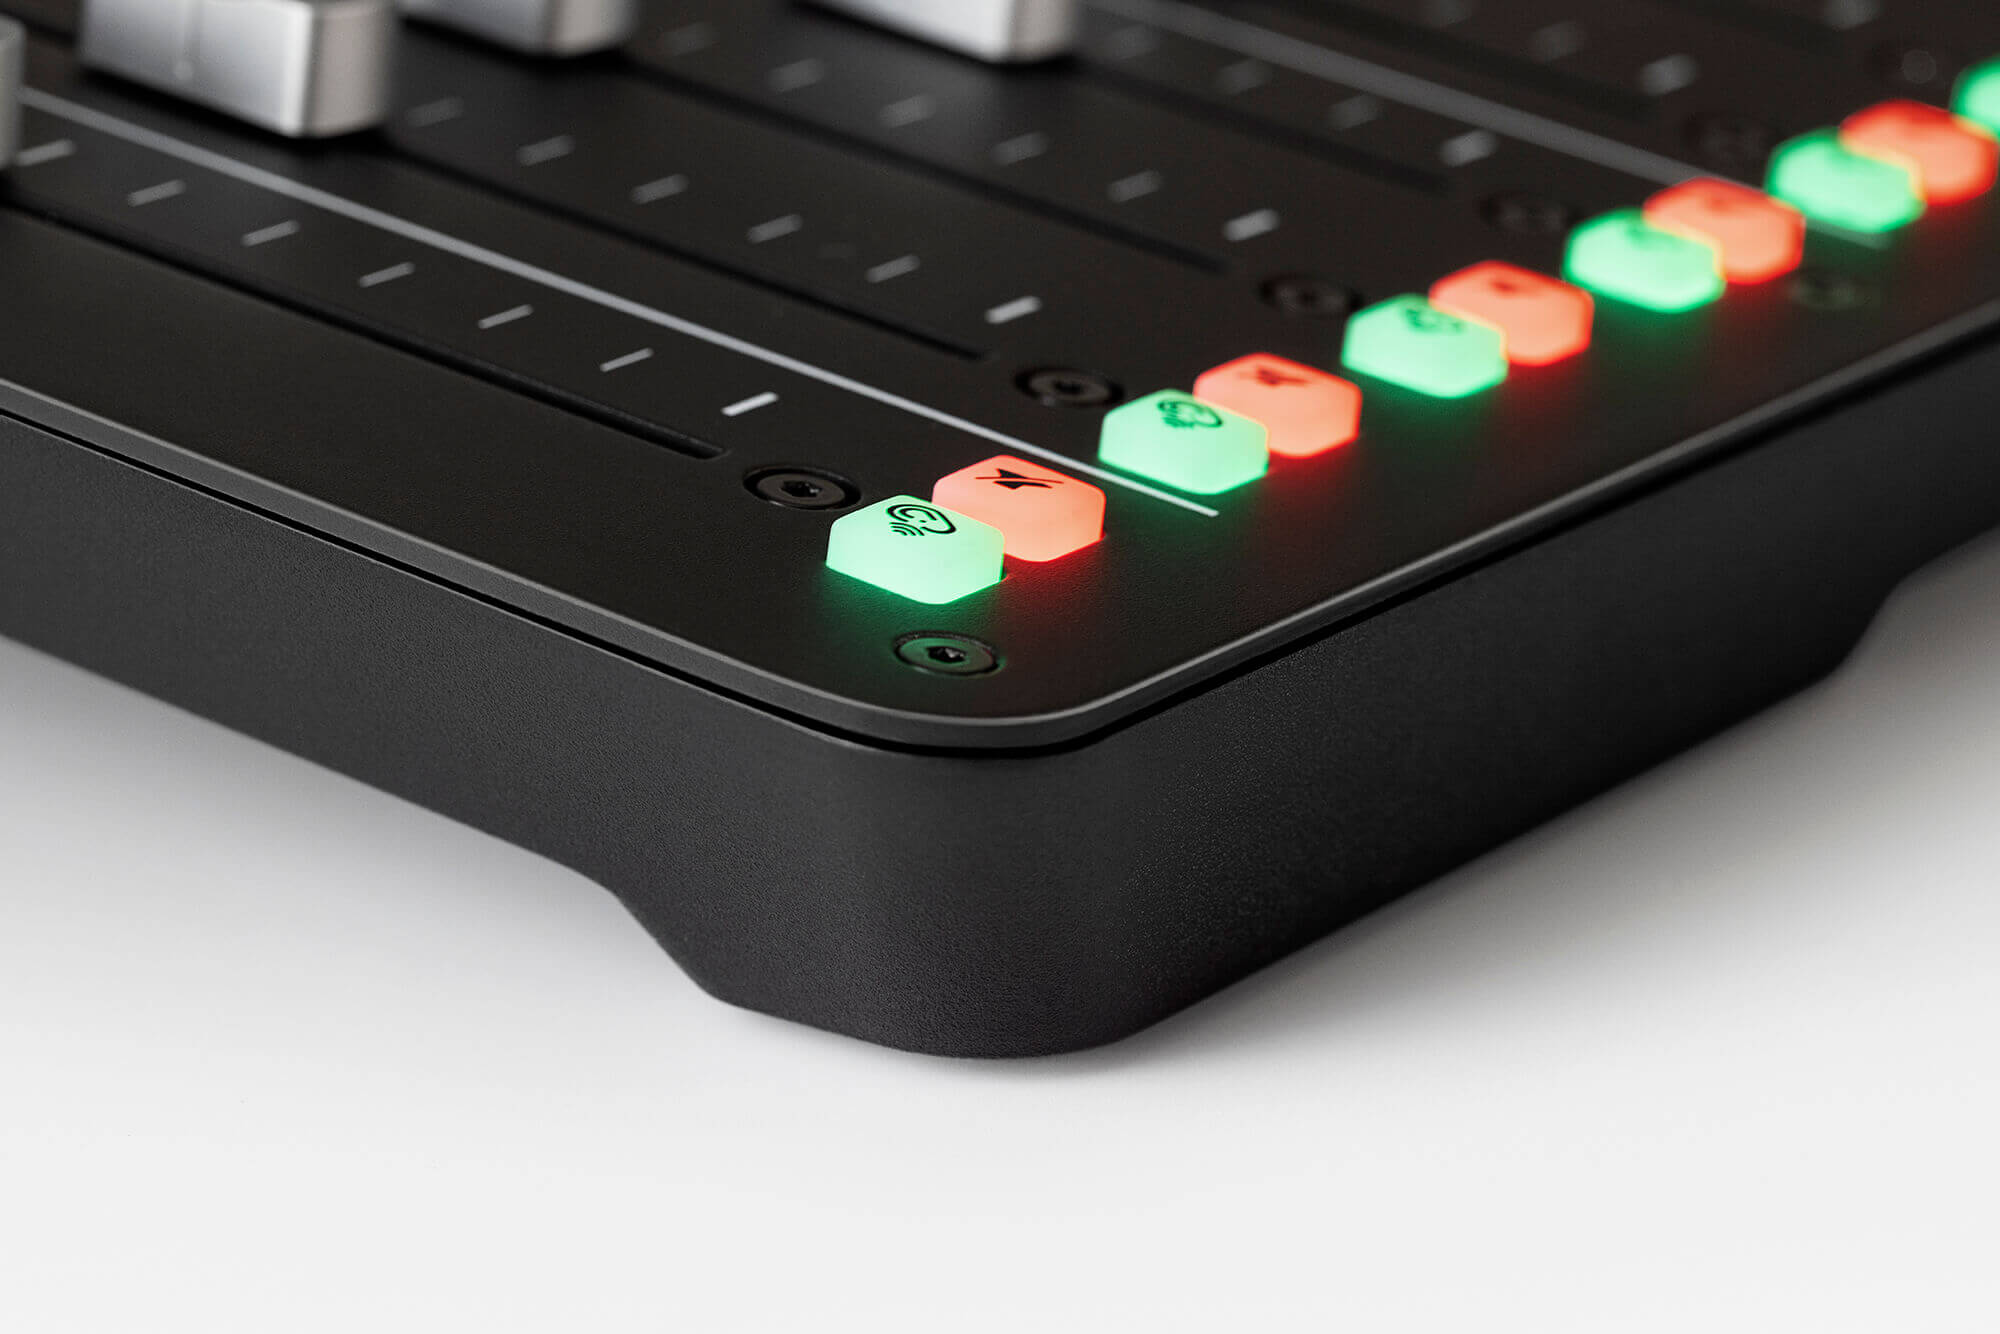
Each microphone channel also has a mute and solo button. The mute button is handy in case a channel begins to feedback, or if you need to silence one of your guests. The solo button allows you to quickly listen to a single channel without having to mute all the other inputs.
Always make sure that, as the host, your headphones are connected to Headphone Output 1 or the 3.5mm headphone output on the front of the unit in order to hear the solo and mute buttons properly.
Pro Tip
If you can’t hear your podcast playing back through the RØDECaster Pro, there’s a good chance one of your solo buttons is engaged.