Features
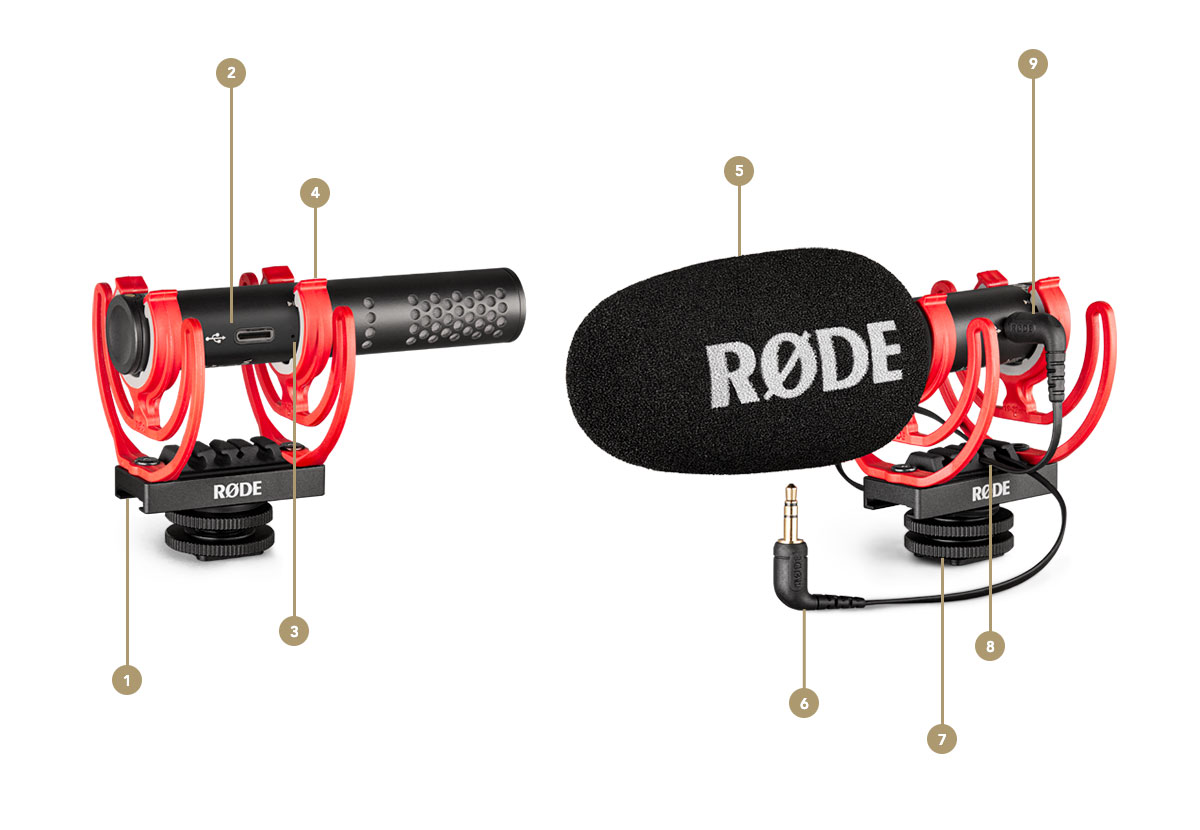
1Sliding Rail
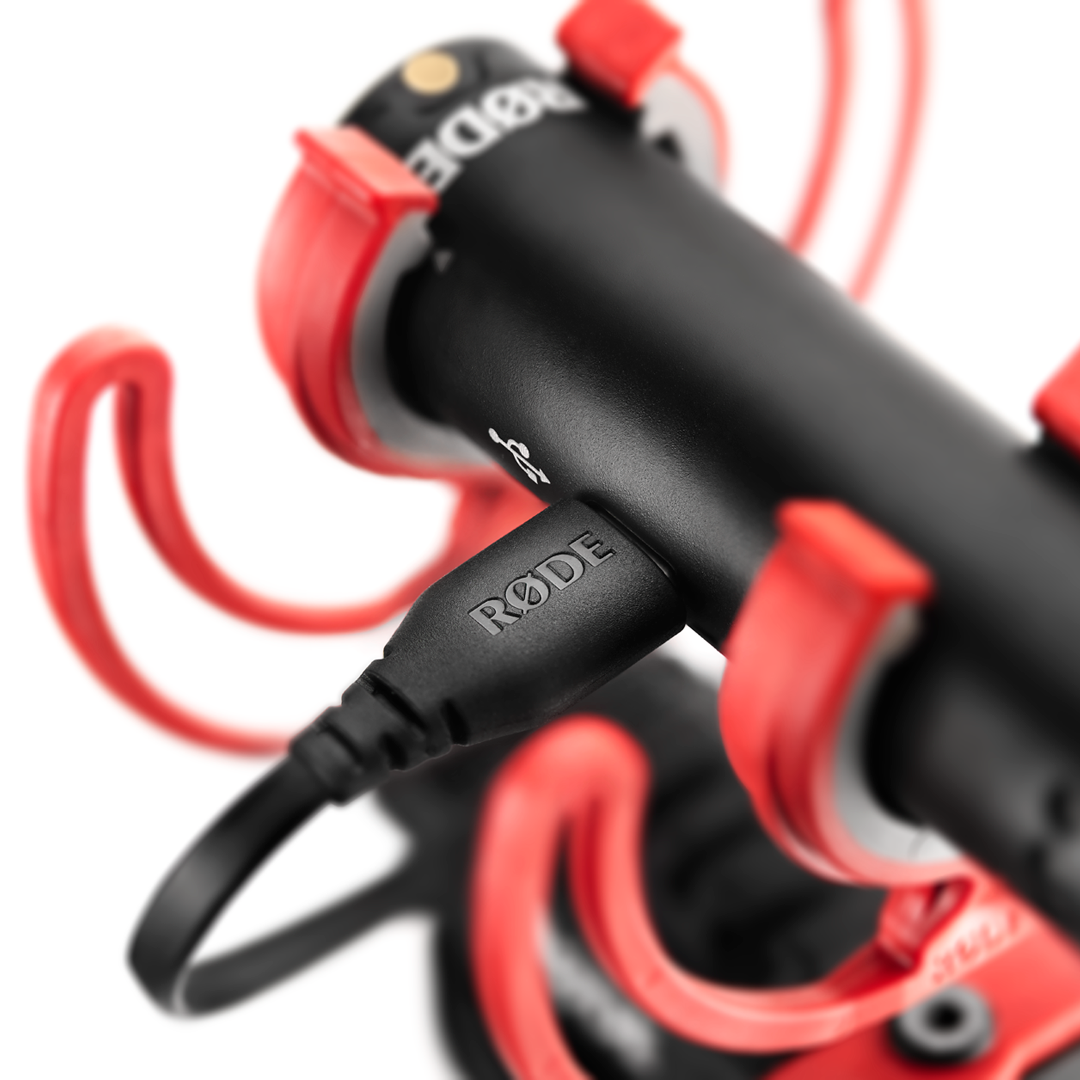
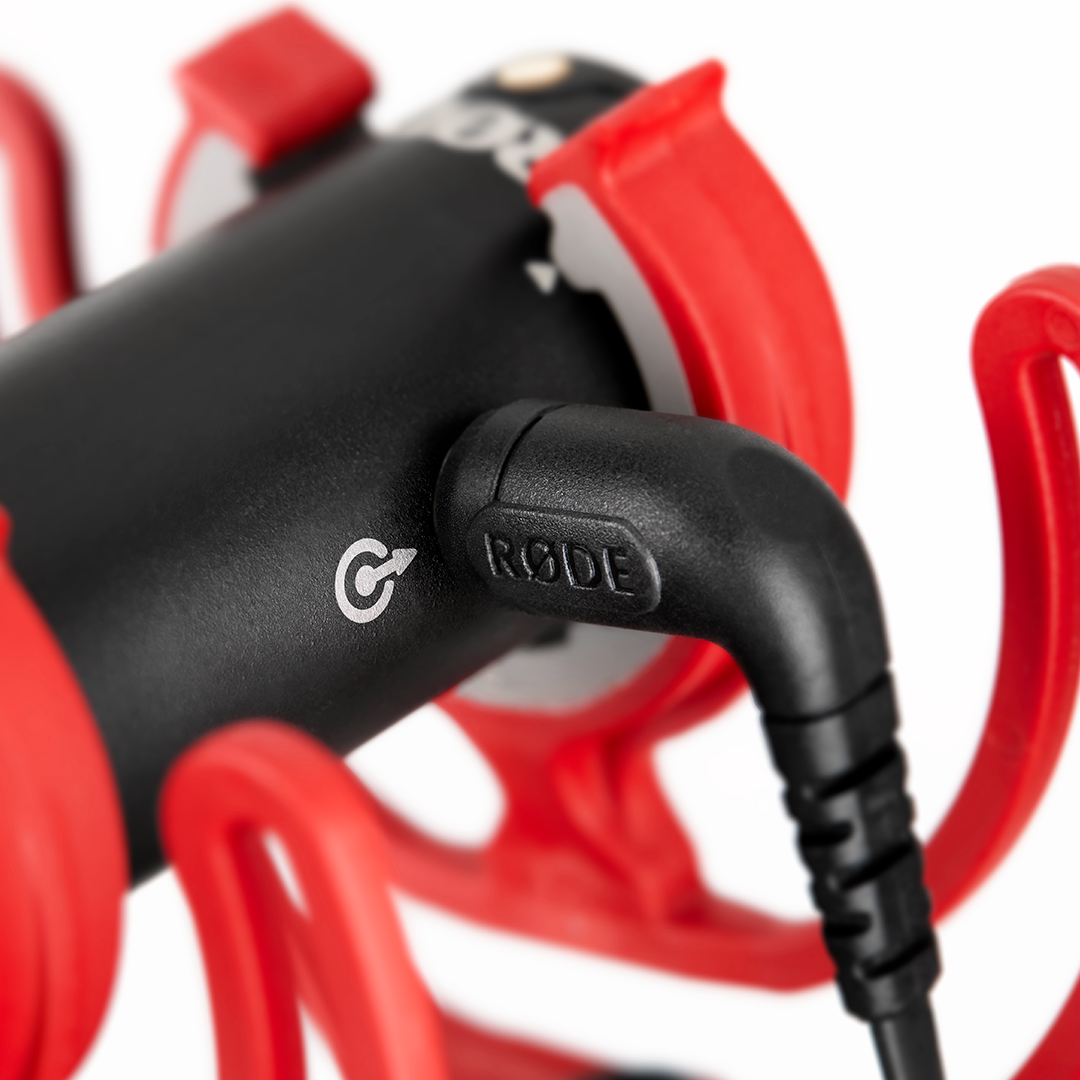
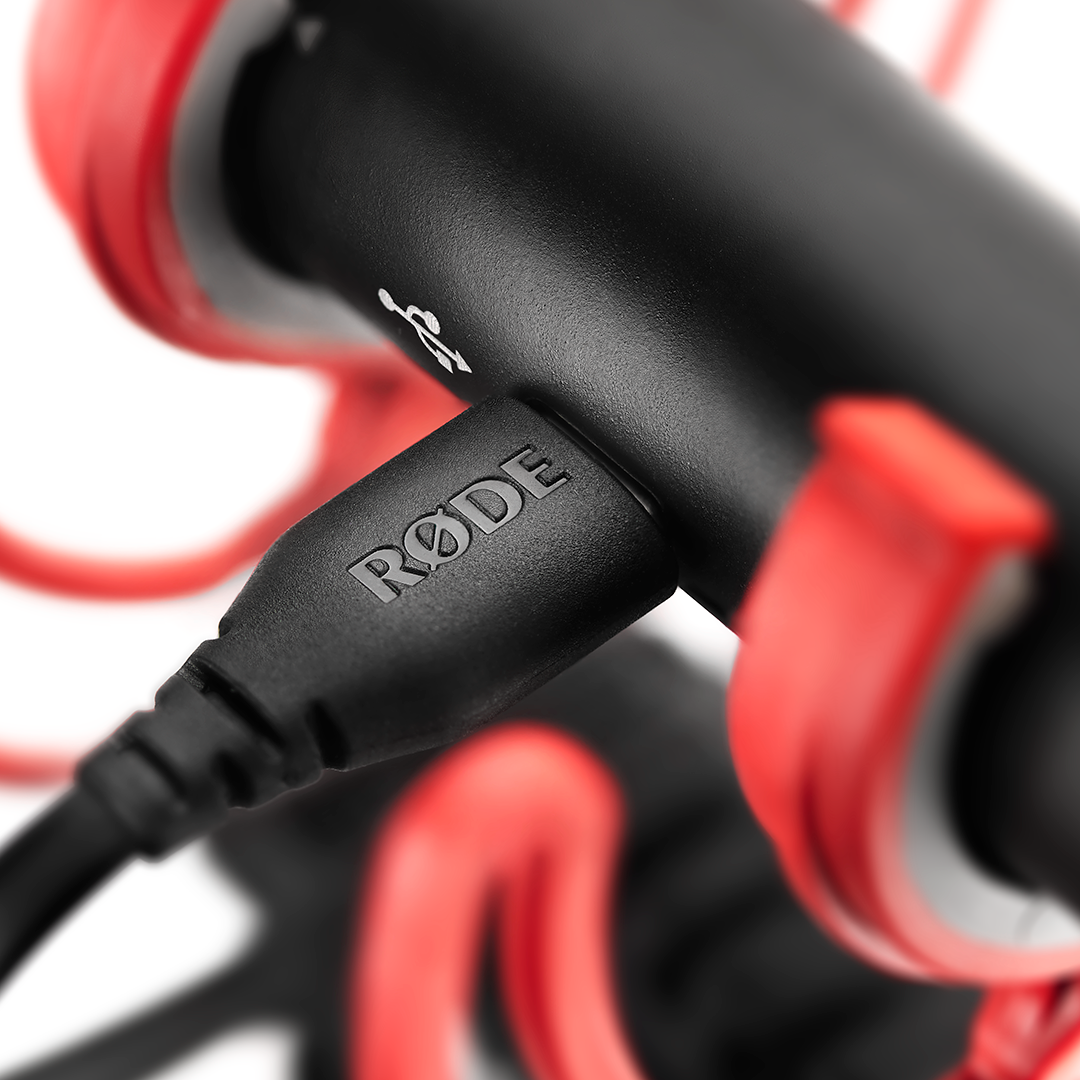
2USB-C Audio Output
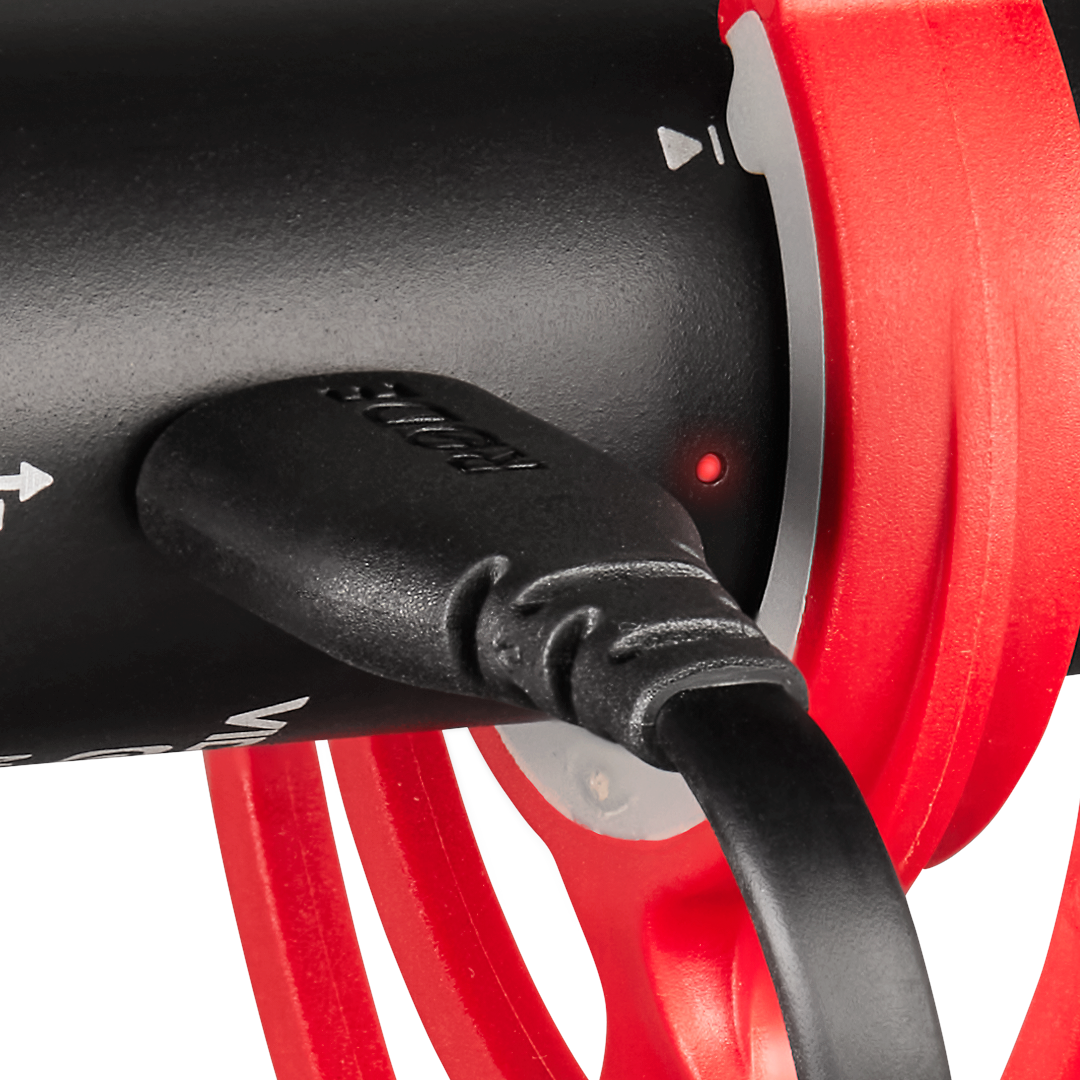
3Level Peak Warning LED
4Professional Shockmount
5High-quality Windshield
6SC14 – 3.5mm TRS to TRS cable
7Cold Shoe Mount with 3/8” Thread
8Cable Management Slots
93.5mm TRS Output
Acoustic Design and Polar Pattern
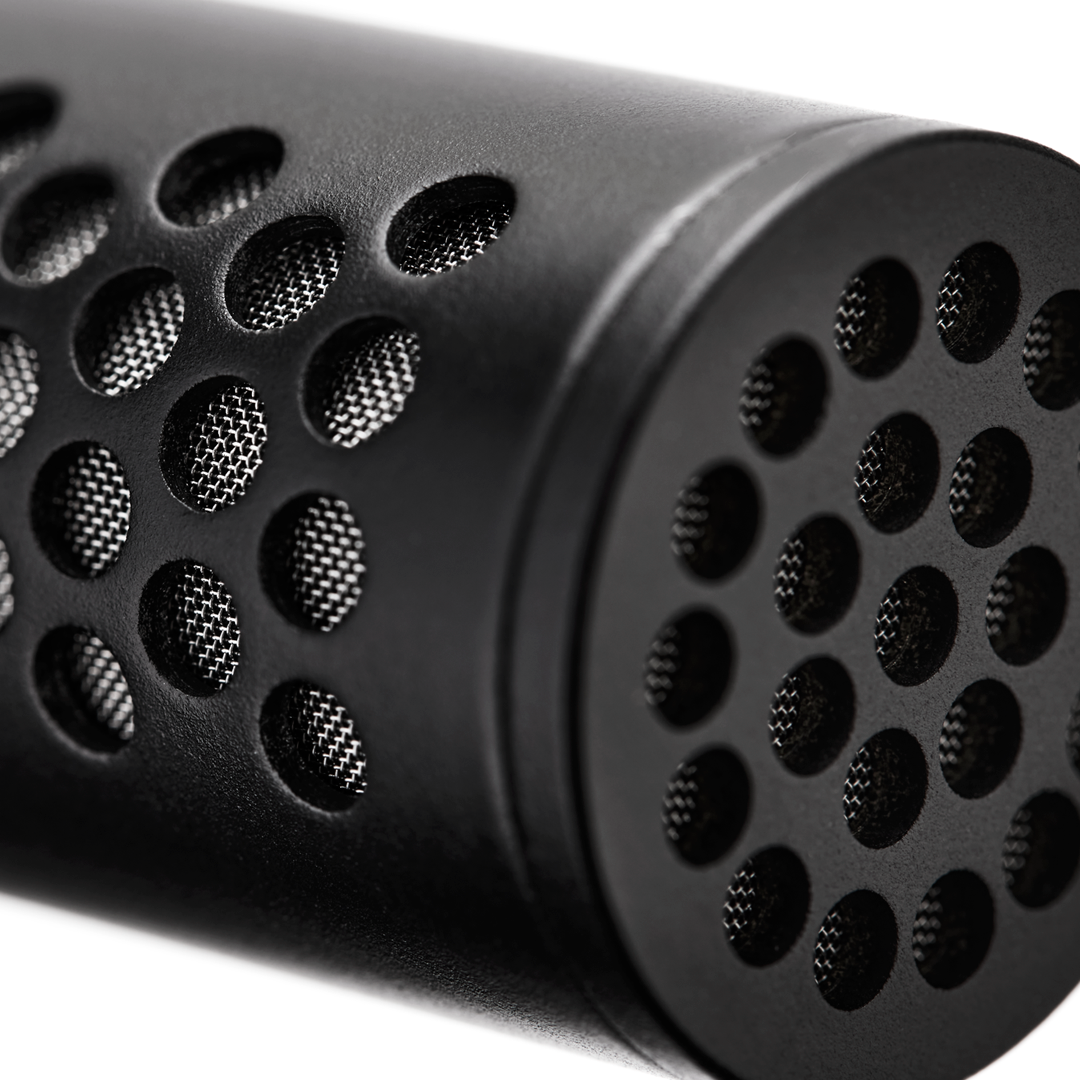
The VideoMic GO II features the same annular line tube technology as the hugely popular VideoMic NTG and NTG5 professional shotgun microphones. This revolutionary acoustic design gives the VideoMic GO II a very rich, full-bodied sound that will instantly improve the audio of your camera, smartphone, tablet, or computer. Being a shotgun microphone with a supercardioid polar pattern, it is highly directional, meaning that it clearly picks up sound from in front while sounds to the side and rear are reduced. It can also pick up sound from further away from the microphone while still retaining presence and clarity.
Using Windshields
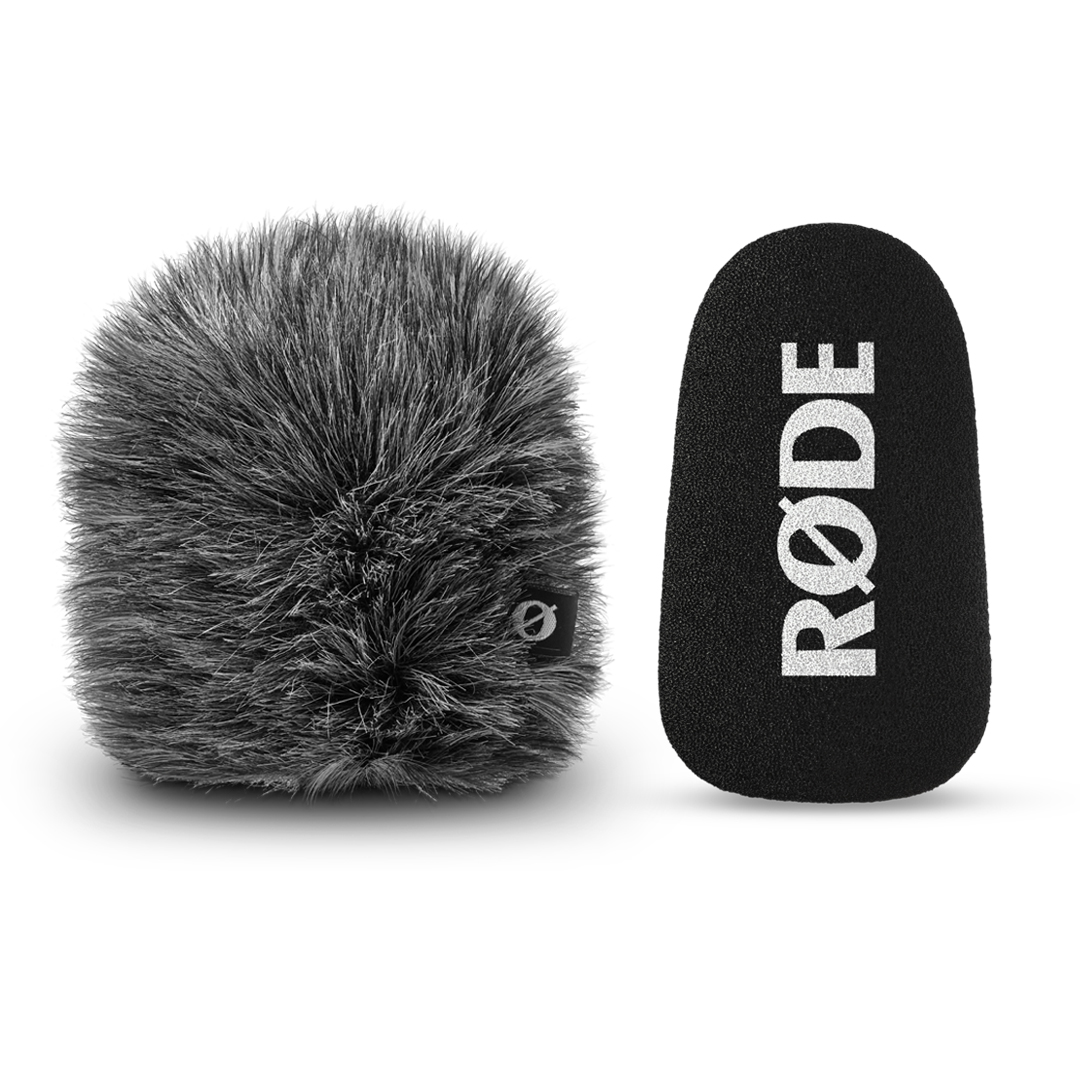
The VideoMic GO II comes with a high-quality foam windshield to help curtail unpleasant wind noise when recording outdoors. We also recommend using it when speaking into the microphone up close, for example, when used on a tripod for podcasting – the windshield will help reduce the presence of plosives in your recording (harsh ‘p’ or ‘t’ sounds caused by air hitting the microphone capsule). The foam windshield can easily be removed by simply sliding it off.
When recording in high-wind environments, we recommend using the RØDE WS12 furry windshield (sold separately) to give you further protection from wind noise.
Powering the VideoMic GO II
The VideoMic GO II runs off plug-in power, which is provided by the device it is connected to, whether it’s a camera, smartphone or tablet, or computer. This means that no batteries are required to operate, but it must be connected to a compatible device either via the 3.5mm output or USB output to power on.
The Level Peak Warning LED (USB Mode Only)
The VideoMic GO II features a level peak warning LED, which is located next to the USB output. This will flash red when the input level is too loud and clipping the microphone’s internal preamp, which will result in distorted audio. If your signal is clipping, turn the input gain level down or activate the pad using RØDE Connect or RØDE Central (note: this functionality is only available when using the microphone in USB mode).
The 3.5mm Output
The VideoMic GO II has a 3.5mm TRS output for connecting it to cameras and other devices with a 3.5mm input, such as the AI-Micro. It comes with the RØDE SC14 3.5mm TRS to TRS patch cable.
The 3.5mm output also acts as a headphone output for monitoring your audio when using the VideoMic GO II in USB mode (see below).
Using the VideoMic GO II with a Camera
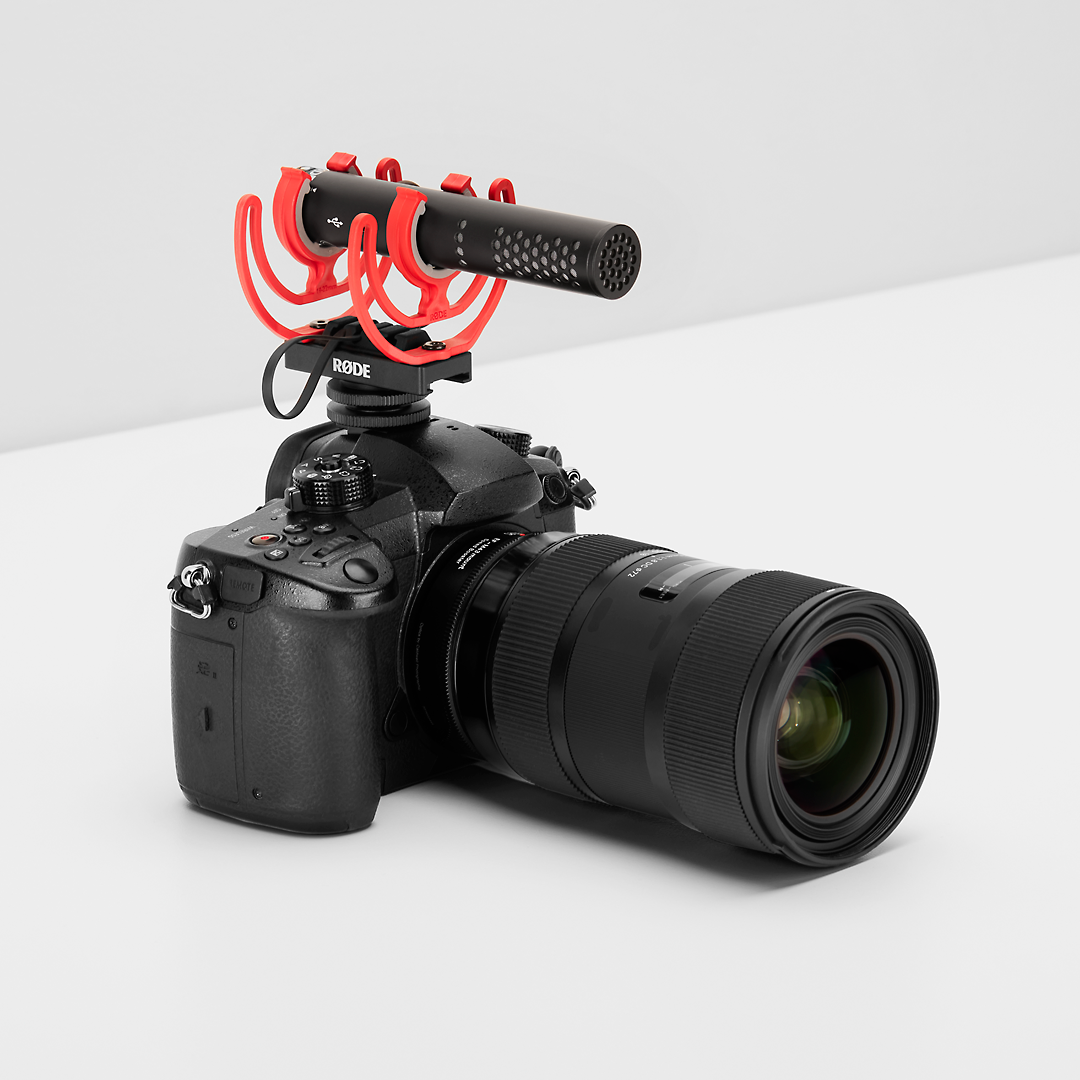
The VideoMic GO II has two distinct audio outputs: 3.5mm mode and USB mode. When used in 3.5mm mode with a camera or other audio device, the microphone is designed to be a simple plug-and-go microphone for capturing high-quality audio with ease. The digital signal processing that allows access to the microphone’s input level control, high-pass filter, high-frequency boost, and pad cannot be accessed when using the microphone in 3.5mm mode.Use the supplied shockmount to attach the VideoMic GO II to your camera’s cold shoe and the SC14 patch cable to plug it in. The shockmount has cable management slots, making it easy keep your setup neat and organised. Use the sliding rail to move the microphone backwards or forwards if required.
When using the VideoMic GO II with a camera, we strongly recommend switching off any automatic gain settings or audio processing that may be enabled by default – this is not required when using a high-quality microphone like the VideoMic GO II – then use your camera’s gain control to adjust your levels as required.
The USB Output
The VideoMic GO II also has a USB-C output for connecting it to smartphones, tablets, and computers. It is a class-compliant USB device, meaning you don’t need drivers or software for it to work. Simply plug it into your device, set it as your input source in your system preferences or recording software settings if required, and hit record. Using the USB output also allows the 3.5mm output to be used as a headphone output for monitoring your audio (see the ‘Direct Monitoring’ section for more information).
Using the VideoMic GO II with a Smartphone or Tablet
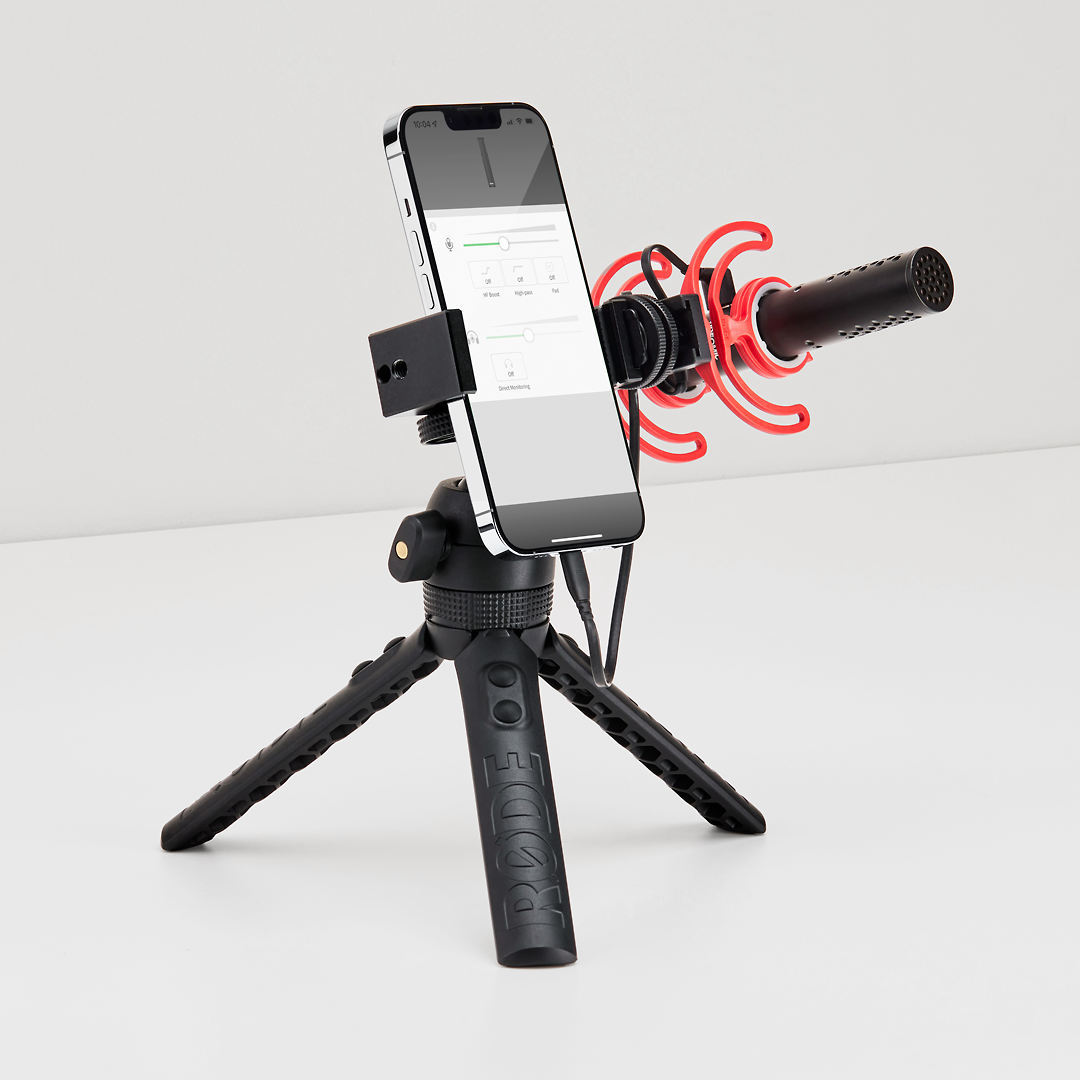
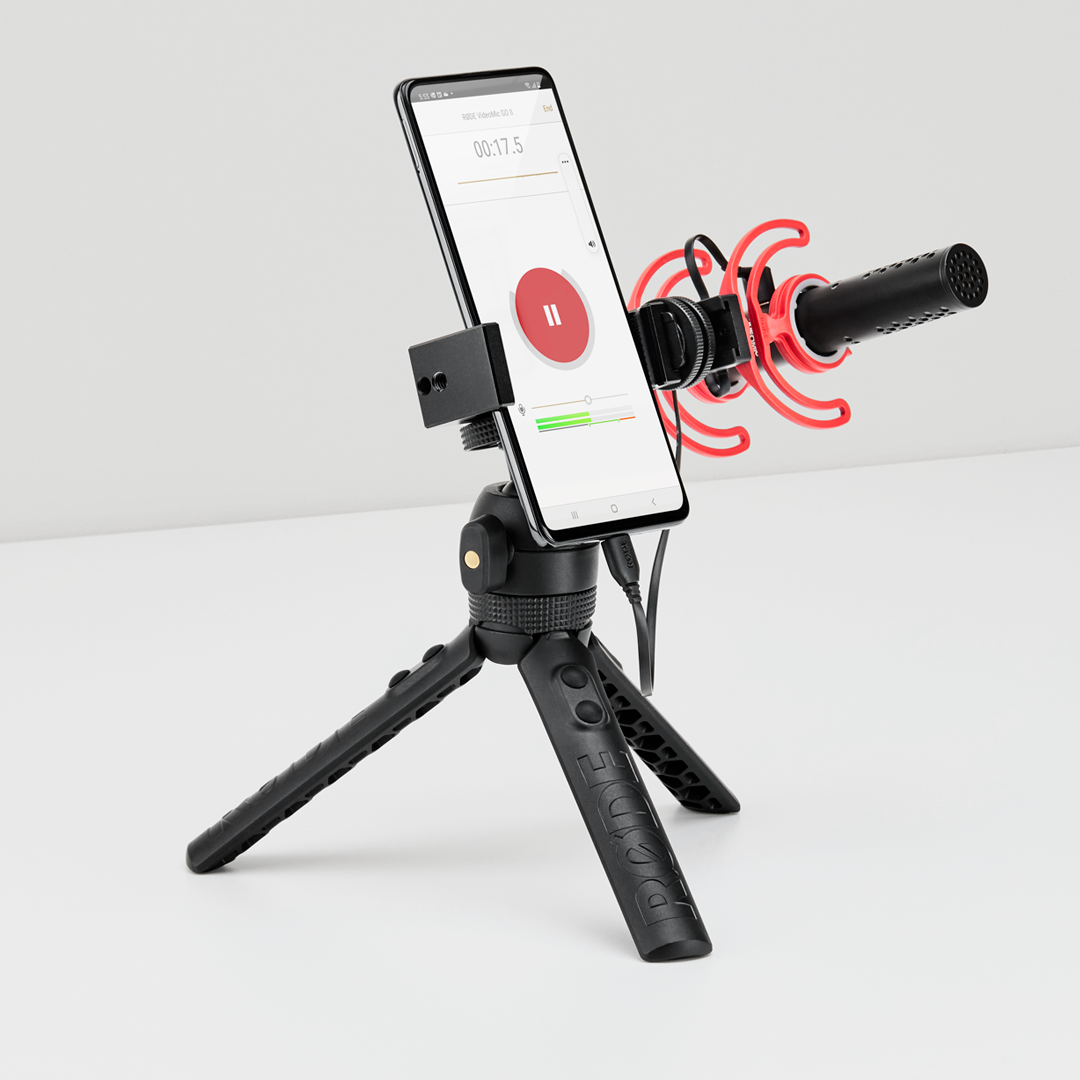
Being so compact and lightweight, the VideoMic GO II is the perfect microphone for use with mobile recording rigs. To connect the VideoMic GO II to a smartphone or tablet, you will need an additional USB cable (sold separately – see below). Once connected, your device will automatically detect and set the VideoMic GO II as the default microphone, bypassing its internal microphone.
If you have an iPhone or iPad with a Lightning port, you will need the RØDE SC15 or SC19 (note: standard USB-C to Lightning cables will not work).
If you have a device with a USB-C input, such as an Android smartphone or iPad Pro, you will need a USB-C to USB-C cable like the RØDE SC16 or SC17.
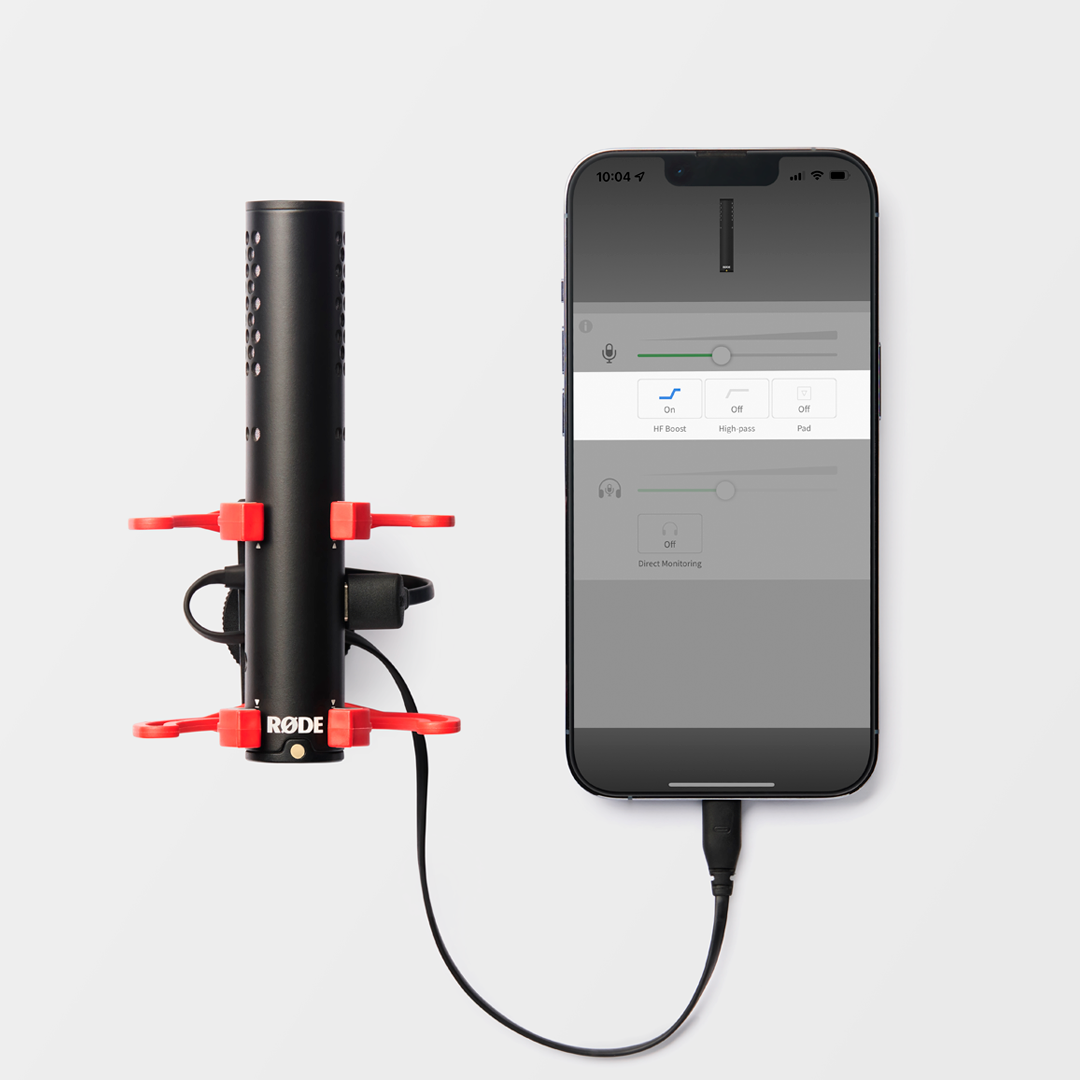
When using the VideoMic GO II with a smartphone or tablet, you can access advanced features using RØDE Central, including input level and direct monitoring control, a high-pass filer and high-frequency boost, and a -20dB pad. See the ‘Using the VideoMic GO II with RØDE Apps’ section for more information.
Using the VideoMic GO II with a Computer
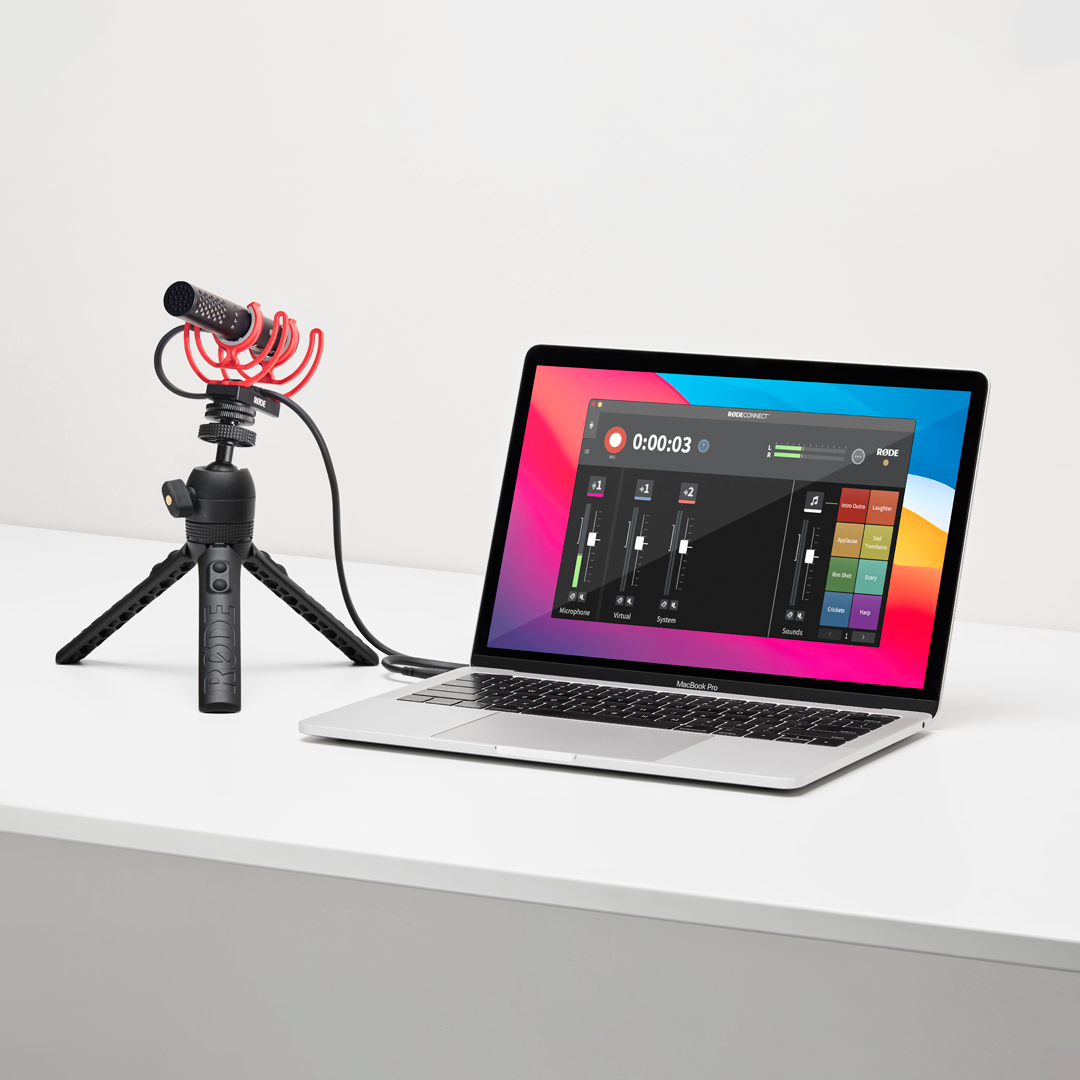
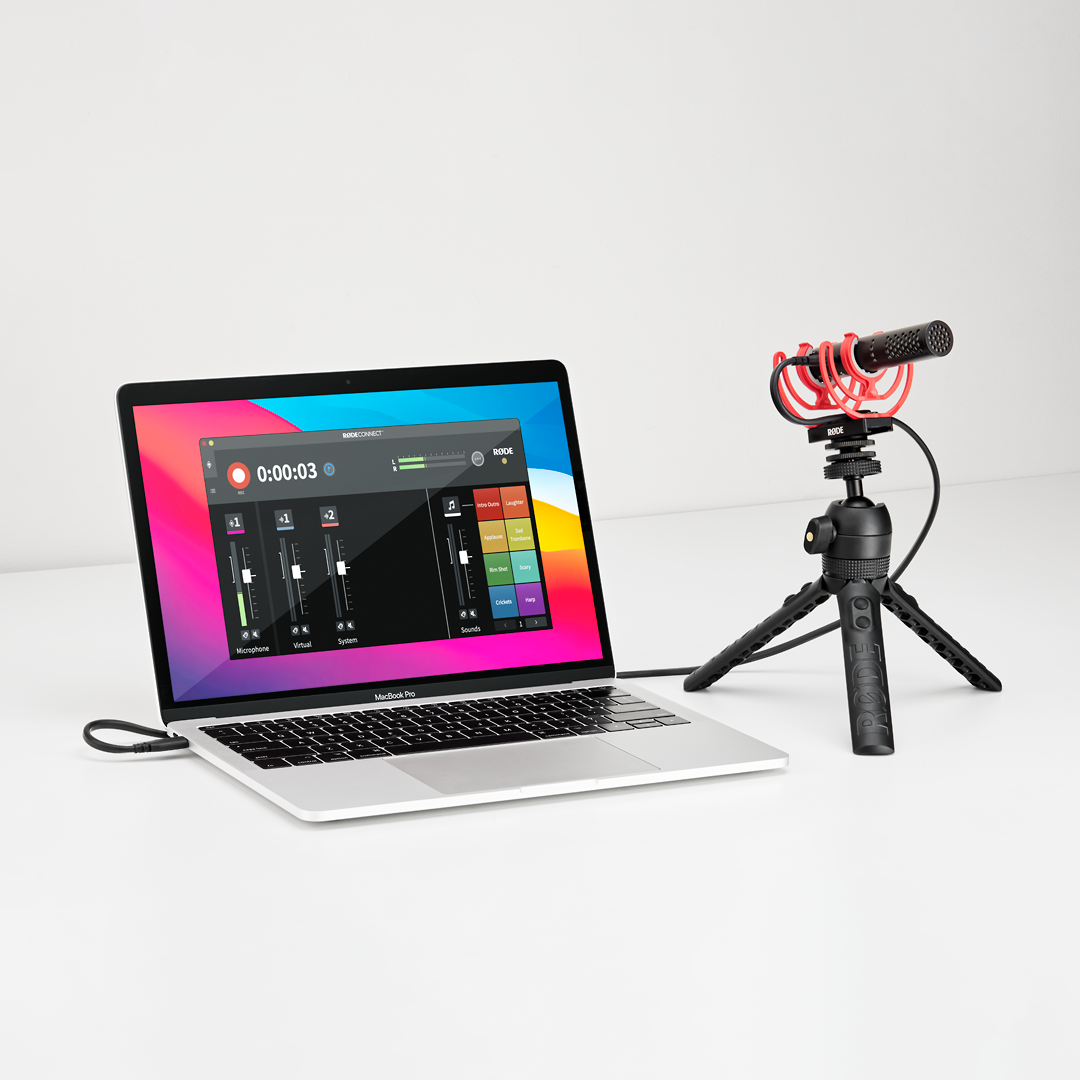
When used with a computer, the VideoMic GO II works as a fully functional USB microphone, complete with headphone monitoring using the 3.5mm output.
To connect the VideoMic GO II to your computer, you will need a USB-C to USB-C cable like the RØDE SC16 or SC17, or a USB-C to USB-A cable like the RØDE SC18, depending on what USB ports your computer has. Once connected, go to your computer system settings/preferences and select the VideoMic GO II as your audio input and output device. This will bypass your computer’s internal microphone and speakers and use the VideoMic GO II instead. You will also need to select the VideoMic GO II as your input and output device in any software or application you are using the microphone with.
When using the VideoMic GO II with a computer, you can access advanced features using RØDE Central, including input level and direct monitoring control, a high-pass filer and high-frequency boost, and a -20dB pad. If you are podcasting or livestreaming with the VideoMic GO II, we recommend using our free RØDE Connect software. See the ‘Using the VideoMic GO II with RØDE Apps’ section for more information.
Using the VideoMic GO II with the RØDE App Suite
The VideoMic GO II is compatible with the entire RØDE app suite, giving you access to advanced features, powerful audio processing and studio-quality recording on any device.
Available On | Computers (Mac and Windows) | Mobile devices (iOS and Android) | Computers (Mac and Windows) and mobile devices (iOS and Android) |
---|---|---|---|
Update Firmware | |||
Adjust Input Gain | |||
Direct Monitoring On/Off | Always on | ||
Direct Monitor Level Control | |||
High-pass Filter Control | |||
High-frequency Boost | |||
Pad | |||
Advanced Audio Processing | |||
Ideal For | Podcasting and livestreaming on a computer | Recording broadcast-quality audio on a smartphone or tablet, adjusting device settings | Device configuration when being used with third-party applications and software |
Download Now |
Download Now |
Download Now |
RØDE Central (Desktop/Mobile)
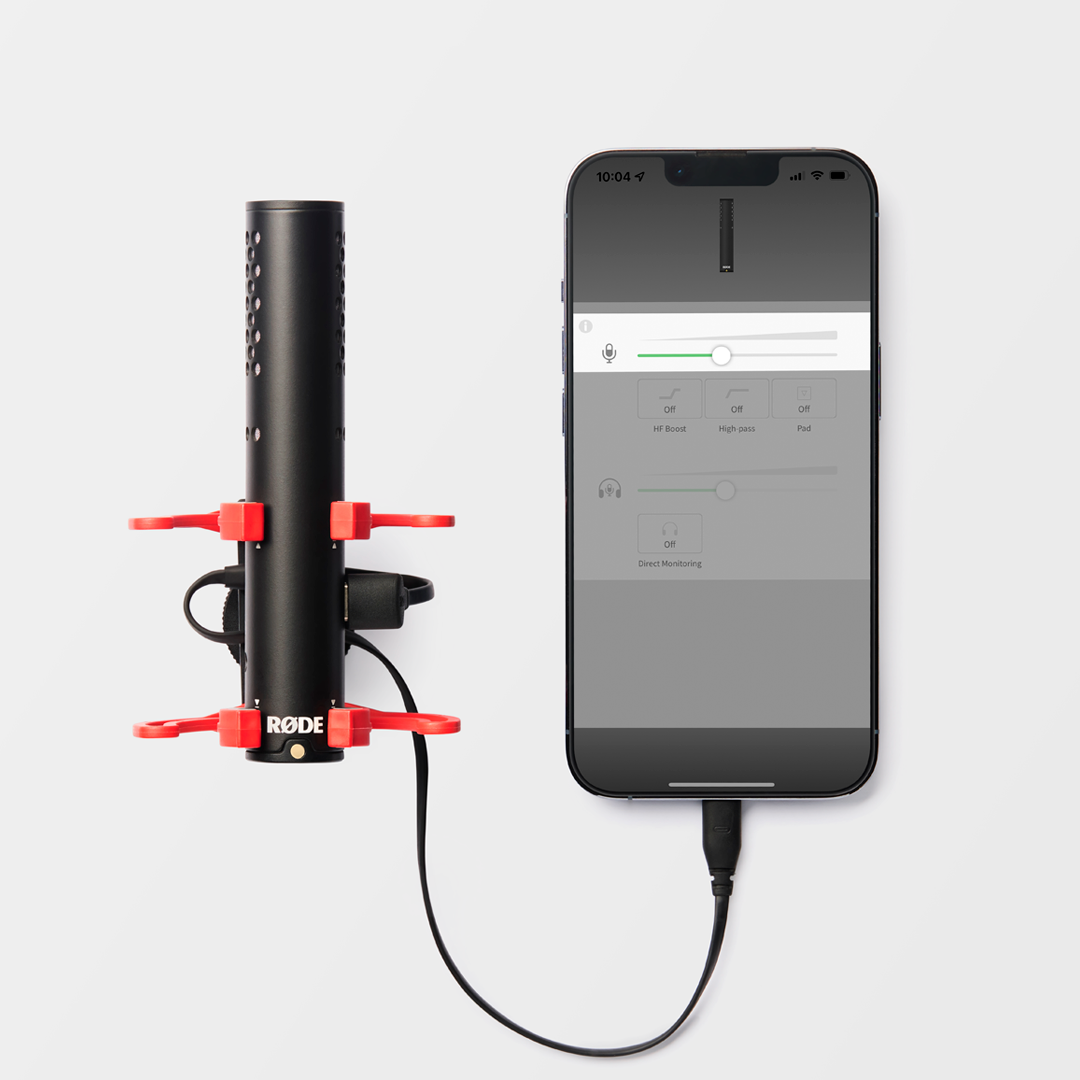
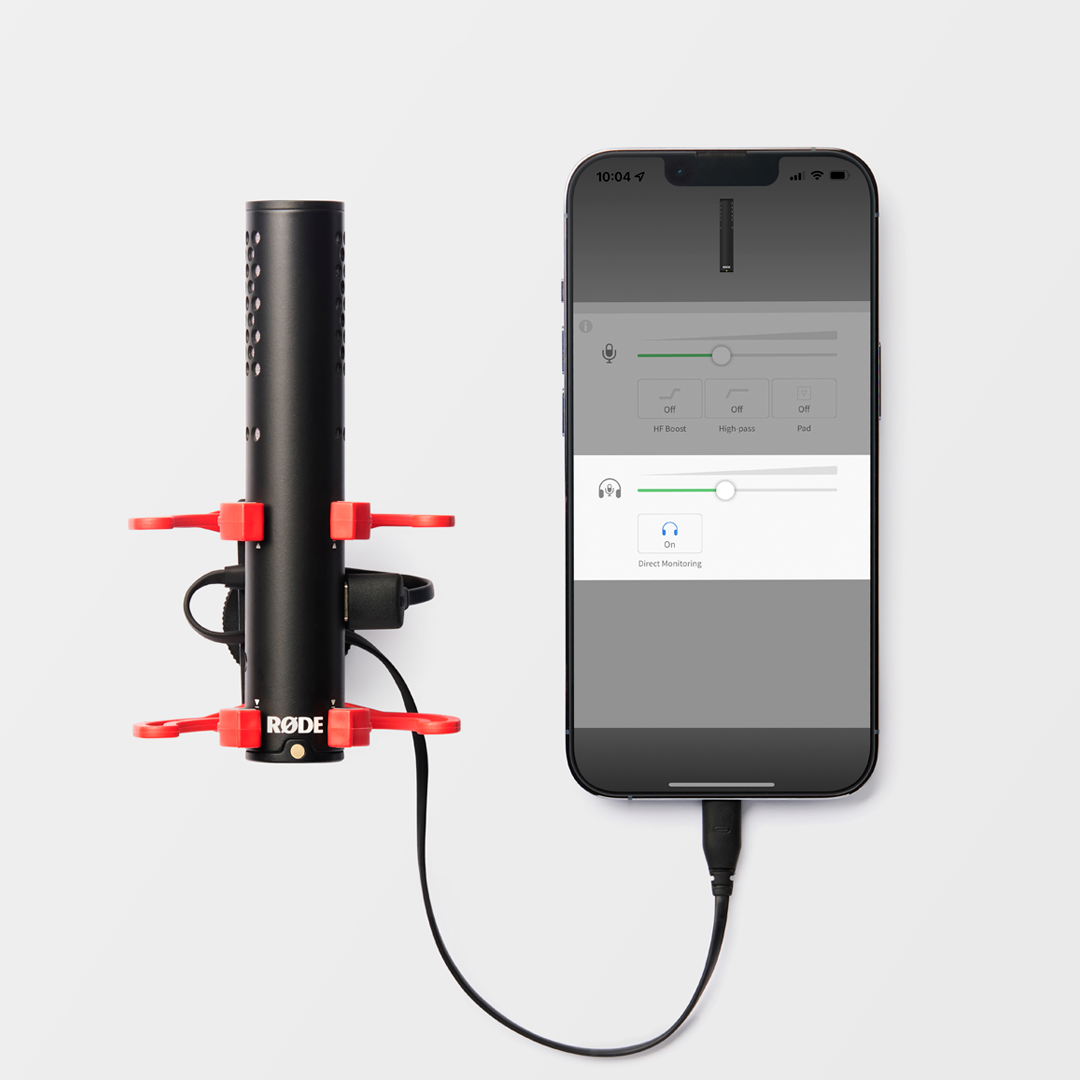
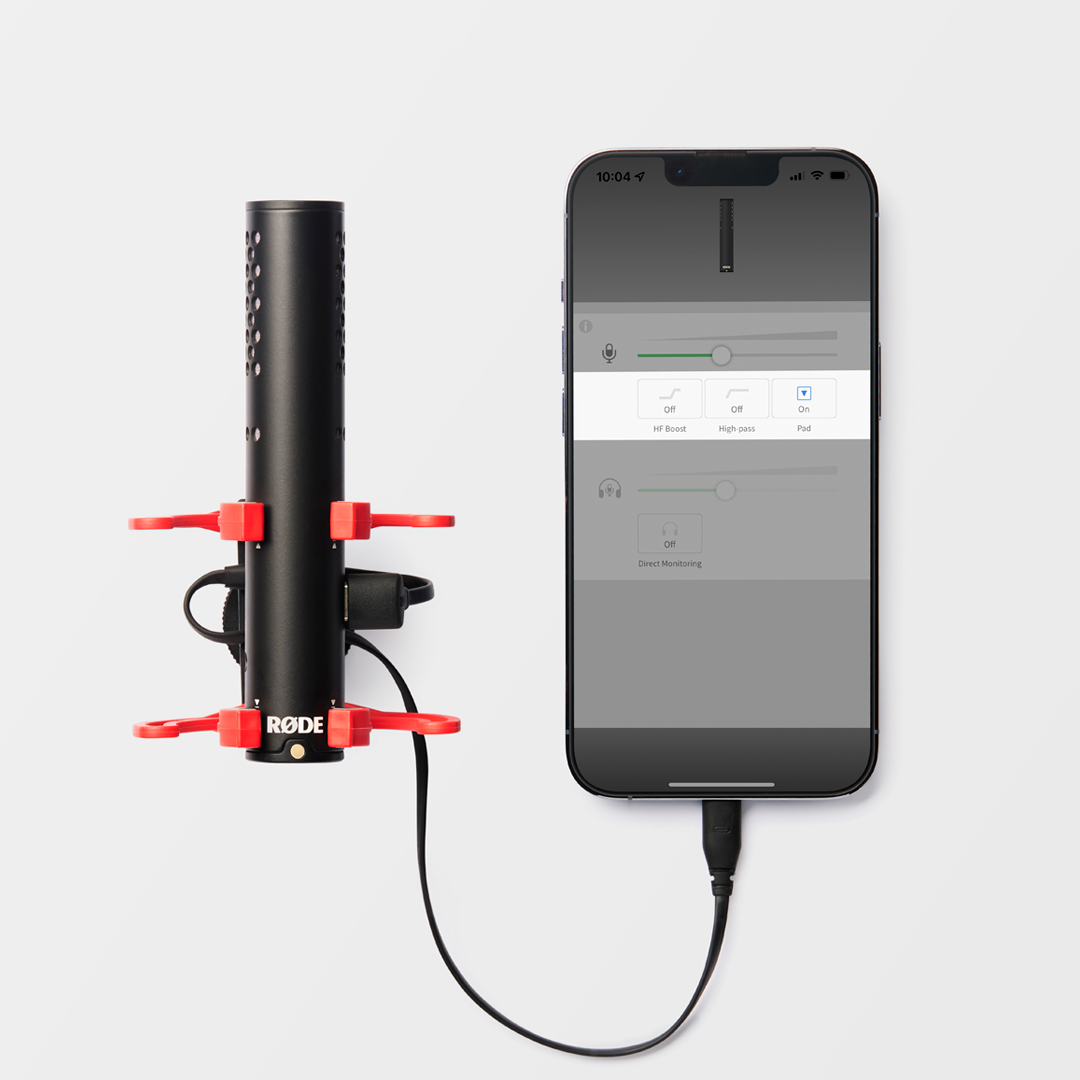
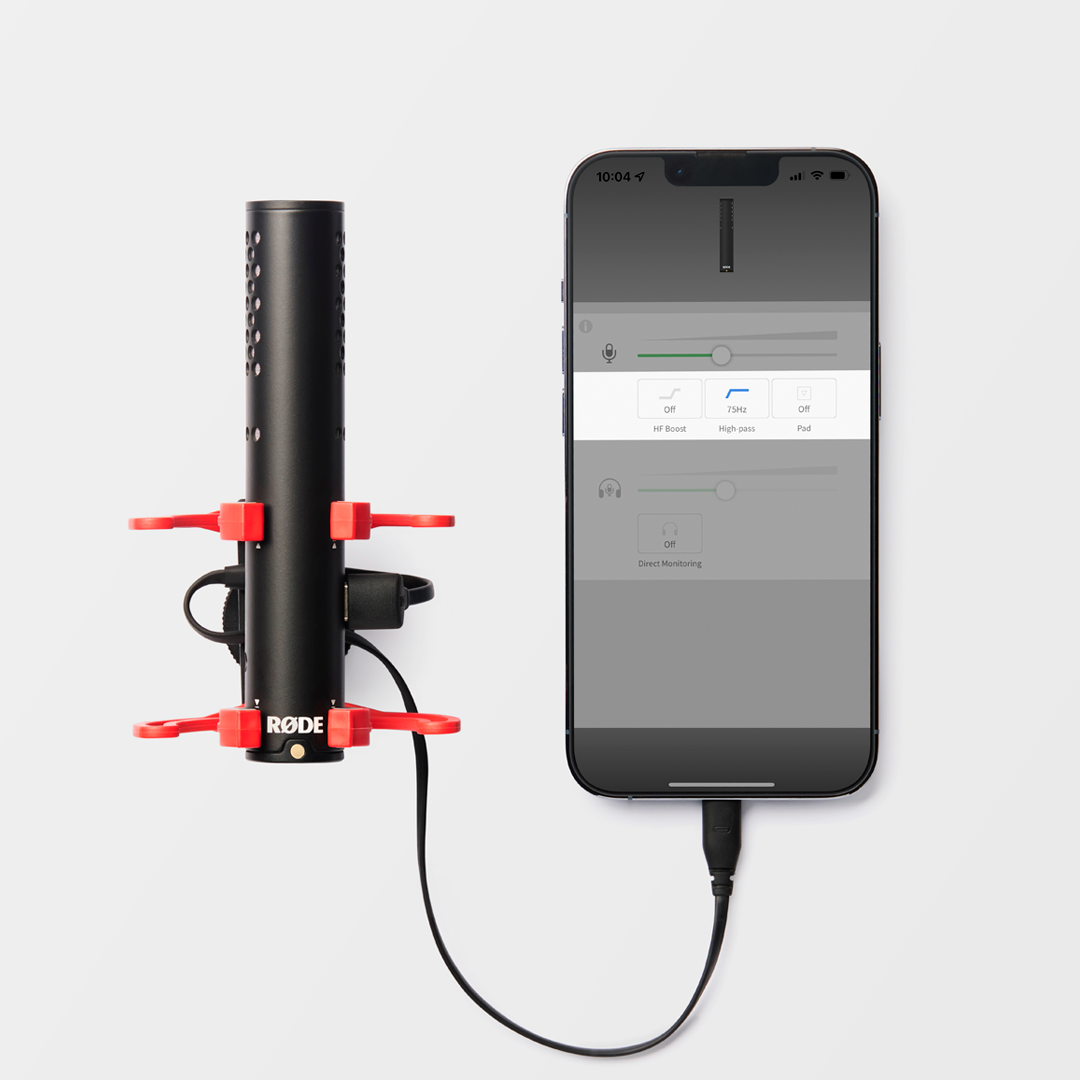
RØDE Central is a desktop and mobile companion app for the VideoMic GO II and other RØDE devices that allows you to access advanced features and configure your device settings anywhere. It is also where you can update your device firmware. In RØDE Central, you can adjust the microphone input level and headphone monitoring level, turn direct monitoring on/off (mobile only), and activate the high-pass filter, high-frequency boost and pad.
RØDE Connect
The VideoMic GO II is fully compatible with RØDE Connect, our simple, powerful, free software solution for podcasting and livestreaming. RØDE Connect allows you to connect up to four VideoMic GO IIs (and other compatible RØDE microphones) to a single computer. It has a fully featured recording interface complete with broadcast-style faders, level metering, sound pads, solo/mute buttons, multi-channel recording and more.
RØDE Connect allows you to control the input level of the microphone, as well as enabling the high-pass filter, high-frequency boost and pad. The software also unlocks access to four studio-quality audio processors: a noise gate, compressor and APHEX Aural Exciter and Big Bottom. These are perfect for giving your recordings a rich, professional quality (find out more about them here).
These processors are activated by default in RØDE Connect (except the noise gate) and can be turned off/on by clicking the number above each microphone channel and clicking the toggle next to each processor. To control your headphone level, you will need to use RØDE Central.
Pro Tip
Using a shotgun microphone like the VideoMic GO II or VideoMic NTG for podcasting or streaming is great for recording setups where you want the microphone to be further away from your mouth, as they are highly directional and will retain presence and clarity, even at a distance.
RØDE Reporter
RØDE Reporter is a handy iOS/Android app for recording broadcast-quality audio on a smartphone or tablet. Record high-resolution 24-bit, 48kHz high audio anywhere, with access to the VideoMic GO II’s input and headphone monitoring level controls, high-pass filter, high-frequency boost and pad.
Adjusting the Input Gain
You can adjust the VideoMic GO II’s input gain using RØDE Connect, RØDE Central and RØDE Reporter, as well as most third-party software and apps that have a level control (if you are using software or an app without a level control or that does not interface with the VideoMic GO II and would like to adjust your input gain, use RØDE Central). This is useful when recording particularly loud sound source that is distorting the microphone’s preamp (for example, if you are recording a podcast and your mouth is close to the microphone). Using the level peak warning LED on the side of the microphone is an easy way to tell if the input level is too high.
Note: Any changes made to the input gain or activation of the pad via a RØDE app will not be retained when using the VideoMic GO II in 3.5mm mode. When using the microphone with a camera, it has a set input and output gain level that is optimised for this type of recording. If you are recording a loud sound source and can see on your camera’s audio level is ‘peaking’ (hitting the red part of the meter), turn the input level down on your camera.
Direct Monitoring
When using the microphone in USB mode with a smartphone, tablet or computer, you can plug a pair of headphones into the 3.5mm output to monitor your audio. You also have complete control over the output level via RØDE Central. Simply click the ‘Direct Monitor’ icon in the app and adjust the slider as required. Note: To adjust the headphone output level when using the VideoMic GO II with RØDE Connect, use RØDE Central or adjust via your computer’s audio settings.
Pad
You can activate a -20dB input pad for the microphone via RØDE Connect, RØDE Central and RØDE Reporter. This is an easy way to quickly adjust the input level if you are recording a particularly loud sound source or are speaking into the microphone at a close distance. We recommend having the pad activated when recording a podcast or in any other situation where your mouth is close to the mic.
High-pass Filter
The VideoMic GO II features a two-step high-pass filter, accessed via RØDE Connect, RØDE Central and RØDE Reporter. This attenuates low-end frequencies in your recording, which is helpful for reducing the presence of unwanted low-end noise caused by wind, air conditioners, traffic noise and other ambient sounds from your recording environment.
There are two filter settings to choose from. The 75Hz setting will be more subtle and the 150Hz will be more prominent. Monitor your audio carefully in headphones and switch between each setting. If the 75Hz filter achieves the desired effect of reducing unwanted noise, leave it on. If you can still hear low-end rumble, switch to the 150Hz filter.
High-frequency Boost
The VideoMic GO II also features a high-frequency boost. This has been specifically tailored for retaining detail and clarity when using the RØDE WS12 windshield.
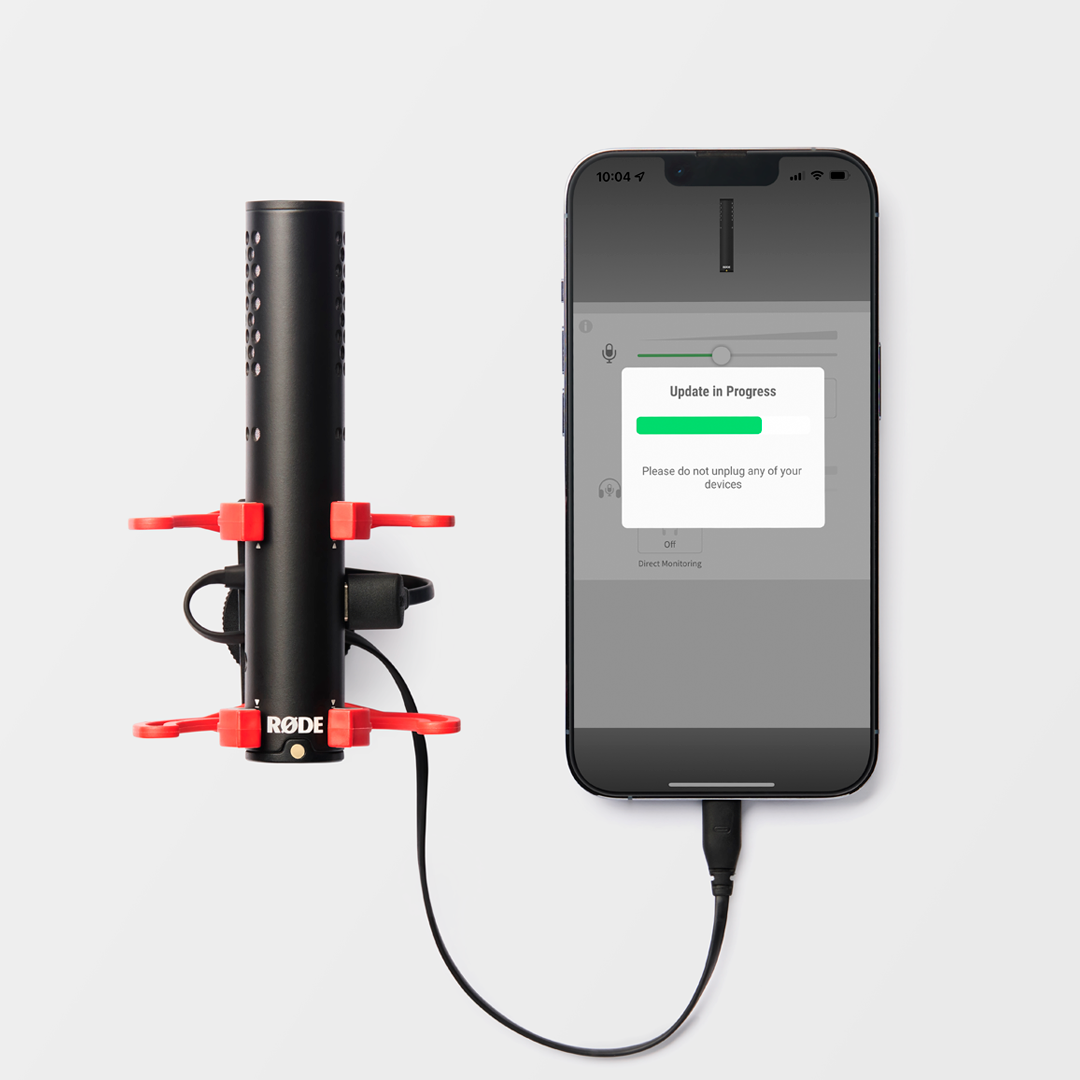
Updating Device Firmware
You can update your VideoMic GO II’s firmware using RØDE Connect, RØDE Central (desktop only) and RØDE Reporter.