Assembling the Phone Cage
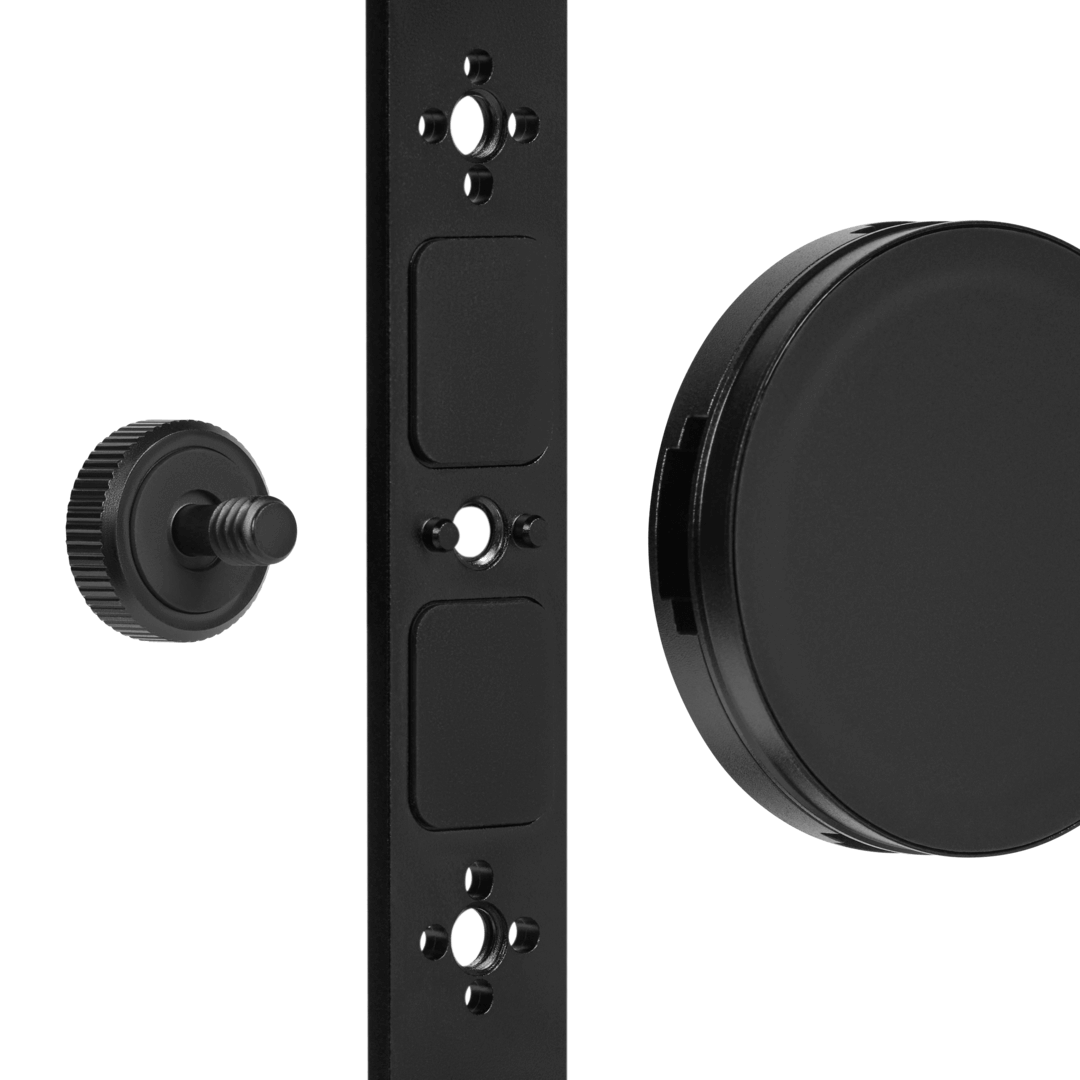
- Remove the magnetic mount from the small compartment in the Phone Cage box
- Remove the thumb screw from the magnetic mount by turning it counterclockwise
- Line up the two short poles at the very centre of the Phone Cage with two of the holes found near the RØDE logo on the magnetic mount and rest the mount in this position
- Insert the thumb screw into the opposite side of the Phone Cage and turn clockwise to secure the mount in place
Mounting Your Phone
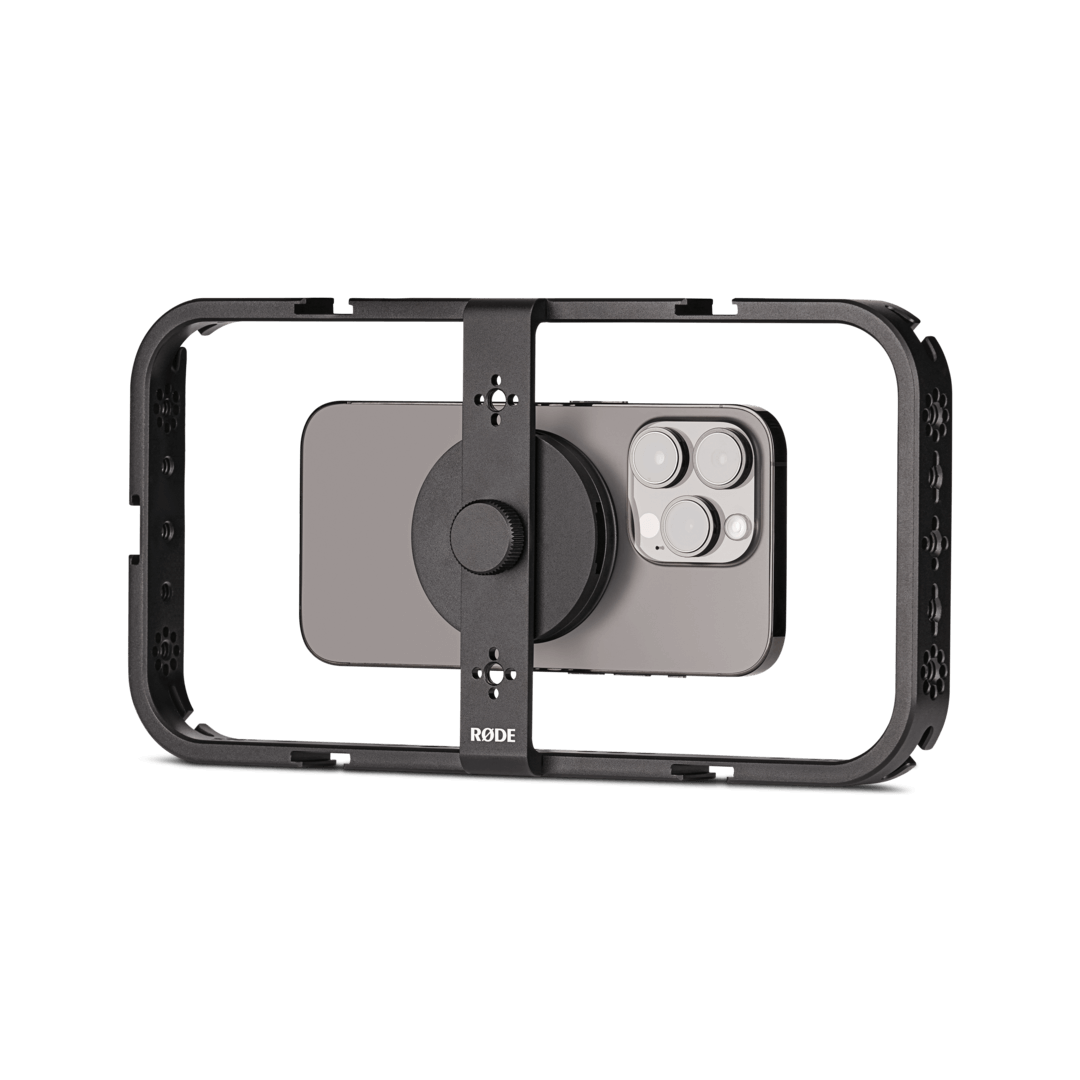
The Phone Cage supports any MagSafe® iPhone® as well as other smartphones with a magnetic case. Make sure you followed the previous steps for securing the magnetic mount to the Phone Cage, and then simply place your phone in the cage so that its magnet lines up with the magnetic mount in the centre of the cage.
Cable Management Slots
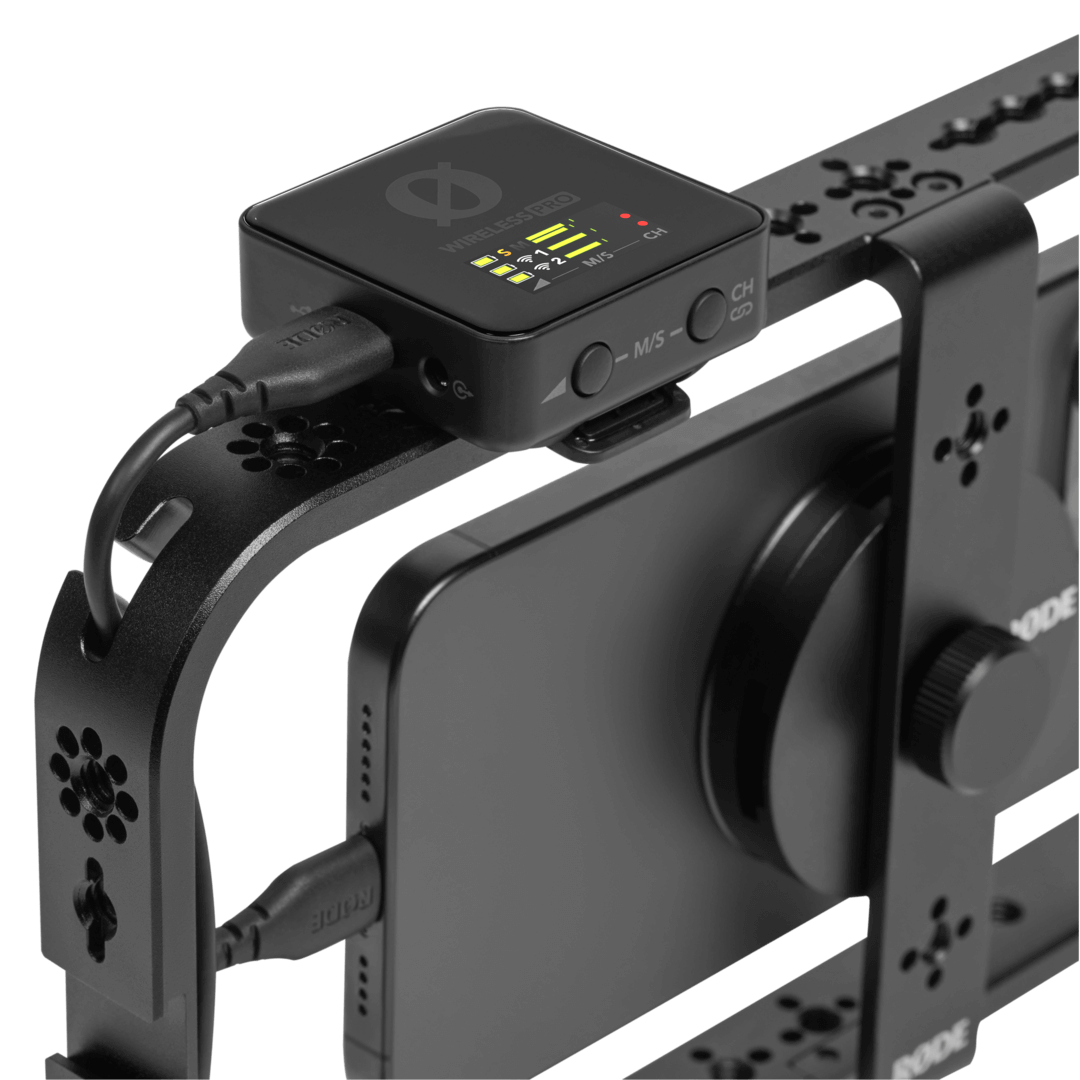
Once any cables you’re using are connected, you can keep your Phone Cage rig tidy by slotting the cables into any of the four guide slots found on the corners of the cage. This can also help to lower the risk of accidentally unplugging your cables, as well as lower the risk of cable strain.
Mounting Threads
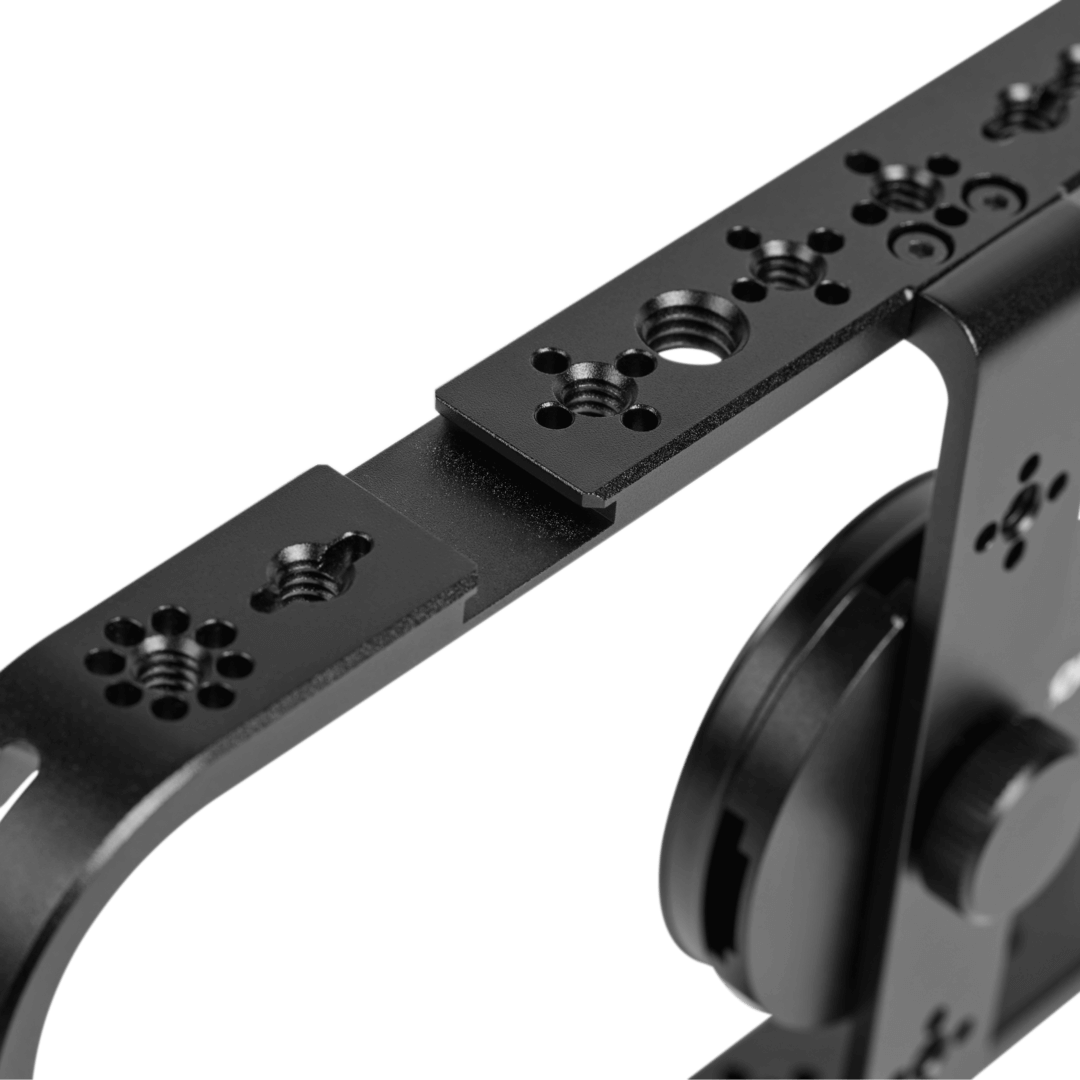
The Phone Cage features both 1/4-inch and 3/8-inch mounting threads in a variety of configurations, allowing a wide range of accessories such as grips, handles, tripods and arms to be mounted in a number of different places on the cage.
While any devices with either of these thread sizes can be mounted, some of the Phone Cage’s threads support third-party standards, such as the ARRI Pin-Lock Interface system that can be used to secure your accessory in a certain orientation. For more information on how to use these third-party accessories, view the accessory manufacturer’s user guide.
Shoe Mounts
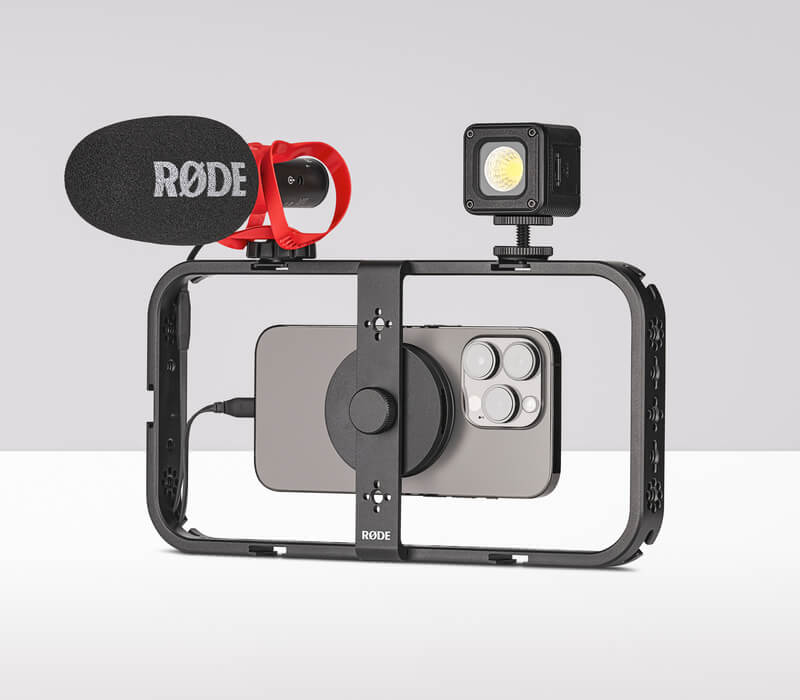
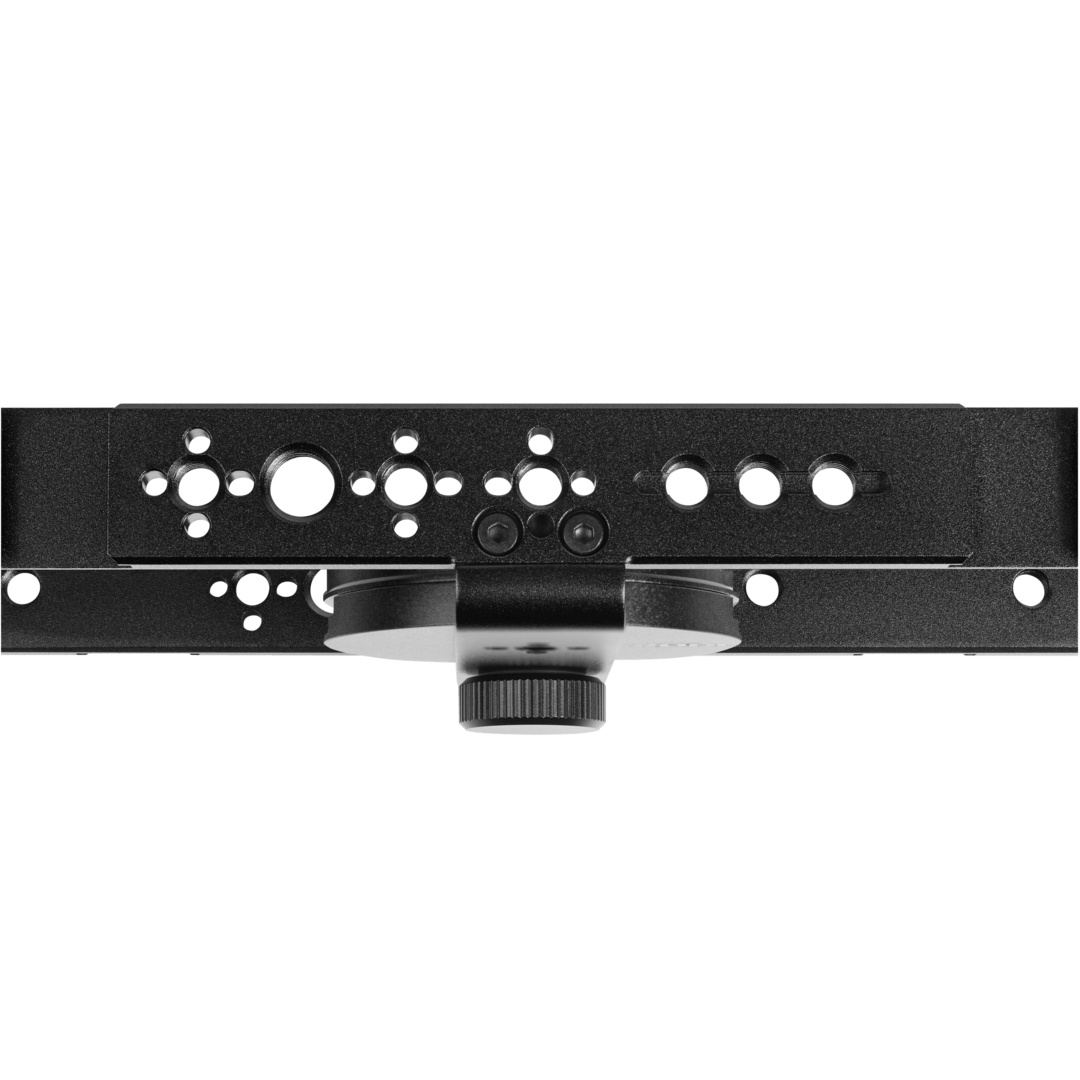
Many camera-related accessories feature shoe mounts, including the VideoMic range of on-camera shotgun microphones. Simply slot the accessory’s shoe into the shoe mount so that it’s facing the right direction and tighten the thread to secure it (if the accessory features a thread).
