Wir verwenden essentielle Cookies, um unsere Website funktionsfähig zu machen. Mit Ihrer Zustimmung können wir auch nicht essentielle Cookies verwenden, um die Benutzererfahrung zu verbessern und den Website-Traffic zu analysieren.Durch Klicken auf 'Alle erlauben' stimmen Sie der Verwendung von Cookies auf unserer Website zu, wie in unserer Cookie-Richtlinie.
Sie können Ihre Cookie-Einstellungen jederzeit ändern, indem Sie auf 'Einstellungen' klicken.
Einstellungen
Alle zulassen
Einstellungen
Wir verwenden verschiedene Arten von Cookies, um Ihre Erfahrung auf unserer Website zu optimieren. Sie können auswählen, welche Arten von Cookies Sie zulassen möchten, und Ihre Einstellungen jederzeit ändern. Klicken Sie auf die untenstehenden Schaltflächen, um Ihre Einstellungen zu ändern. Das Deaktivieren bestimmter Arten von Cookies kann Ihre Erfahrung auf unserer Website beeinträchtigen.Für weitere Informationen besuchen Sie bitte unsere Datenschutzrichtlinie.
Streng erforderliche Cookies
Unsere Website benötigt einige Cookies, um ihre grundlegenden Funktionen ausführen zu können, z. B. um sich zu merken, auf welcher Seite Sie sich befinden, um Ihre Einstellungen zu speichern und um sich einzuloggen. Diese Cookies können nicht abgeschaltet werden. Diese Cookies verfolgen Sie nicht und erheben keine personenbezogenen Daten.
Always Permitted
Funktionale Cookies
Diese Cookies ermöglichen es dieser Website, eine verbesserte Funktionalität und Personalisierung zu bieten. Sie können von uns mit Hilfe von Software, die wir auf unseren Seiten installiert haben, eingestellt werden. Wenn Sie diese Cookies nicht zulassen, kann es sein, dass einige oder alle dieser Dienste nicht richtig funktionieren.
Nicht gestattet
Analyse-Cookies
Diese Cookies werden von unseren Online-Werbepartnern (hauptsächlich Google Analytics) bereitgestellt. Unsere Partner verwenden sie, um Ihre Interessen besser zu verstehen und Ihnen personalisierte Werbung auf unserer Website und auf anderen Websites anzuzeigen. Sie identifizieren Sie nicht direkt, aber sie identifizieren Ihr Gerät und Ihren Browser eindeutig. Wenn Sie diese Cookies nicht zulassen, wird Ihnen online weniger personalisierte Werbung angezeigt.
Nicht gestattet
Werbe-Cookies
Diese Cookies werden von unseren Online-Werbepartnern (hauptsächlich Google Analytics) bereitgestellt. Unsere Partner verwenden sie, um Ihre Interessen besser zu verstehen und Ihnen personalisierte Werbung auf unserer Website und auf anderen Websites anzuzeigen. Sie identifizieren Sie nicht direkt, aber sie identifizieren Ihr Gerät und Ihren Browser eindeutig. Wenn Sie diese Cookies nicht zulassen, wird Ihnen online weniger personalisierte Werbung angezeigt.
Nicht gestattet
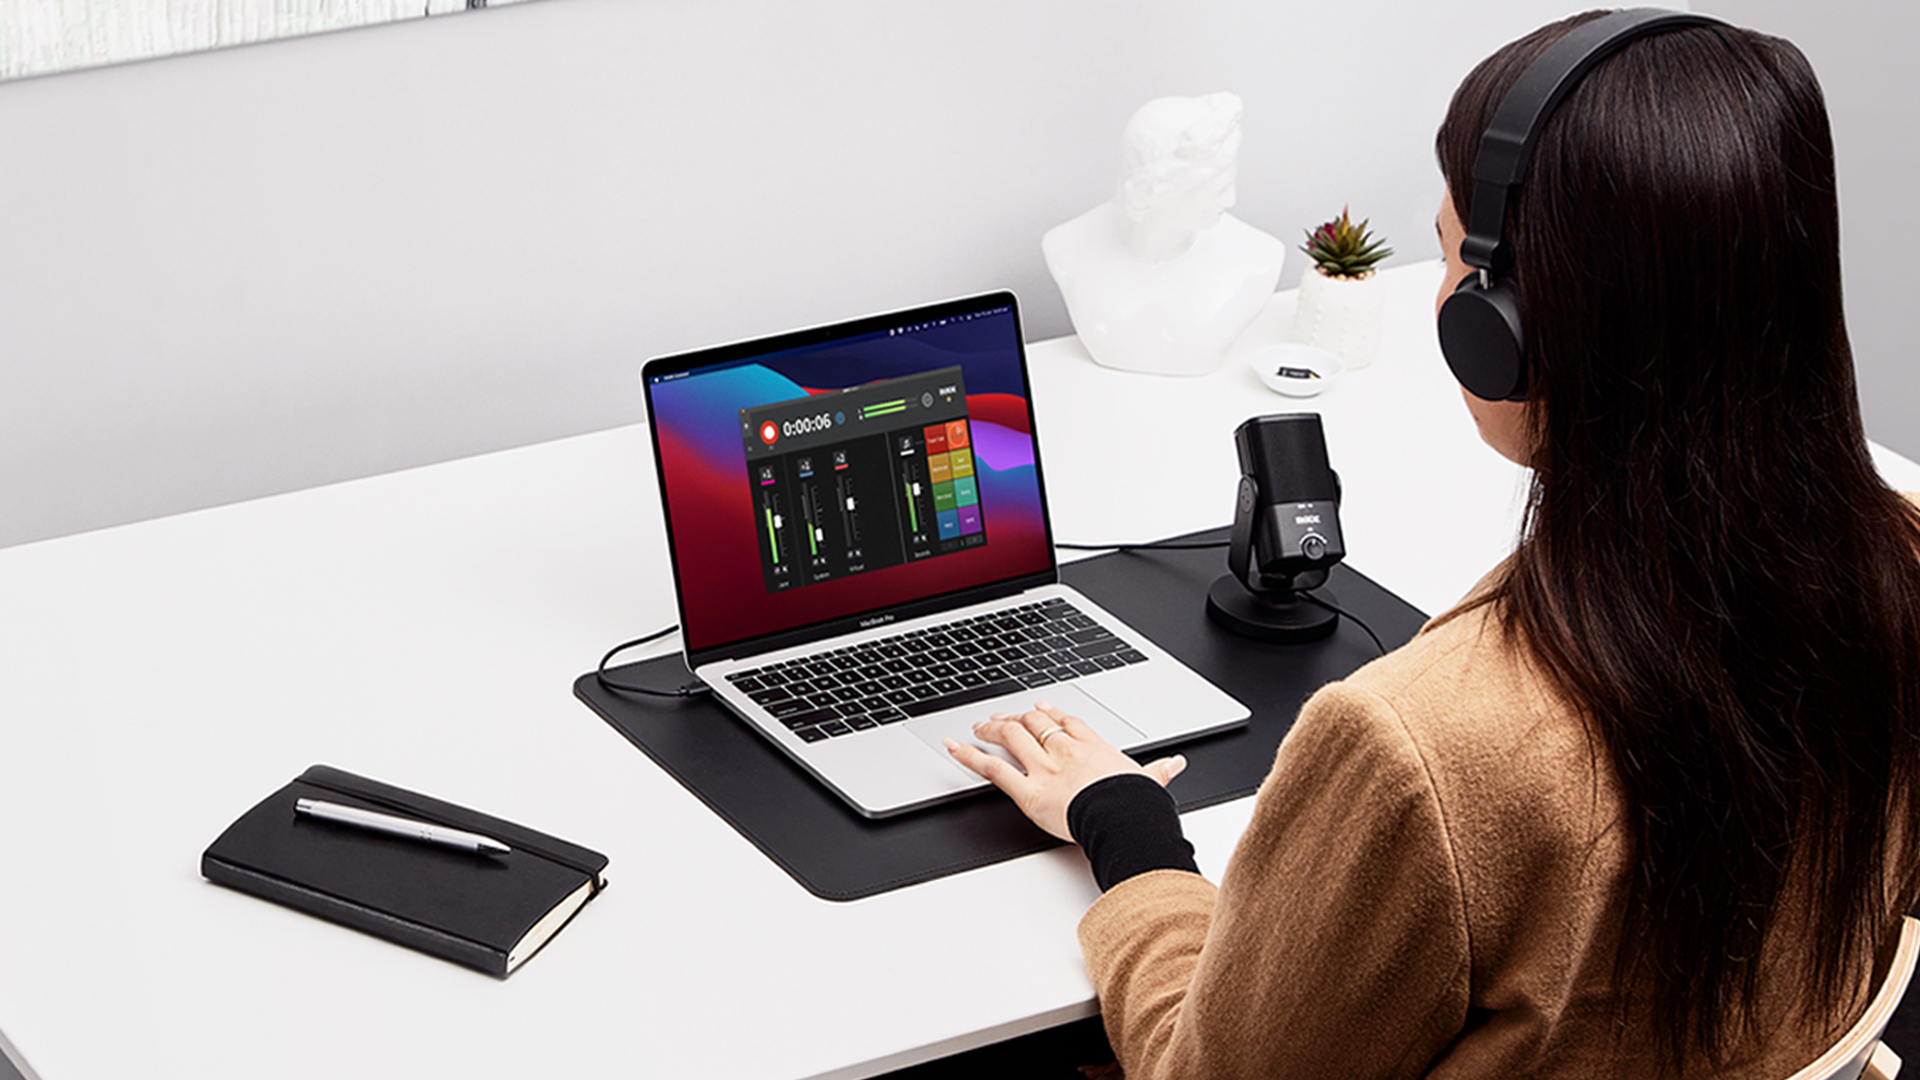
How To Start a Podcast In 5 Steps Using RØDE Connect
Released 02 Jul 2021
Do you want to get into podcasting but you’re not sure how to get started? You don’t need tonnes of equipment and years of audio experience to make a great podcast. In fact, all you need is a microphone, a computer, and a great idea.
Below, we’ll show you how to start a podcast in 5 simple steps using RØDE Connect.
Before you get started, make sure you have everything you need, including a computer, NT-USB Mini microphone, and a pair of headphones. If you are podcasting with multiple people, you will need a microphone and a pair of headphones per person.
Ready? Let’s go.
Step 1 – Download RØDE Connect
First, you’ll need to download the RØDE Connect software. It’s completely free, with versions for Mac and Windows available. Once you have downloaded the installer file, follow the prompts to install the software and then open it.
Step 2 – Plug in Your NT-USB Mini
Plug your NT-USB Mini into your computer using the supplied USB cable. If your computer only has USB-C inputs, you’ll need a USB-C to USB-C cable like the RØDE SC17. This is a Hi-Speed certified, 1.5m cable that is perfect for use with the NT-USB Mini.
Next, plug your headphones into the back of the NT-USB Mini so you can hear yourself (and your guests if you have them).
Step 3 – Assign Your Audio Channels in RØDE Connect
Once connected, your microphone(s) will appear in the RØDE Connect setup assistant. You may be prompted to update your microphone’s firmware if a new version is available.
To assign your microphone to a channel, simply drag and drop it into one of the numbered boxes. If you are using multiple microphones, click each of the microphone icons in RØDE Connect to make the LEDs flash on corresponding the microphone. This makes it easy to identify which mic you are assigning to which channel.
You will also notice the channels are colour-coded. These match the RØDE COLORS, a set of identification tags for the NT-USB Mini that make it super easy to keep track of which microphone is connected to which channel while recording.
Once you’ve assigned your microphones, click ‘Next’. This is the ‘Virtual Channels’ page. These are used for adding external audio like phone calls and music into your podcast, which you can explore later. For now, click ‘Finish’.
Step 4 – Adjust Your Levels
You are almost ready to start recording!
Before you do, be sure to check your microphone audio is at a decent recording level. Click the channel number icon for your microphone. You will see a horizontal level meter with ‘+’ and ‘-’ buttons underneath. Talk into your microphone at the volume you will be recording and watch the level meter. While you are talking, it should sit within the green section of the meter. If it is in the red section or not quite hitting the green section, use the +’ and ‘-’ buttons to adjust your level.
You can also add processing to your voice by toggling the noise gate, compressor, and APHEX Aural Exciter and Big Bottom effects on. These will give your voice a rich, warm tone just like on a professional podcast. To learn more about these processors, click here.
Click the channel icon again to exit the options menu. Repeat the process above for any other microphones you have connected.
Step 5 – Hit Record!
Now you are ready to record! Click the red record button on the top left of RØDE Connect to start recording. Once you’ve finished recording, press the button again to stop.
You can listen back to your podcasts, rename them and export them to any podcast platform from the ‘Recordings’ page, accessed via the tab to the left of the record button.
That’s it – you’ve just made a podcast!
To find out more about RØDE Connect, including using the sound pads, adding external audio and recording remote guests, exporting your podcasts, and more, check out the RØDE Connect Learning Hub.
For a quick visual overview of the steps above, take a look at the video below.